
Last updated November 18, 2026
 Wrought iron
 Wood & steel frame
 Farm & ranch
 Sliding driveway gates
 LiftMaster operators
Free on-site gate assessment - hinges, posts, and your LiftMaster or Nice gate operator checked before anything is quoted
The assessment is free and the quote is the invoice.
Get your free estimateGate Repair Troubleshooting: Common Problems and How to Fix Them
Most gate troubleshooting guides list symptoms and jump straight to part replacement. We work the other way around. On roughly 4 in 10 service calls where a gate reverses a few inches before closing, the limit switch is fine and the culprit is an obstruction sensor aimed at sun-bleached concrete that reads as motion at certain hours. That single example is why this guide starts with evidence, not parts. You’ll learn how to read a control board’s LED sequence, run a voltage-drop test that separates a bad transformer from a wiring fault, and photograph a problem so the next technician doesn’t have to rediscover it. We do this work every week in Boulder City, where the desert sun, dry air, and dust all leave their fingerprints on gate hardware.
Quick Answer
Gate problems usually fall into five groups: power and wiring faults, obstruction or safety sensors, limit-switch and travel settings, mechanical wear (rollers, hinges, tracks, chains), and logic-board failure. Diagnose with evidence first – read the control board’s diagnostic LED, test voltage at the motor terminals, and compare photos over time – before replacing any part. The three most misdiagnosed failures (obstruction sensor, limit switch, and logic board) often produce identical symptoms but need completely different repairs.
Styles & brands we work with
- Wrought iron
- Wood & steel frame
- Farm & ranch
- Sliding driveway gates
- LiftMaster operators
Table of Contents
- Read the Control Board’s LED Sequence First
- The Voltage-Drop Test at the Motor Terminals
- Three Failure Modes That Look Identical
- Photo Documentation That Actually Helps the Next Technician
- Limit Switches and Travel Settings
- Obstruction Sensors and Safety Edges
- Rollers, Hinges, Tracks, and Chains
- When a Finding Becomes a Written Scope
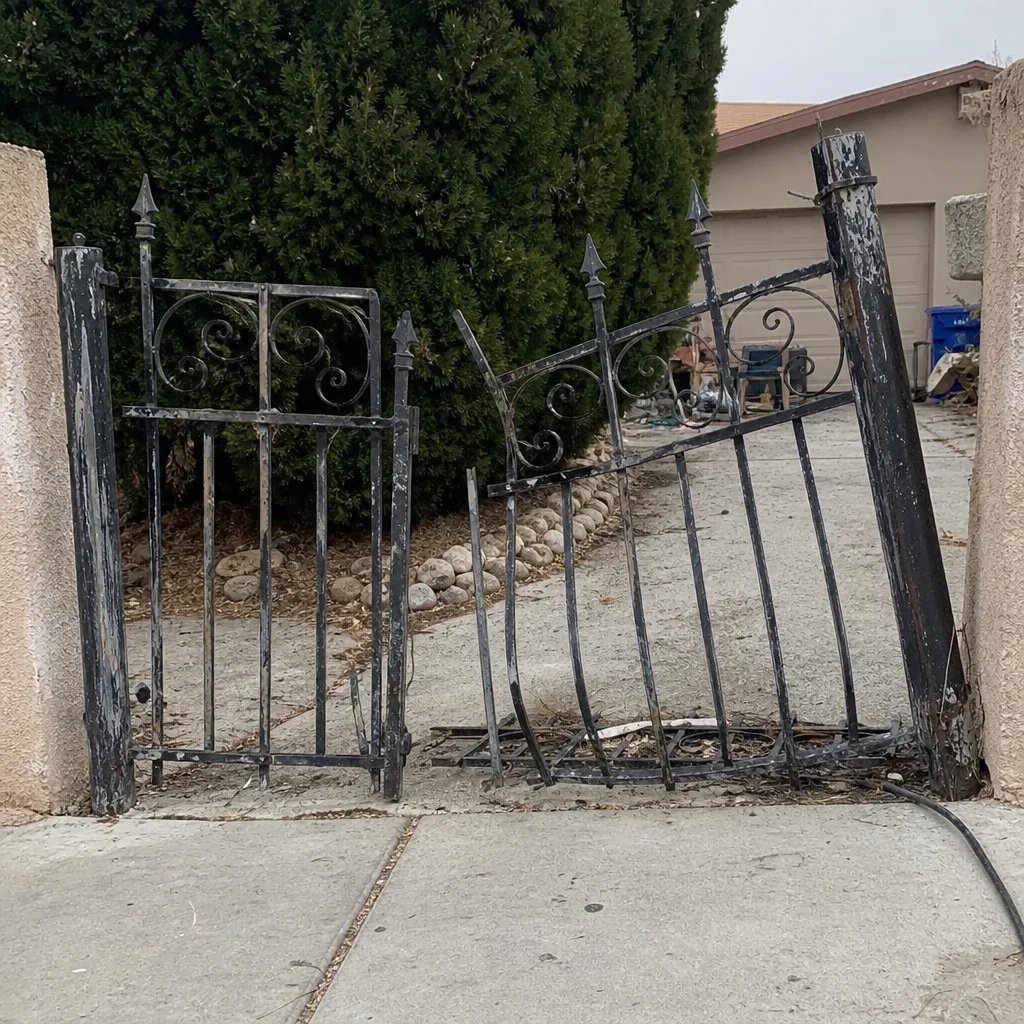 Before
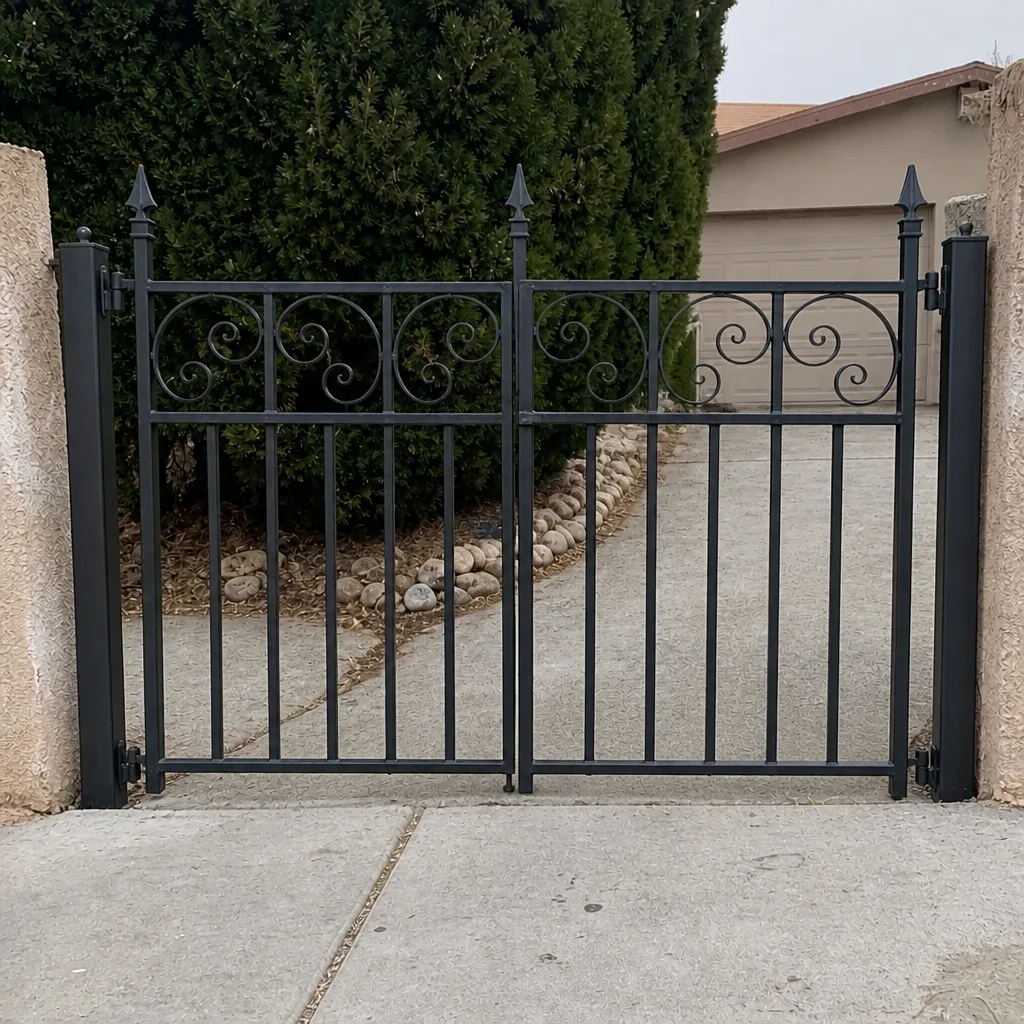 After
Read the Control Board’s LED Sequence First
Before you touch a hinge, a chain, or a limit switch, the control board will tell you where the problem lives. Every modern gate operator – Linear, Viking, Ghost Controls, DoorKing, and the rest – ships with a diagnostic LED or a small bank of them. They flash in patterns, and the pattern is a code. If you start at the mechanism instead, you’ll spend an hour adjusting a limit switch on a gate that never had a limit-switch problem.
Here’s the order we use on every call:
- Locate the diagnostic LED on the control board (remove the operator cover only with the power off first).
- Power up and count the flashes in the sequence before the pause. A steady blink means normal; a repeating pattern like two short, one long is a fault code.
- Match the sequence to the operator’s manual code table. Most brands print the table inside the cover.
- Write the sequence down and photograph the board with the LED lit. This becomes part of the job record.
In Boulder City, dust is the most common reason a board reports a phantom fault. Fine desert grit builds up on the board’s terminals and heat cycles crack the conformal coating, so what looks like a logic failure is often a marginal connection. Reading the code first keeps you from replacing a board that only needed cleaning and reseating. Our technicians have up to 12 years of experience reading these boards on commercial access-control work, and the habit carried straight over to residential gates.
The Voltage-Drop Test at the Motor Terminals
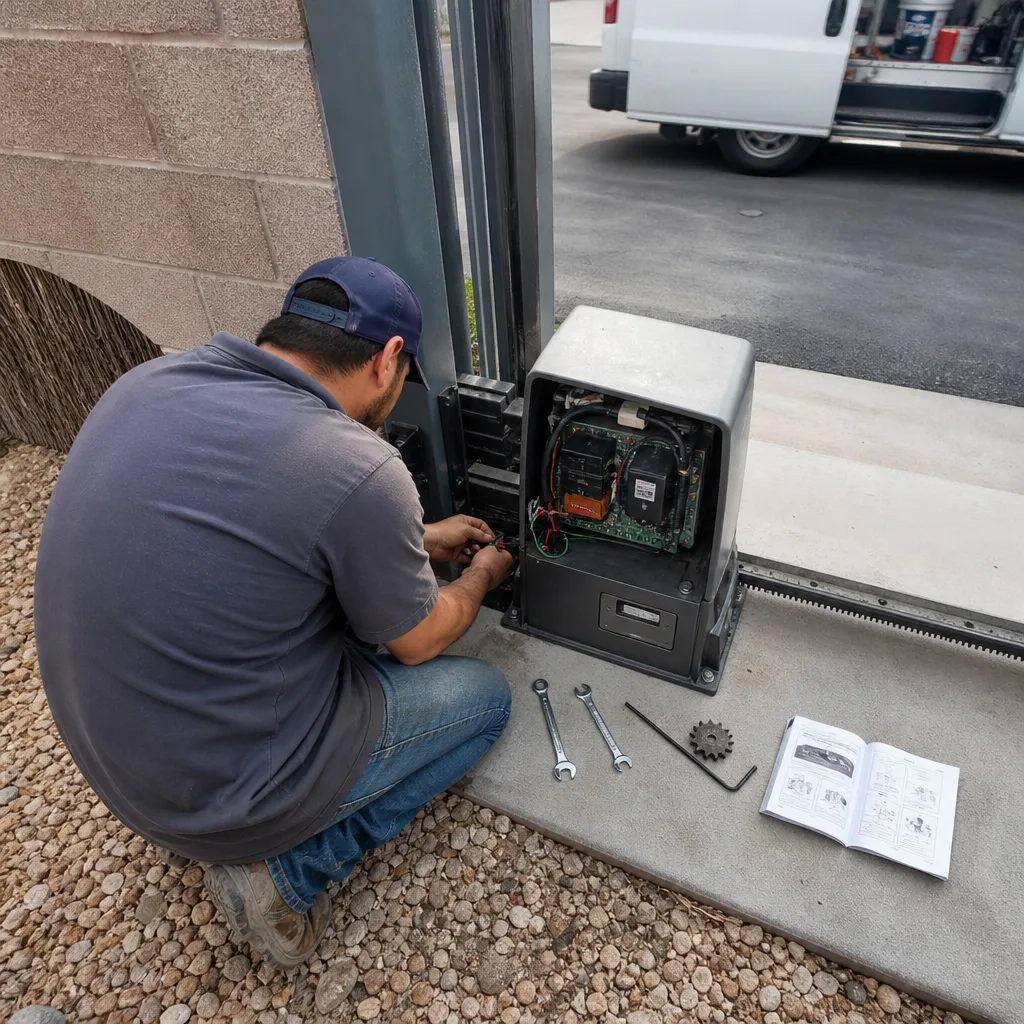
A gate that runs slow, stalls on hills, or trips the operator’s internal breaker is almost never the motor. It’s usually a failing transformer or a wiring fault, and a single voltage measurement tells you which. A voltage-drop test at the motor terminals while the gate is under load separates the two cleanly.
The procedure, in plain terms:
- Set a multimeter to DC volts (or AC, matching the operator) and probe across the motor terminals with the gate running.
- Record the reading at rest and again mid-travel when the gate is pulling its heaviest load.
- Compare that drop against the operator’s spec. A drop larger than the manufacturer allows points at the supply side, not the motor.
- Then probe at the transformer output. If the transformer holds spec but the motor terminals sag, the fault sits in the wire run between them.
Voltage drop is behind a large share of “the motor is dying” calls in Boulder City. Long wire runs from a garage-mounted transformer out to a driveway gate lose voltage over distance and heat. Swapping the motor doesn’t fix a voltage drop; it just buys you a few months before the same symptom returns. Get the measurement, and you know whether to replace the transformer, repair the run, or leave the motor alone.
Three Failure Modes That Look Identical
This is the heart of the guide. An obstruction sensor, a limit switch, and a logic board can each produce the same visible symptom: the gate stops, reverses, or refuses to close. Homeowners and inexperienced technicians often replace the cheapest part first, then the next one, cycling through components until something works. It’s an expensive way to troubleshoot.
Here’s how we tell them apart with evidence:
- Obstruction sensor: The reverse happens at the same point in travel only under certain light or weather. Watch the sensor’s own indicator as the gate passes. If the fault light trips while nothing crosses the beam, the sensor is the cause. Re-aiming or replacing the photo-eye fixes it. A sensor aimed into sun-bleached concrete is a classic Boulder City culprit.
- Limit switch: The gate stops consistently at the wrong place – short of full close or past the point it should reverse. The board’s LED shows the gate never registering “closed.” The fix is a reset of travel and limit, not a new board.
- Logic board: The gate behaves erratically across the whole cycle, cycles through random fault codes, or ignores the remote entirely. The board’s own LED sequence confirms it. Board replacement is the last resort, after sensors and limits are cleared.
In our experience in Boulder City, the order of likelihood runs sensor, then limit, then board – so test in that order and let the evidence, not the price list, decide the repair.
Photo Documentation That Actually Helps the Next Technician
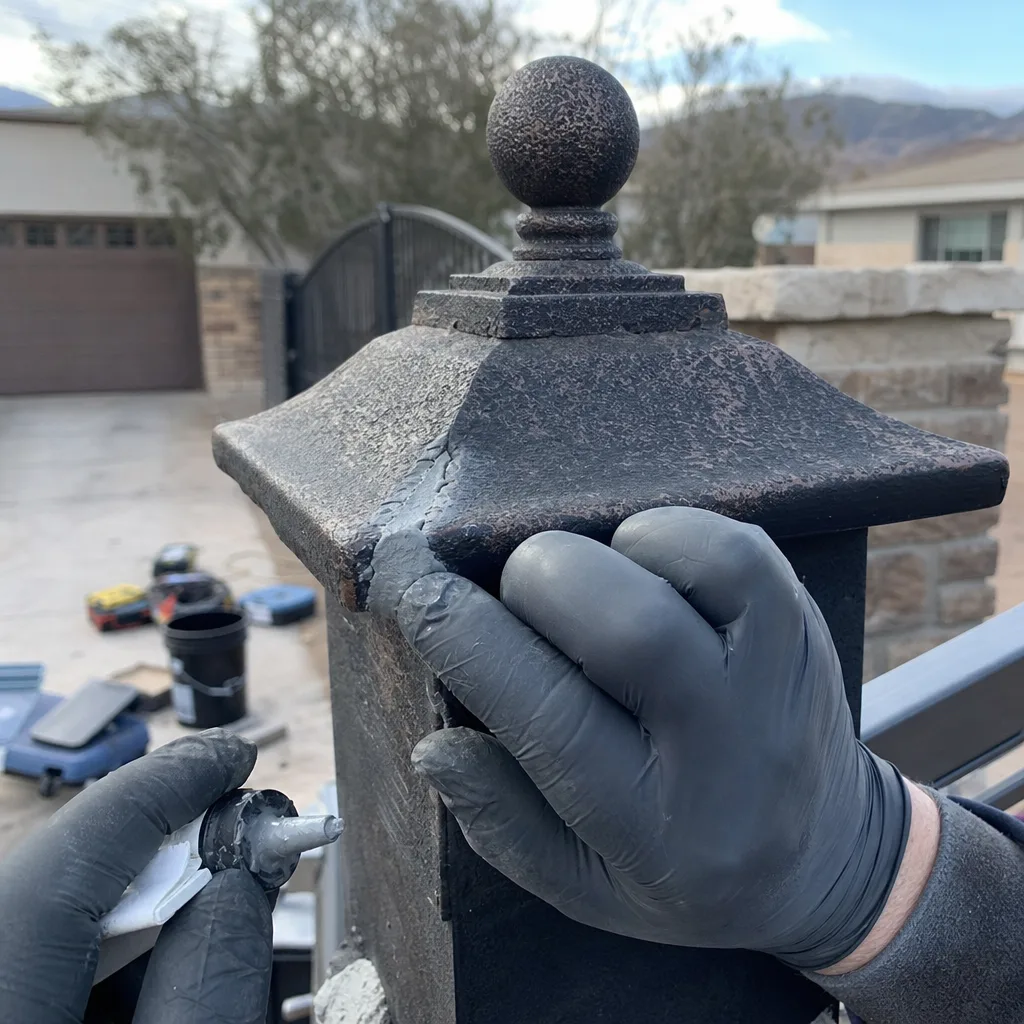
A smartphone photo can be worthless or invaluable. The difference is reference markers and angles. If the next technician can’t tell where a part sat, the photo might as well be a stock image. When we document a gate, we shoot four standard angles and add a reference marker to each.
- Full-width shot of the gate from ten feet back, so the whole opening, gate halves, and posts are visible.
- Control-board close-up with the cover off, LED lit, so the diagnostic state is frozen in the frame.
- Limit-switch position with a small mark (tape, a permanent-marker line) aligned to the switch body, so a later technician sees exactly where travel was set.
- Photo-eye and safety-edge close-up with the sensor’s aim point visible relative to the gate path.
Add a photo of the operator’s data plate so the exact model is recorded. That’s what lets a DoorKing or a Linear get the right part on the first trip instead of the third. Under the Haven Standard, every Vance visit leaves a documented photo record of what we found, what we set, and what we installed. It’s the difference between a repair and a repair someone can diagnose again later.
Limit Switches and Travel Settings
Limit switches tell the operator where the gate’s fully-open and fully-closed positions are. When travel drifts, the gate stops short, slams at the end of travel, or reverses before it fully closes because the board never sees “closed.” Temperature swings are a real factor here. The desert swings between hot days and cold nights in Boulder City, and metal gate frames expand and contract enough to shift a marginal limit setting over a season.
What to check, in order:
- The board’s LED state at full open and full close – the operator should register both.
- The physical limit switch alignment against the cam or magnet, with a tape mark photo at each setting.
- The gate’s mechanical travel – rollers, hinges, and stops – because a dragging gate can trip limits before the switch is actually reached.
- The manual’s reset procedure for your brand. Viking and Ghost Controls in particular have specific re-learn steps after any travel change.
Here’s the safety note that matters: limit and travel adjustments involve a gate that moves under power. Keep hands, tools, and anyone else clear of the gate path whenever it cycles, and never reach into the operator or the hinge zone while it’s energized. A swing or slide gate can cause serious injury. When travel is genuinely out of spec, this is not a task to work out by trial and error alone.
Obstruction Sensors and Safety Edges
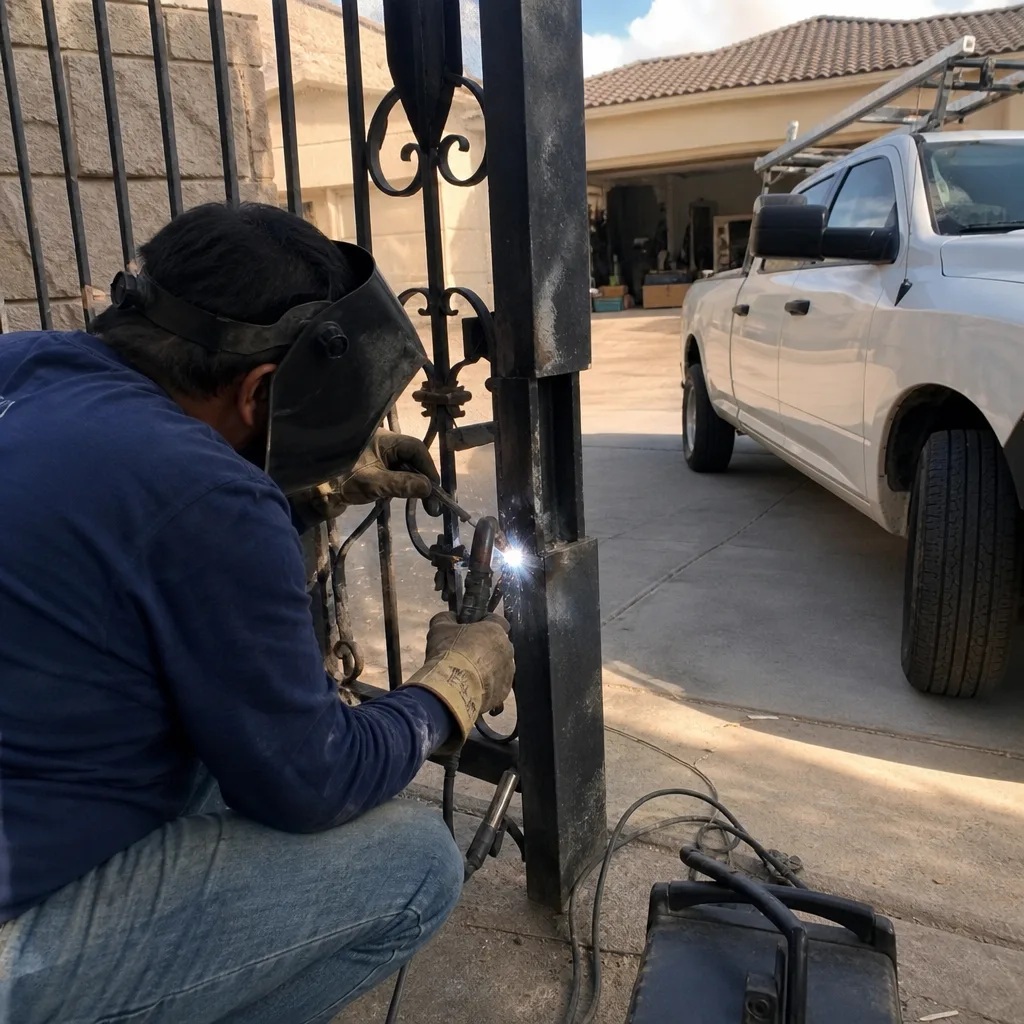
The obstruction sensor – the photo-eye, or the infrared beam that stops the gate if something crosses the path – is the most frequently misdiagnosed component on any gate. A misaligned photo-eye by as little as an inch or two produces a reverse that gets blamed on limits or the board almost every time. Before you touch anything mechanical, watch the sensor’s own indicator light while the gate cycles.
Photo-eye and safety-edge problems in Boulder City tend to come from the environment. Sun glare can blind a sensor at low angles. Dust films the lenses. Concrete behind the gate reflects the beam back as a false reading. And desert rodents sometimes chew the low-voltage wires where the sensor pair runs. Re-aim the eyes so they point at each other, not at the background, clean the lenses, and check the wiring run for damage. Only after those three checks is a sensor replacement warranted. A safety edge on a slide gate needs the same test: trigger it by hand with the operator in manual, and confirm the gate reverses immediately. If it doesn’t, stop and treat it as a fault that must be repaired before the gate is returned to normal service.
Rollers, Hinges, Tracks, and Chains
Mechanical wear is the most visible failure group, but it can still mimic electrical faults. A gate that “stalls” may simply have a roller that jumped its track or a hinge pin seized solid. Check the mechanical side with the operator in manual and the power off.
- Slide gates: Rollers flat-spotted, track fouled with grit or bent, chain slack or worn. Boulder City dust accelerates track wear faster than most climates.
- Swing gates: Hinge wear letting the gate sag, a top strap out of alignment, or a bent mounting arm at the operator. A sagging gate loads the motor and reads as a voltage problem until you look at the hinge.
- Chains and belts: Correct tension per the manual, no fraying, no debris. A loose chain will skip under load and produce intermittent failures that look electrical.
Mechanical work is the one category a careful homeowner can inspect safely. Repair is another matter when it means lifting a gate off its hinges or realigning a track under load. Get the diagnosis right first, then decide whether the fix is a lubrication-and-adjustment pass or a part replacement.
When a Finding Becomes a Written Scope
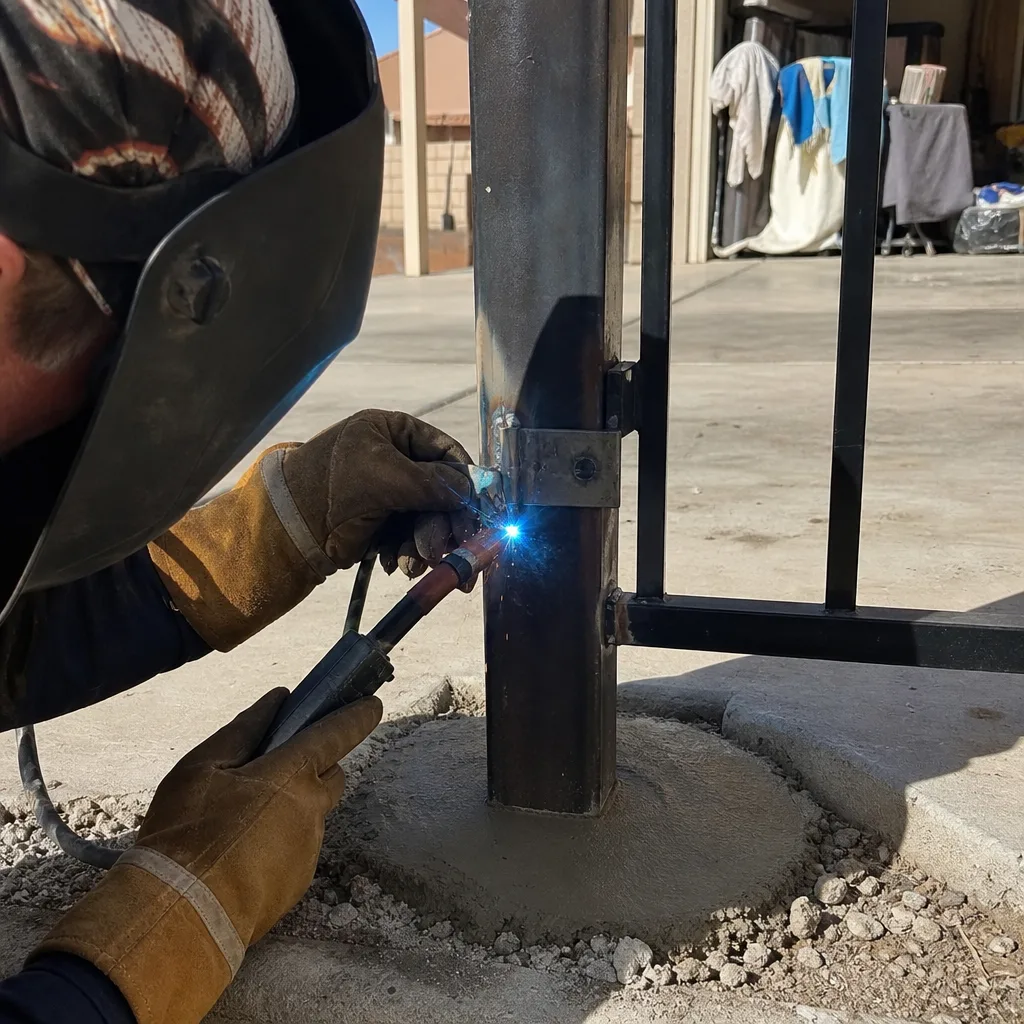
Some troubleshooting findings are a five-minute adjustment. Others mean the problem goes well beyond a single part, and the honest move is to stop, write the finding down, and turn it into a written scope instead of a verbal “I’ll take care of it.” That word “scope” matters. It keeps the homeowner from paying twice to rediscover the same fault later, and it keeps the next technician from starting from scratch.
We stop work and write a scope when:
- The diagnosis points at more than one component (say, a marginal transformer plus a chafed wire run).
- The needed part has to be sourced and won’t be on hand the same day.
- The gate needs a mechanical rebuild – hinge replacement, track realignment – that changes the job from a repair to a project.
- The safety path (photo-eyes, safety edges) is compromised and the gate should not run until it’s fixed.
That’s Haven Standard Clause 1 in practice: the written price before any work begins, delivered as a document, not a phone quote. It’s the difference between a repair billed on a guess and one billed against a page you already read. Whether you’re handing that scope to us or to another operator, a written finding is worth more than a verbal one every time.
Common Mistakes to Avoid
- Replacing parts before reading the board. The LED sequence is free evidence. Swapping a board or a motor before reading it is how a $90 limit reset turns into a $500 parts bill in Boulder City and everywhere else.
- Blaming the motor for a voltage drop. Measure the drop at the terminals and at the transformer output before assuming the motor is dying. A long wire run under the summer heat is the more common cause.
- Re-aiming a photo-eye without watching its indicator. You need to see the fault light trip while the gate passes. Otherwise you’re guessing at the aim.
- Skipping the photo before an adjustment. If you move a limit switch and don’t mark the original position, the next technician has no baseline. A photo with a tape mark takes ten seconds.
- Chasing a symptom across brands. A Linear and a DoorKing don’t reset travel the same way. Work from the operator’s own manual and code table rather than a generic online forum.
- Ignoring the mechanical load. A sagging hinge or a gritty track makes the electrical side look faulty. Check the mechanism in manual mode before ordering electronics.
- Running a gate with a dead safety edge. If the edge doesn’t reverse the gate when triggered by hand, the gate should not be cycling for normal use. That’s a liability, not an inconvenience.
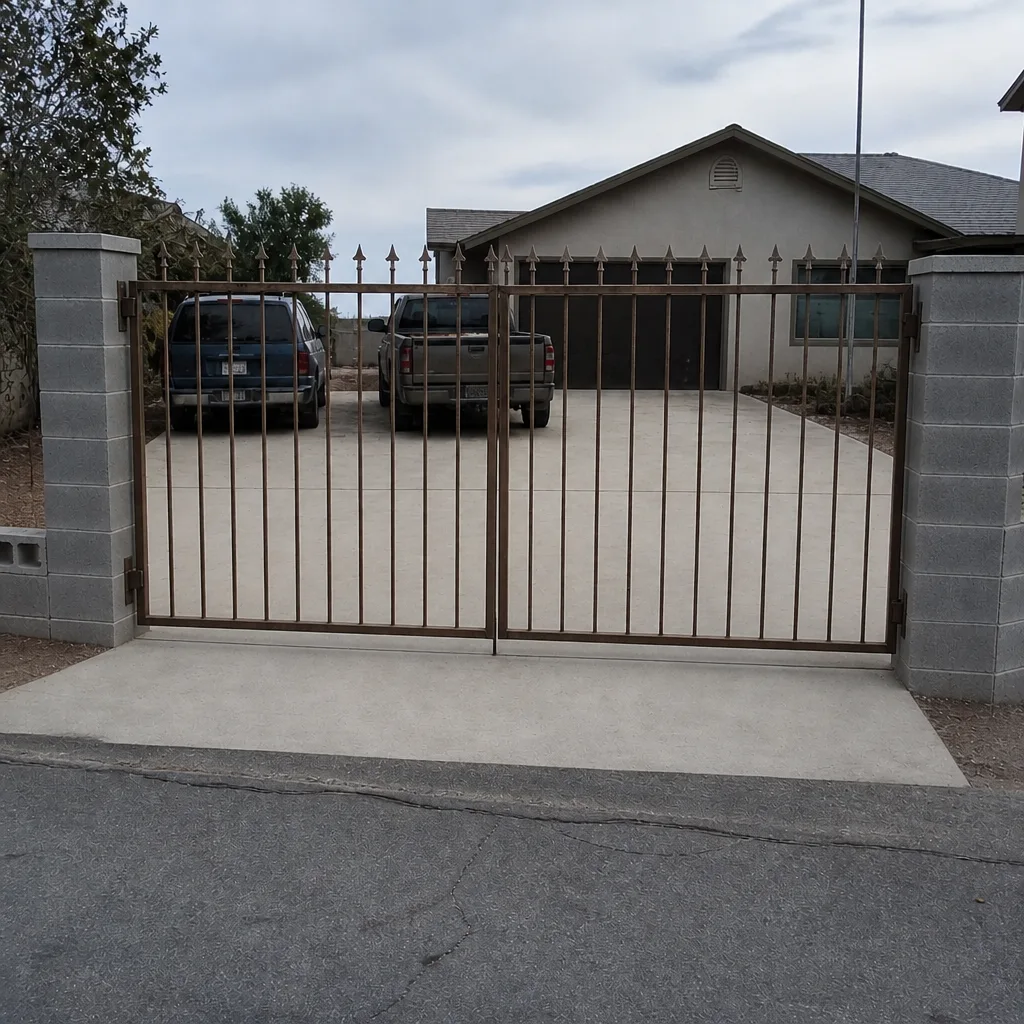
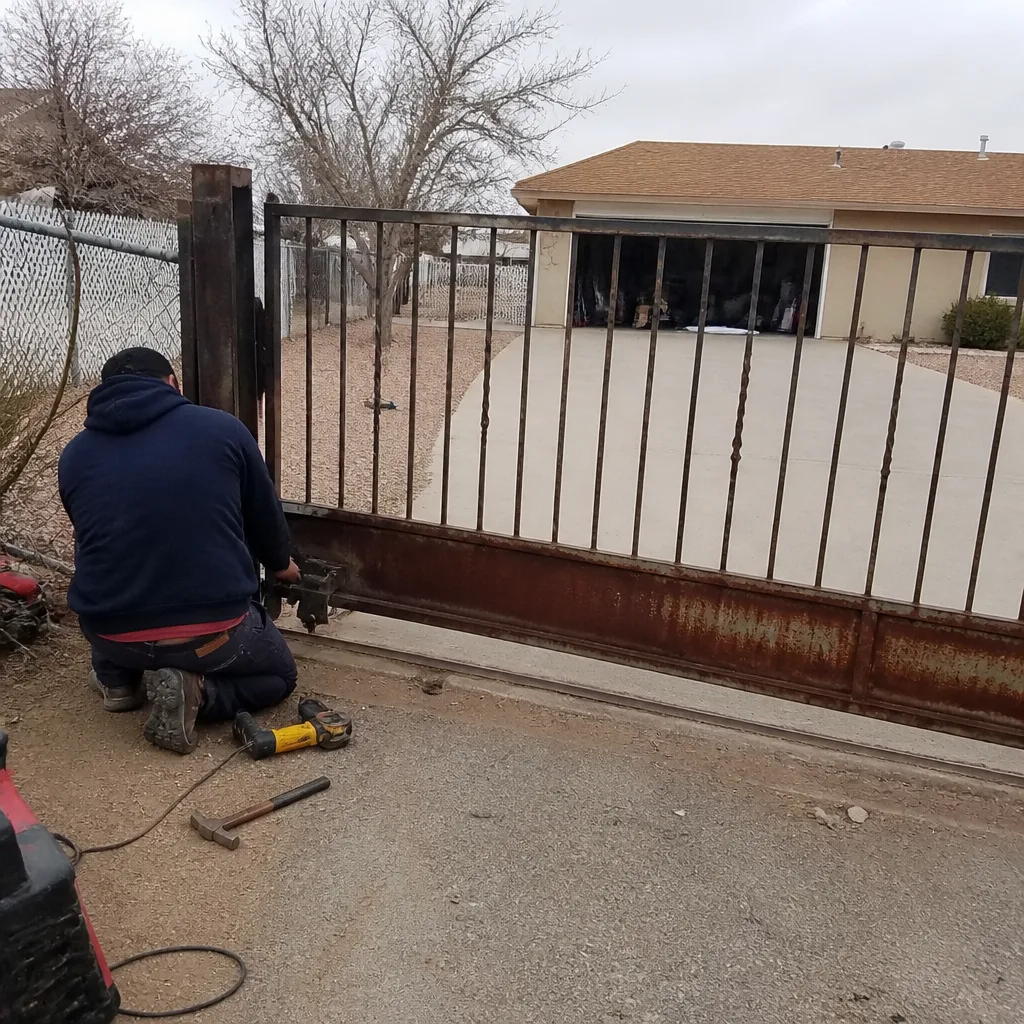
See the difference
BeforeAfter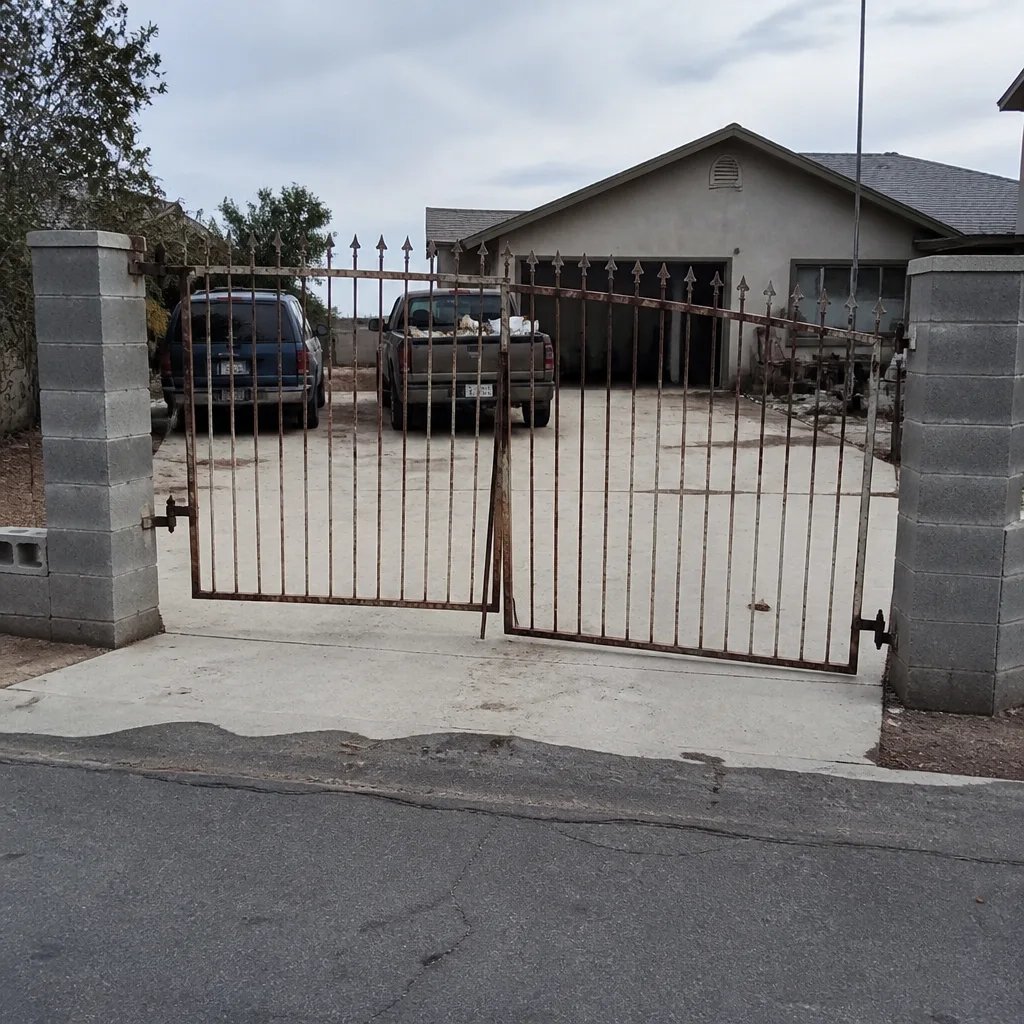 Before
 After
 Before
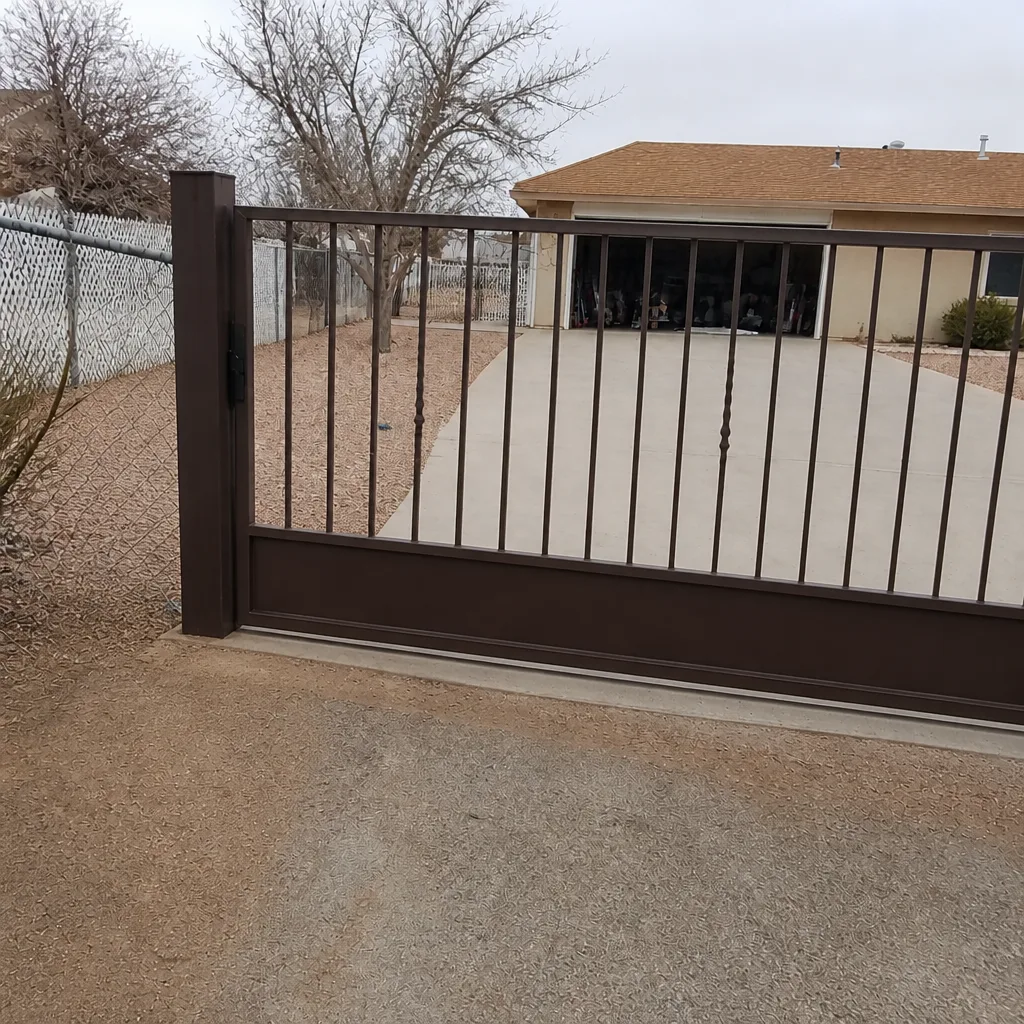 After
When to Call a Professional
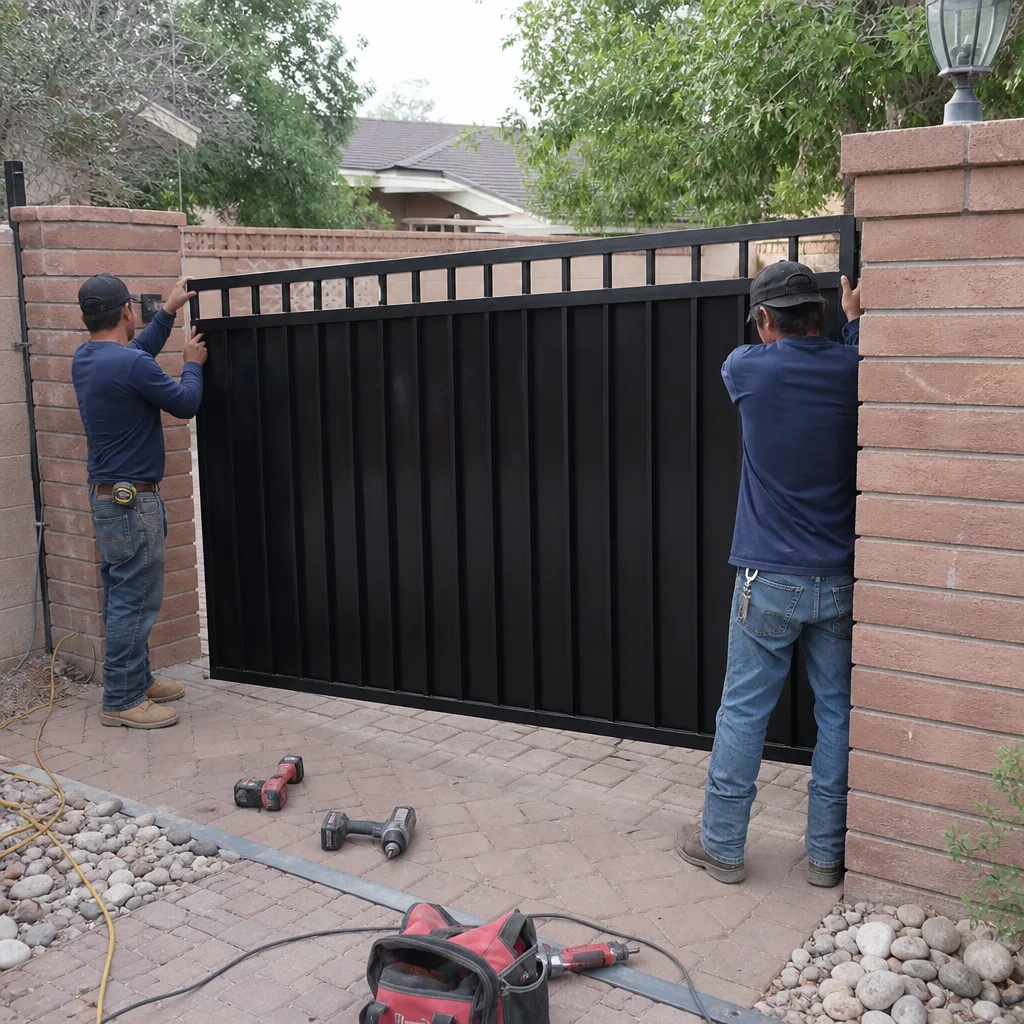
Some findings belong in your hands; others don’t. Call a trained technician when the diagnosis points at the logic board, when a voltage-drop test lands in the supply side and you don’t have a meter you trust, when the gate needs a hinge or track rebuild, or when the photo-eyes and safety edges won’t reliably reverse the gate. Those tasks involve live power, moving gates under load, and parts that have to be sourced by model. Attempting them without the right tools and the operator’s manual is how a small fault turns into a large one. Vance Gate Repair Boulder City offers free estimates in Boulder City – call (844) 320-7587. Every visit comes with a written price before work starts, a documented photo record, and the 365-Day Done Right Promise.
Frequently Asked Questions
Troubleshooting is the evidence-gathering step that identifies the root cause before any part is replaced; the repair is the fix that follows. The two should never be merged into a guess-and-swap cycle. A professional troubleshoots with a control-board LED reading, a voltage-drop test, and photo comparison, then writes the finding down before touching a tool.
The most common cause is an obstruction sensor reading a false obstruction – a photo-eye misaligned by an inch or two, or one aimed at sun-bleached concrete that reads as motion at certain times of day. This accounts for a large share of reverse-before-close calls we see in Boulder City. Check the sensor’s indicator light first, then the limit switch, then the board.
A homeowner can safely inspect the mechanical side – rollers, hinges, track, and chain – with the power off, and can watch the control board’s LED to record its code. Work involving live power, voltage testing at motor terminals, or moving a gate under load should go to a trained technician. Call (844) 320-7587 if you’re unsure where the fault sits; estimates are free.
Run a voltage-drop test at the motor terminals while the gate is under load, then probe the transformer output. If the transformer holds spec and the motor terminals sag, the fault is in the wiring run between them. If both sag, suspect the transformer. The motor itself is the least likely culprit of the three, which is why we test before replacing.
It matters for the code table and the reset procedure. Linear, Viking, Ghost Controls, and DoorKing each have their own diagnostic flash codes and travel-relearn steps, so the right manual has to be open. It doesn’t change the logic of the diagnosis – sensor, then limit, then board – but it does change the exact steps.
Stop when the finding points at more than one component, when the needed part must be sourced and won’t be on hand the same day, when the gate needs a mechanical rebuild, or when the safety path is compromised and the gate shouldn’t run. At that point, a written scope is worth more than a verbal fix and it stops you paying twice to rediscover the same fault. Call (844) 320-7587 and we’ll put the finding in writing with a flat price before any work starts.
The Bottom Line
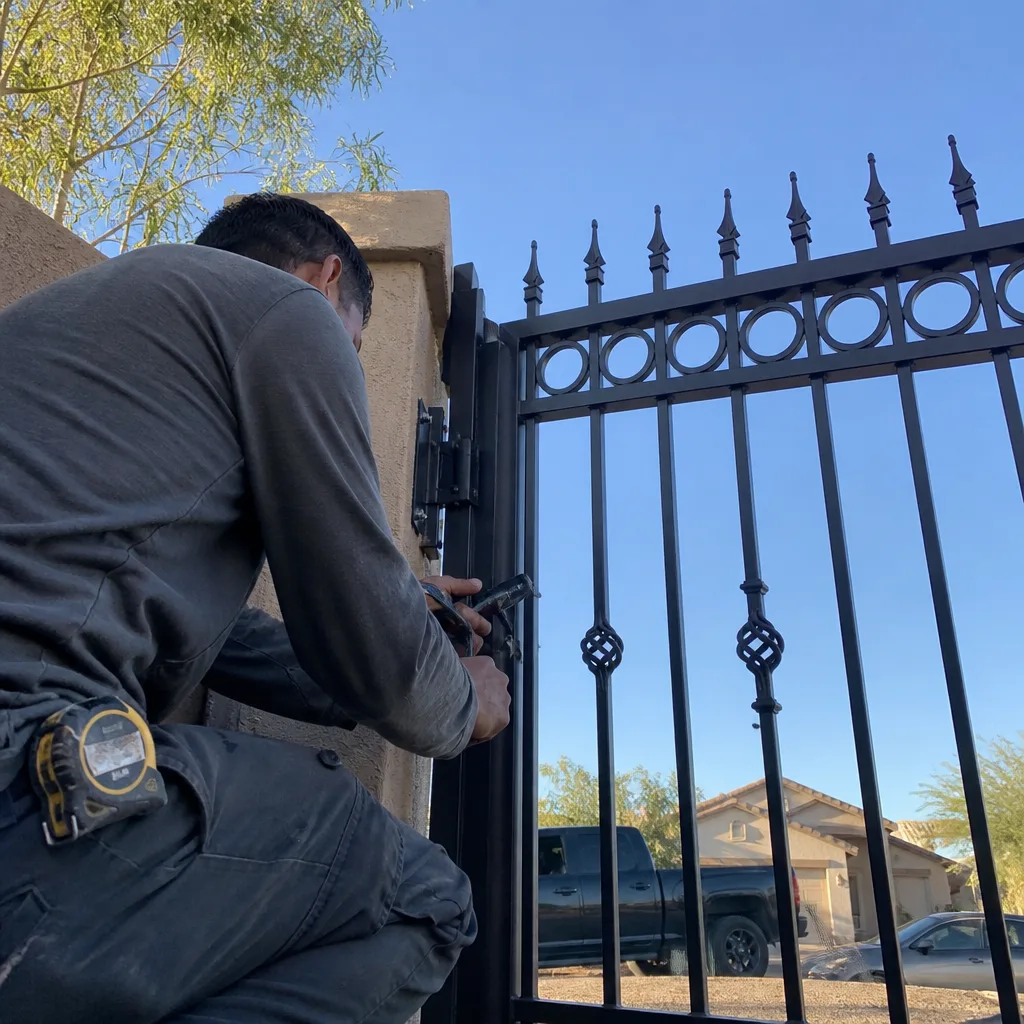
Gate troubleshooting is a diagnostic habit, not a parts lottery. Read the control board’s LED sequence before you touch anything mechanical. Run a voltage-drop test when a gate is slow or stalling. Watch the photo-eye’s indicator to separate an obstruction sensor from a limit or a board. Photograph every adjustment with a reference marker so the next technician starts where you stopped. And when the finding gets bigger than a single part, turn it into a written scope. That order of operations is what keeps a Boulder City gate from being repaired two or three times for the same fault. If you’d rather hand it to someone who works this way every day, we’re a call away.
Whether you’re weighing a repair against a replacement, comparing motor brands, or planning a new gate from scratch, these guides go deeper: Vance Gate Repair Boulder City home, Gate Repair in Boulder City, Gate Installation in Boulder City, and Gate Motor & Opener in Boulder City. If your situation isn’t covered above, call (844) 320-7587 for a free estimate – a live person answers 24 hours a day, and every visit comes with a written price before any work begins.
Written by the team at Vance Gate Repair Boulder City.