
Last updated November 18, 2026
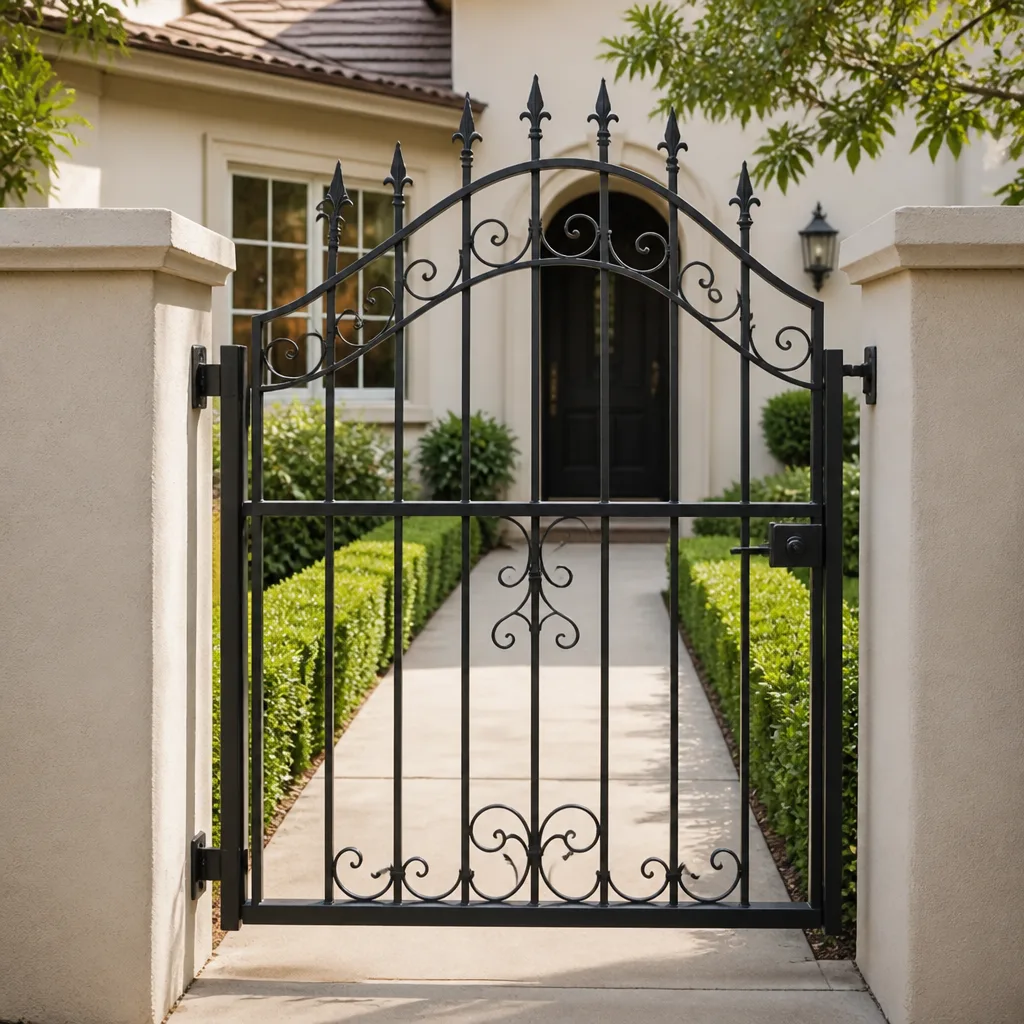 Wrought iron
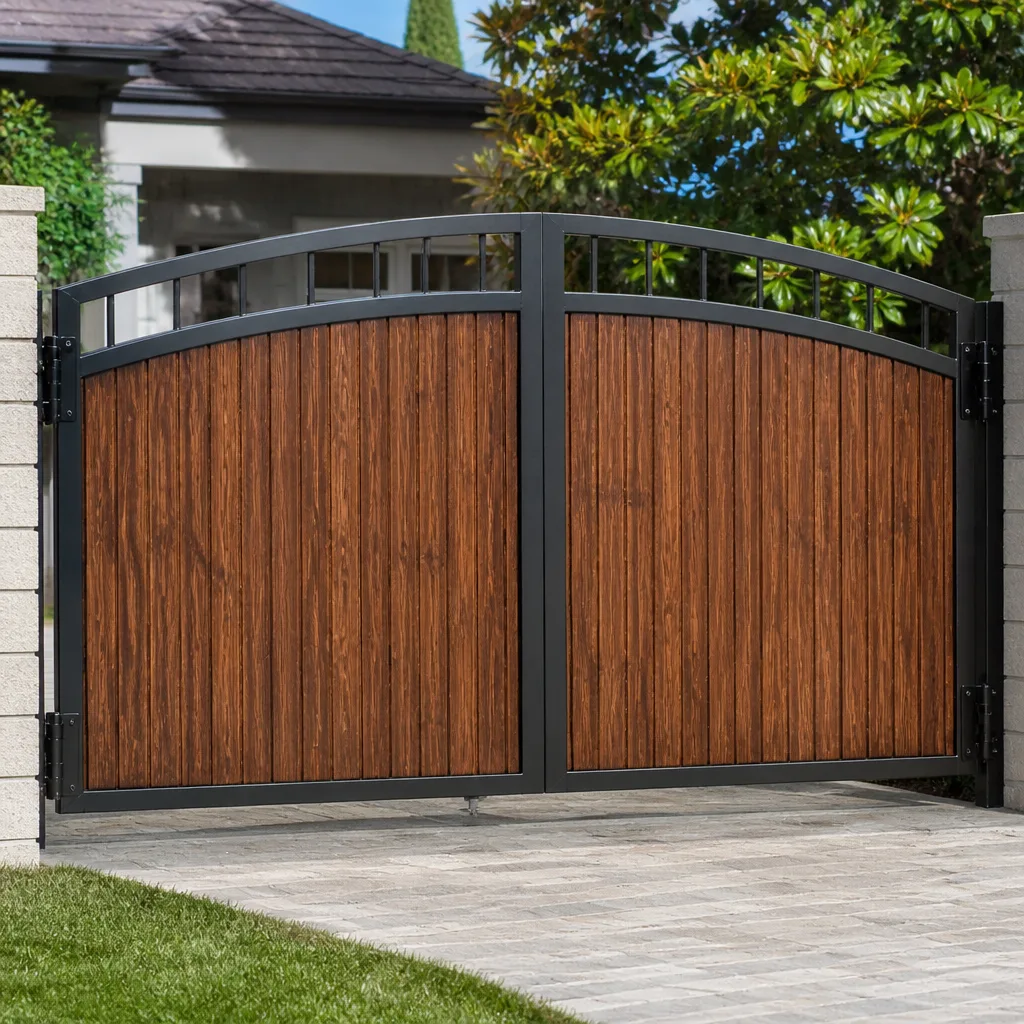 Wood & steel frame
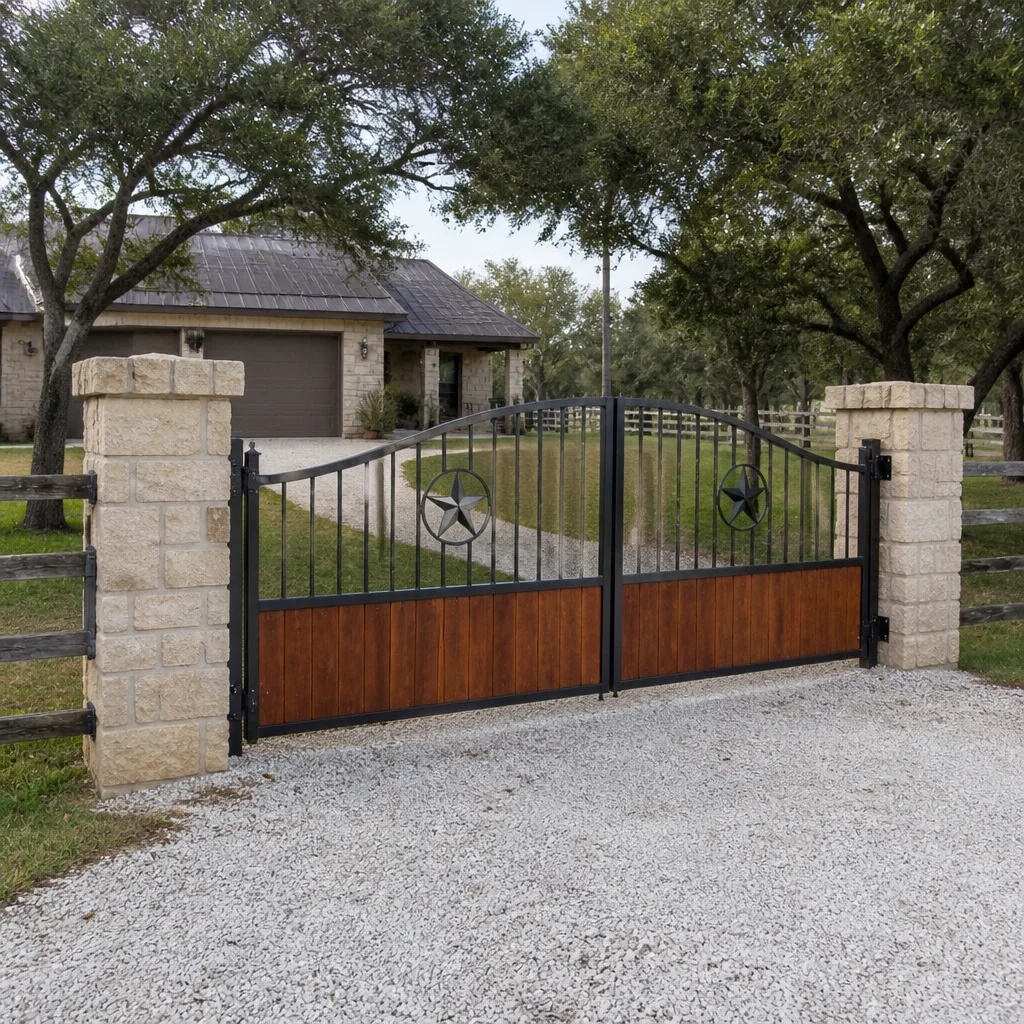 Farm & ranch
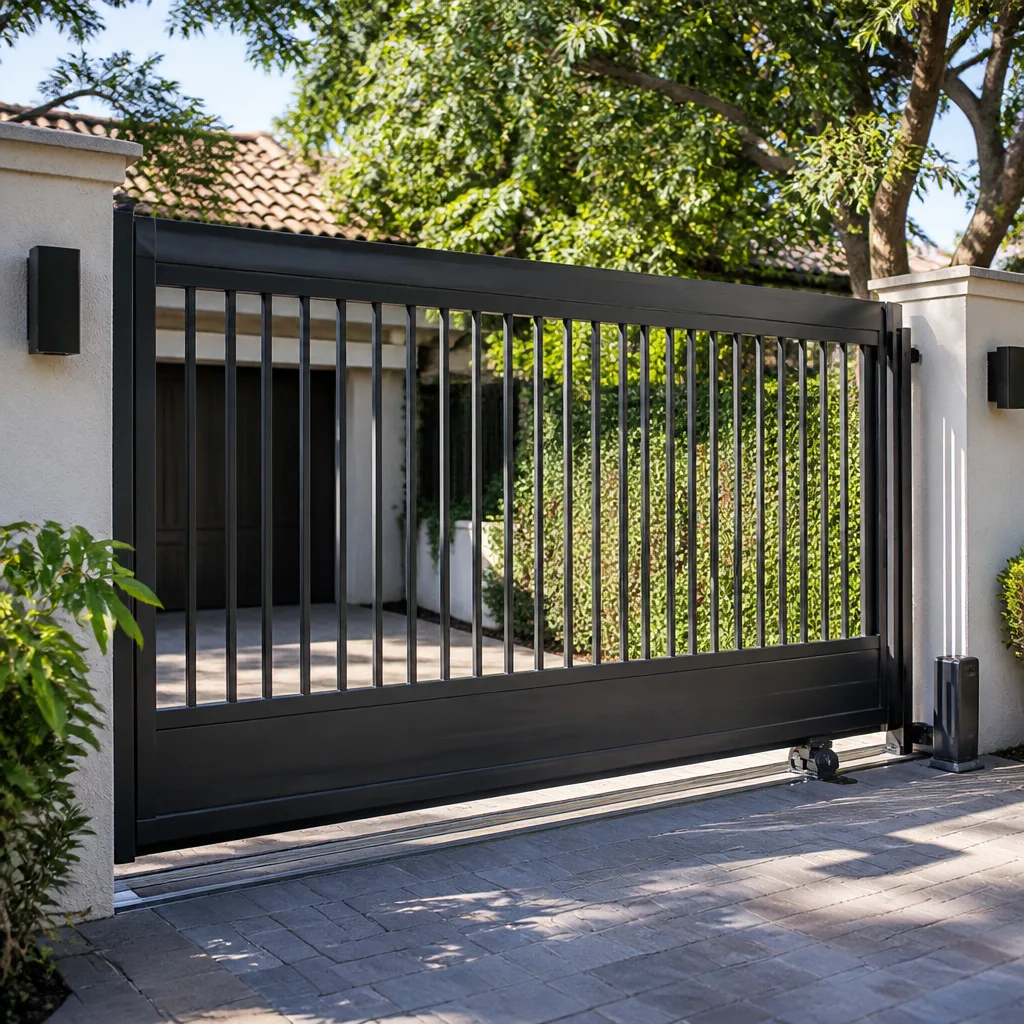 Sliding driveway gates
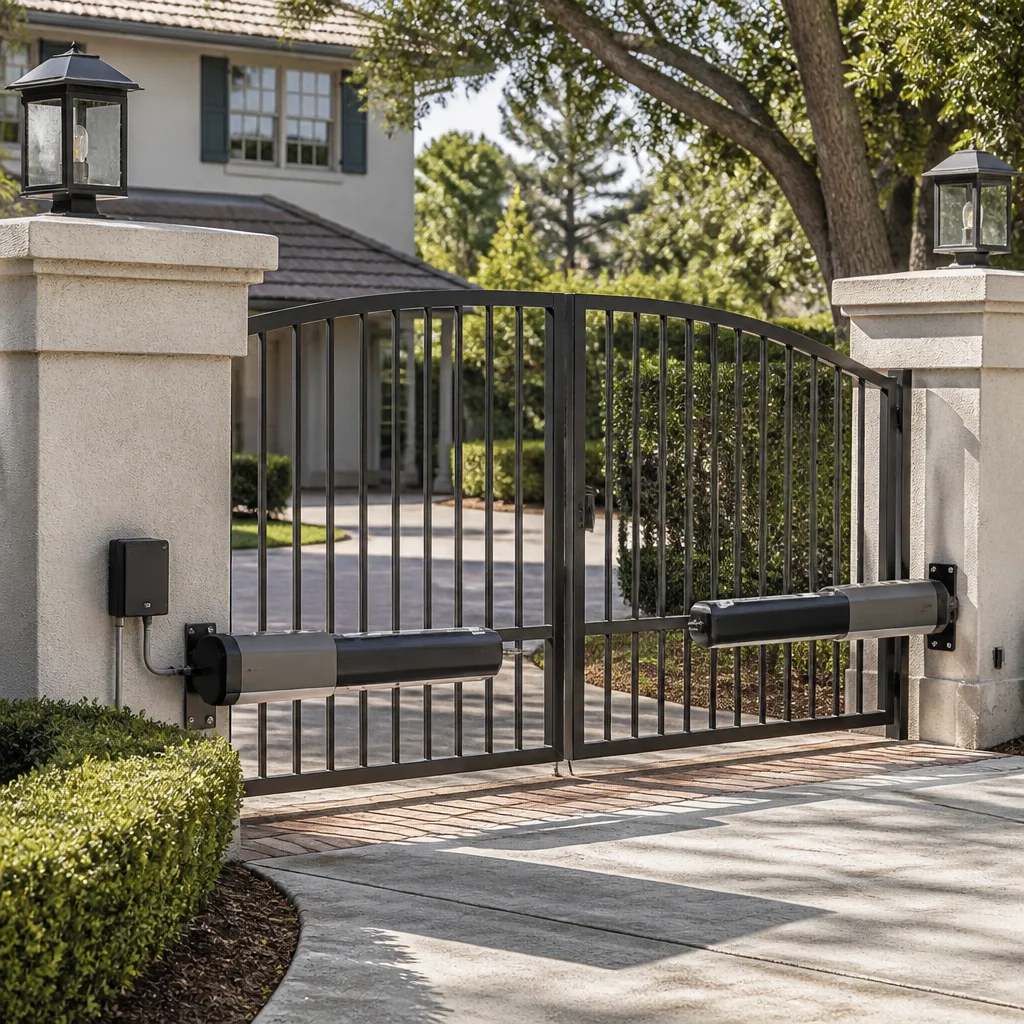 LiftMaster operators
Free on-site gate assessment - hinges, posts, and your LiftMaster or Nice gate operator checked before anything is quoted
The assessment is free and the quote is the invoice.
Get your free estimateGate Installation Troubleshooting: Common Problems and How to Fix Them
A gate that works perfectly during a morning commissioning test and fails to close at 3 p.m. the same day is usually not a wiring problem. It’s a photo-eye sensor that wasn’t aimed accounting for the afternoon sun angle at that specific compass orientation. Most gate installation problems are discovered during commissioning – the 48-hour window after installation when the system is tested under real conditions – and the ones that become expensive are almost always traceable to a decision made during planning, not installation. In Boulder City, where a driveway gate facing west gets late-day glare off the desert floor that a gate facing north never sees, this distinction matters. This guide covers what to test, what to check, and how to keep a new install from turning into a return visit.
Quick Answer
Most gate installation problems fall into five categories: sensor alignment affected by sun angle, limit-switch drift from adjusting the gate before concrete cures, ground-loop calibration errors, inadequate commissioning testing, and missing documentation at job completion. The good news is that the four you can catch earliest – during commissioning – are the cheapest to fix. The ones that surface weeks later usually trace back to a planning decision: sensor placement, concrete schedule, or loop sensitivity set to a default rather than calibrated on site.
Styles & brands we work with
- Wrought iron
- Wood & steel frame
- Farm & ranch
- Sliding driveway gates
- LiftMaster operators
Table of Contents
- The 48-Hour Commissioning Checklist
- Sun-Angle Obstruction Sensor Alignment
- The Post-Cure Waiting Period for Concrete
- Ground Loop Vehicle Detector False Triggers
- Limit Switch Drift and Travel Learn Problems
- What Documentation to Request at Job Completion
- Why Installation Troubleshooting Differs From Repair
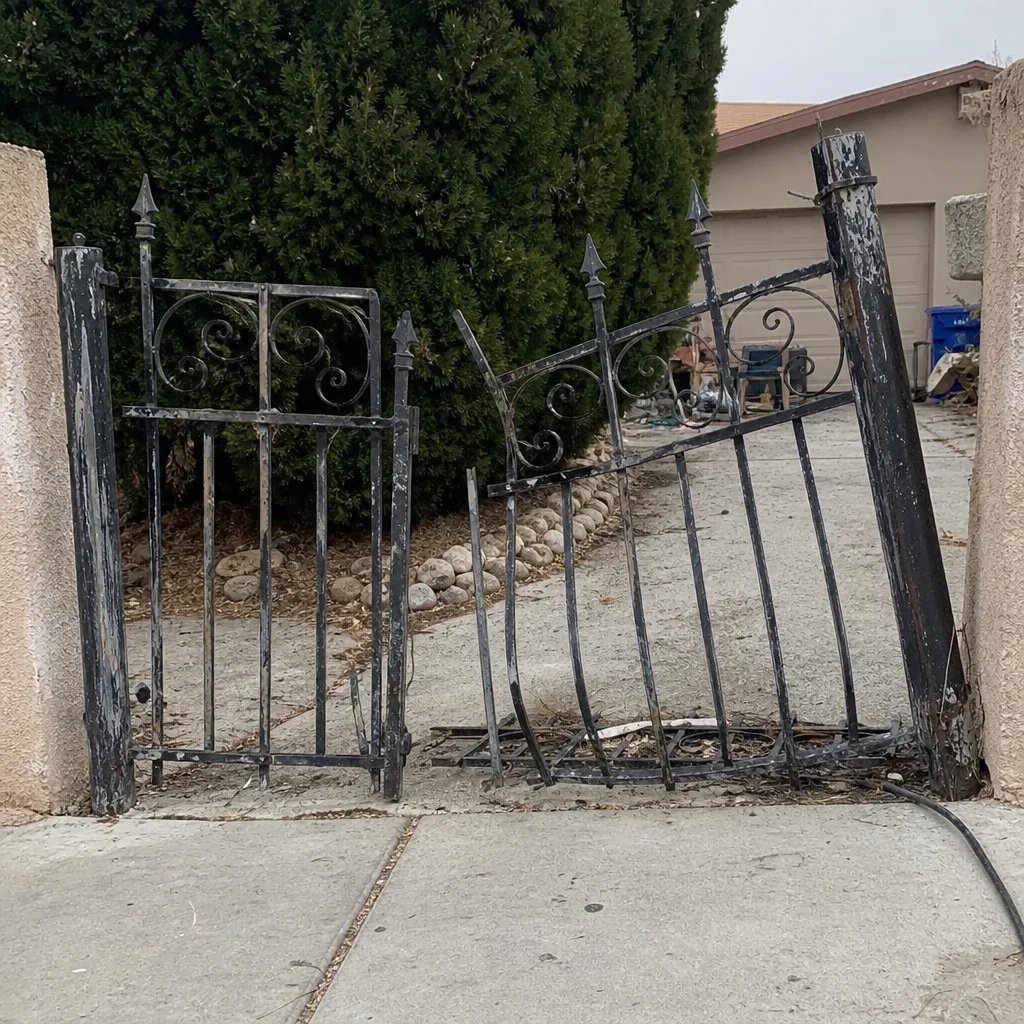 Before
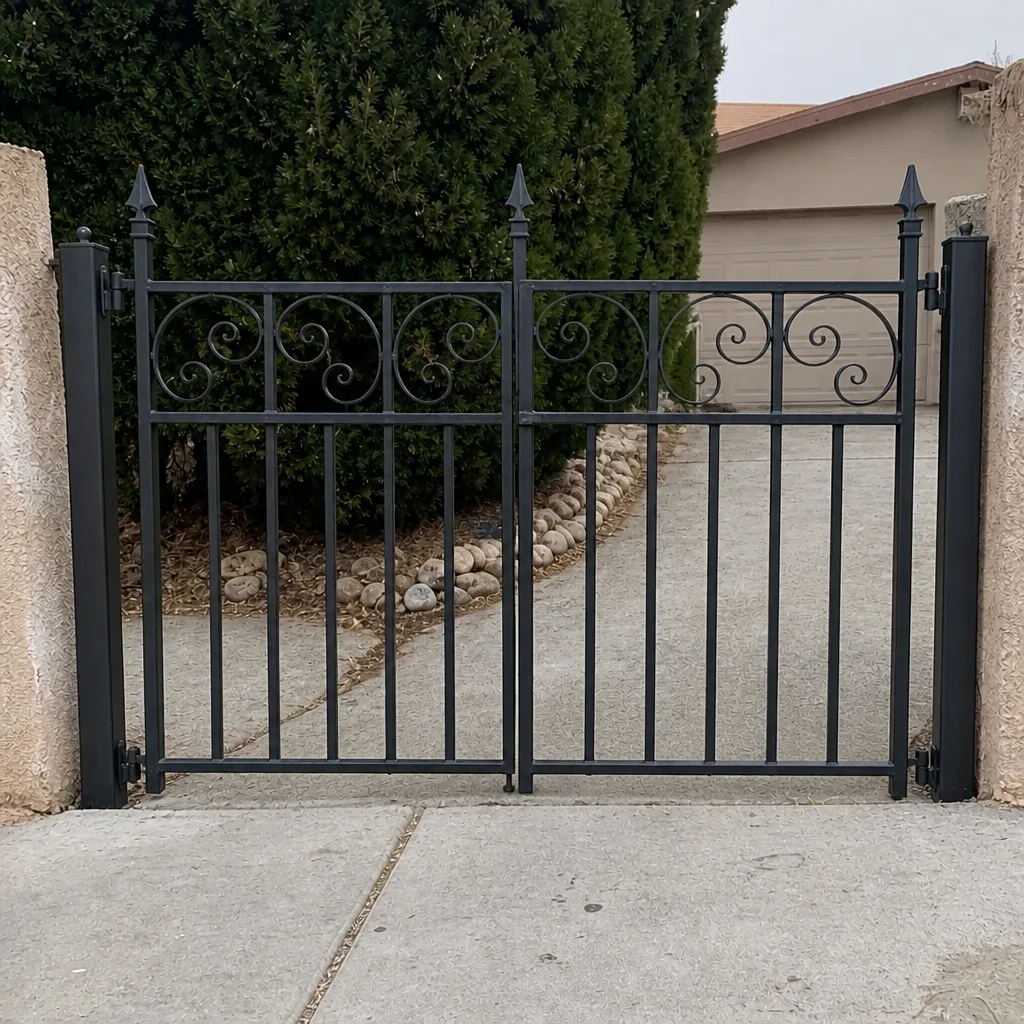 After
The 48-Hour Commissioning Checklist
Commissioning is not the moment the installer flips the breaker and watches the gate cycle twice. It’s the first 48 hours of operation under real conditions, and the tests below are the ones that surface a problem before the contractor leaves the property. In our experience working gate installation in Boulder City, a gate can pass a five-minute bench test and still fail the afternoon sun test the same day. Run these tests in order.
- Cycle the gate at least 10 times in each direction with the obstruction sensors covered and uncovered. Count the cycles it takes for any hesitation to appear. A gate that reverses on cycle 3 has a photo-eye or loop problem, not a mechanical one.
- Test every safety edge and photo-eye at multiple times of day. Morning sun, afternoon sun, and dusk are three different lighting conditions. Note the exact time of any false trip.
- Measure limit-switch travel and record the numbers. Not “the gate opens about 90 degrees” but the actual switch position. You’ll need those numbers if the gate drifts within 30 days.
- Test manual release under load. The gate should unlock smoothly with the motor disengaged. If it fights you, the arm bracket is misaligned or the hinge is binding.
- Verify ground-loop detection with three vehicles of different heights – a sedan, an SUV, and a motorcycle if you have one. False triggers from a motorcycle are one of the most common ground-loop calibration problems and rarely surface on a sedan-only test.
- Confirm the operator’s soft-start and soft-stop timing by watching the gate’s last 6 inches of travel. Any slam or lurch is a setting the installer missed.
If a system passes all six, you’re likely clear. If it fails any one, document the time and conditions before calling the installer back. That timestamp is the difference between a warranty claim and a contested diagnosis.
Sun-Angle Obstruction Sensor Alignment
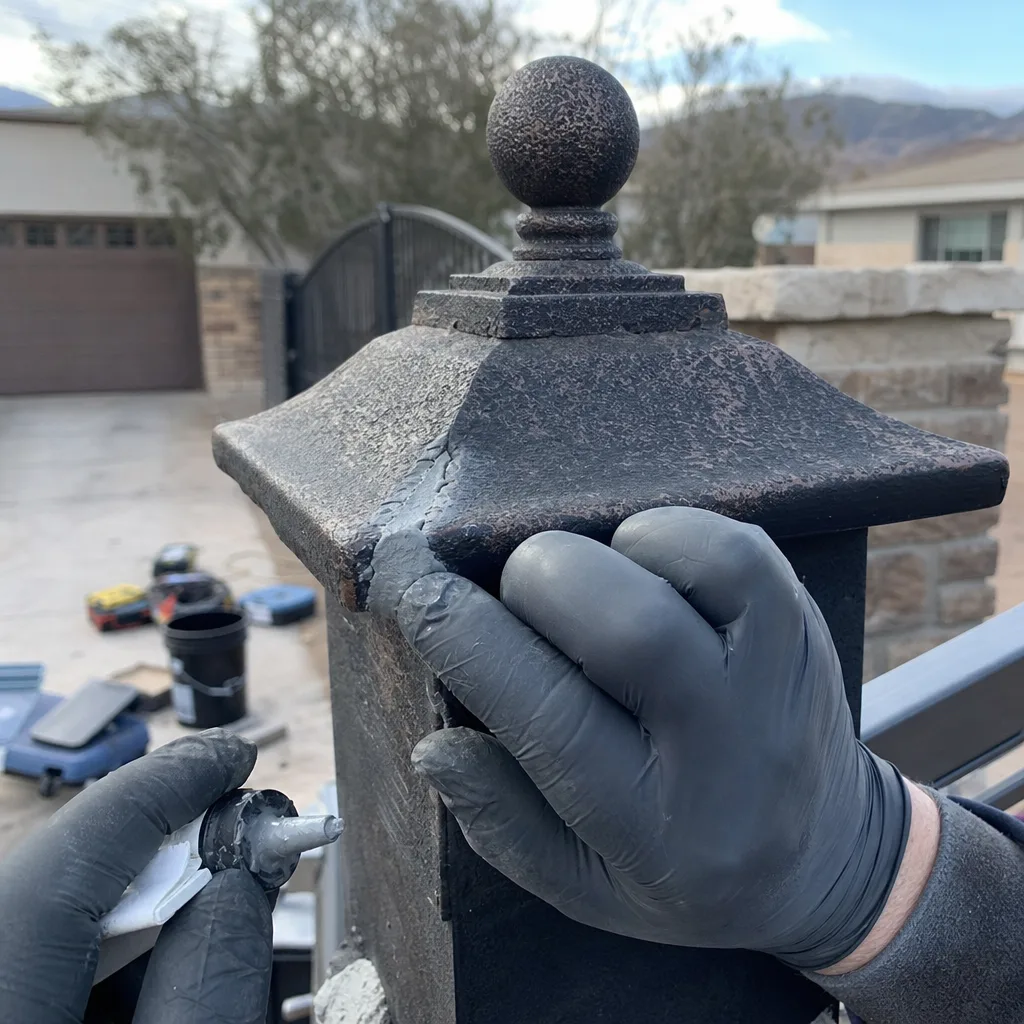
The photo-eye is the infrared beam that stops the gate if something crosses the path. It’s also the single most common source of “the gate worked this morning and won’t close this afternoon” calls. A photo-eye aimed at a receiver across the driveway during a 9 a.m. commissioning test will read correctly. The same sensor aimed at that receiver at 3 p.m., when the sun has moved behind the receiver housing, will read as obstructed – or will pick up reflected glare off a chrome bumper, a white wall, or a gravel driveway.
Sensor alignment has to be tested twice per day, minimum, at the installation address. Not at the shop, not at a neighbor’s gate. The compass orientation of the install matters. A west-facing receiver in Boulder City gets afternoon sun straight into the lens; a north-facing receiver never does. We test both morning and afternoon positions before signing off on any install, and we photograph both aims so the homeowner has a reference.
How to test sensor aim for both sun positions
- Run a full cycle at roughly 9 a.m. and again at roughly 3 p.m. Note any reversal or fault indicator.
- Cover each photo-eye lens with your hand while the other is uncovered, one at a time, to confirm each sensor reports correctly on its own.
- If the afternoon test fails, shade the receiver lens with a small hood or adjust the mounting brackets inside 10 degrees toward the transmitter. A 5-degree realignment often solves what looks like a wiring fault.
- Re-test the next afternoon. One afternoon pass is not proof; the sun angle shifts weekly for most of the year.
If the receiver is a Linear or DoorKing photo-eye, the fault LED on the receiver will usually flash a specific pattern. That pattern tells you whether it’s a sun-glare false obstruction or a genuine beam break. If you don’t have the manual, take a photo of the flash pattern and hand it to the technician – it saves a return visit.
The Post-Cure Waiting Period for Concrete
Here’s a mistake we see on new installs more often than you’d expect: the installer sets limit switches and final gate travel before the concrete has reached full cure. Concrete for a gate post or footing typically needs 28 days to reach its design strength, though it’s walkable and drive-up-ready within 24 to 48 hours. The problem is that the post continues to shift fractionally as it cures. A limit switch set at day 2 can drift 4 to 6 degrees by day 30, which is enough to make the gate pause off-position or trigger the operator’s travel-learn fault.
Under-cured concrete in Boulder City has another wrinkle: desert temperature swings. A pour in July can hit 110°F during the day and drop 40 degrees overnight. That thermal cycling accelerates the early cure and guarantees more post-shift than the same pour in a milder climate. We’ve seen gates in this area where the limit-switch setting that worked on day 1 was 7 degrees off by day 30.
What to do about it
Adjustment of gate travel should wait until the concrete has cured for at least 14 days, and the operator’s learn cycle should be re-run at the 30-day mark. If the installer has to set up the gate on day 1 to check mechanical travel, that’s fine – just re-check the limits and re-run the learn cycle after the cure window. Document both readings. If your installer won’t schedule a 30-day return, ask for the limits to be re-set on your own call after 30 days and note the original and new values in the file.
If you’re troubleshooting drift weeks after install, don’t assume the operator is bad. Re-check the limit switch reading against the original commissioning numbers. If it has moved, suspect post-cure shift before suspecting the motor.
Ground Loop Vehicle Detector False Triggers
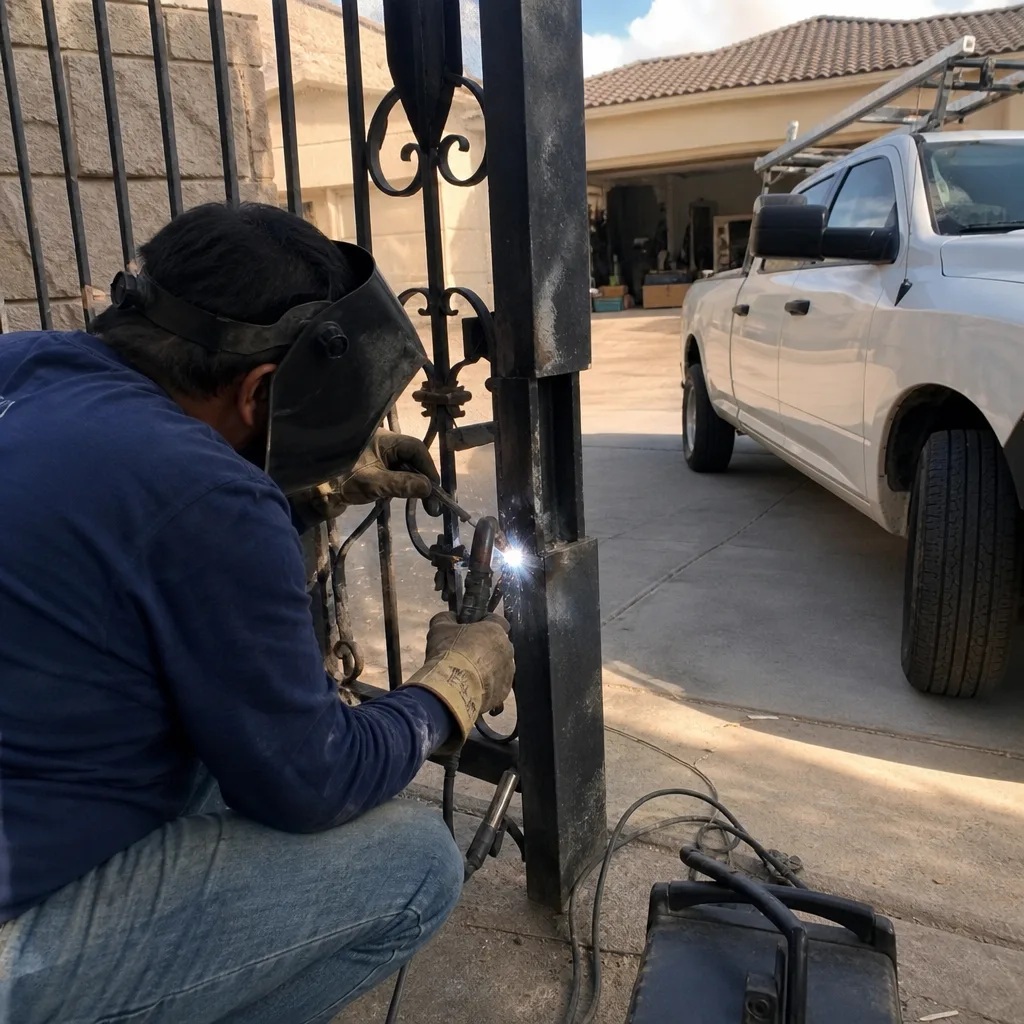
A ground loop (the wire coil buried in the driveway, usually in a saw-cut rectangle) tells the operator to hold the gate open while a vehicle is present. False triggers – the gate opening on its own, or refusing to close with no car in sight – are one of the harder installation problems to diagnose because the symptom is identical whether the problem is loop sensitivity or interference.
Distinguishing the two
- Check loop sensitivity first. Most detectors (Linear, DoorKing, and similar) ship at a default sensitivity that isn’t calibrated to your specific loop size. A small loop set too sensitive picks up nearby metal: a mailbox, a trash can, a piece of rebar in the concrete.
- Watch for repeat triggers at consistent times or after specific events. If the gate opens precisely when the neighbor’s furnace kicks on, you have an interference problem, not a sensitivity problem.
- Test with the detector disconnected from anything else on the circuit. If a false trigger disappears with the garage door opener unplugged, the source is electrical noise on a shared circuit, not the loop itself.
- Drive a motorcycle across the loop if you own one. Motorcycles and bicycles often fail to trigger a properly calibrated loop because the metal mass over the wire is too small – and that’s a calibration problem, not a loop failure.
Commercial-grade documentation matters here. When we diagnose a ground-loop issue, we photograph the detector’s sensitivity reading, note the loop size, and record the trigger times. Without those, every future technician starts from scratch. A Viking or Ghost Controls operator with a well-documented loop calibration rarely develops a false-trigger mystery.
Limit Switch Drift and Travel Learn Problems
The limit switch tells the operator where the gate should stop. On most residential arm and slide operators, it’s a mechanical or magnetic switch set during commissioning. When the gate starts pausing off-position, refusing to complete a cycle, or slamming into the end of travel, limit-switch drift is the first thing to check.
Limit drift comes from three sources: post-cure concrete shift (covered above), temperature changes (a swing gate arm can expand or contract enough over a 60-degree daily range to throw off travel), and mechanical wear in the arm bracket or hinge. On a Boulder City install, the temperature driver is real. A gate that travels correctly at 70°F on a commissioning afternoon can short-stop by 3 inches at 105°F in July. That’s the thermal baseline, not a fault.
How to check it: re-run the operator’s learn cycle only after the limits are confirmed. Re-setting limits without re-learning is a common mistake that leaves the operator confused about its own travel. If the gate is a Linear or Elite, the manual will specify the sequence. If the documentation is missing, order a copy from the manufacturer before touching the limits – doing it from memory is how a 20-minute fix becomes a four-hour repair.
What Documentation to Request at Job Completion
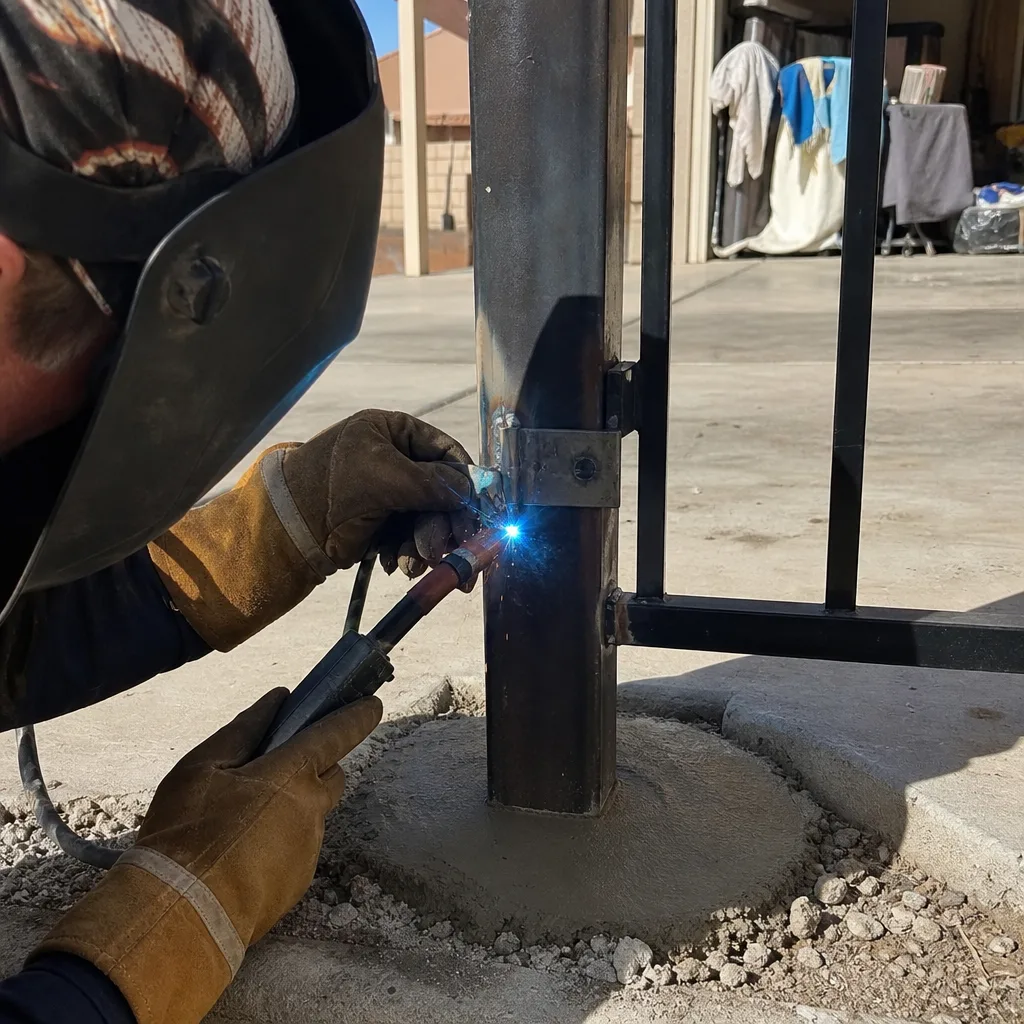
Most gate problems become expensive not when they happen but when nobody knows what happened the first time. Here is the documentation you should ask for at the end of any installation, in writing, before you sign off.
- A written scope of work describing every component installed, with model numbers. Not just “swing gate operator” but the brand and model. This is also what makes it possible to get a gate motor and opener in Boulder City serviced correctly later.
- Limit-switch positions recorded numerically at commissioning and again at the 30-day re-check.
- A photo log of sensor aim (morning and afternoon), wiring terminals, loop detector settings, and any part replaced. Under the Haven Standard, every Vance visit leaves this record with the homeowner at no additional charge.
- The operator’s learn-cycle readings in whatever format the manufacturer specifies (often a diagnostic code plus a display value).
- The ground-loop detector’s sensitivity setting as calibrated, not as defaulted.
- A date and time stamped on every test cycle. This is what makes a warranty or service claim traceable rather than a he-said-she-said.
If you’ve received none of this, you’re not being difficult by asking for it; you’re setting up the next technician to succeed. When that future problem is a gate repair in Boulder City, the documentation is what separates a fast diagnosis from hours of exploratory work.
Why Installation Troubleshooting Differs From Repair
Installation problems are mostly decisions, not failures. A repair problem is usually a worn part or a broken wire – you find it, you replace it, you test. An installation problem is usually something that was set at the wrong moment or placed in the wrong spot. That’s why the troubleshooting sequence differs: instead of looking for what broke, you’re looking for what was decided too early.
This is also why our technicians, with up to 12 years of experience across nine major gate-automation brands, treat commissioning as the critical phase. Installation is not done when the gate opens and closes once. It’s done when the gate has passed a full commissioning checklist, the concrete has cured enough that the limits can be trusted, and the documentation is on file. In Boulder City, where summer heat and winter wind both stress a gate in ways a mild-climate install never sees, that discipline is what keeps a gate on the property working for the long run. If you’re starting from the Vance Gate Repair Boulder City home page, the same documentation habit applies to every service we dispatch.
Common Mistakes to Avoid
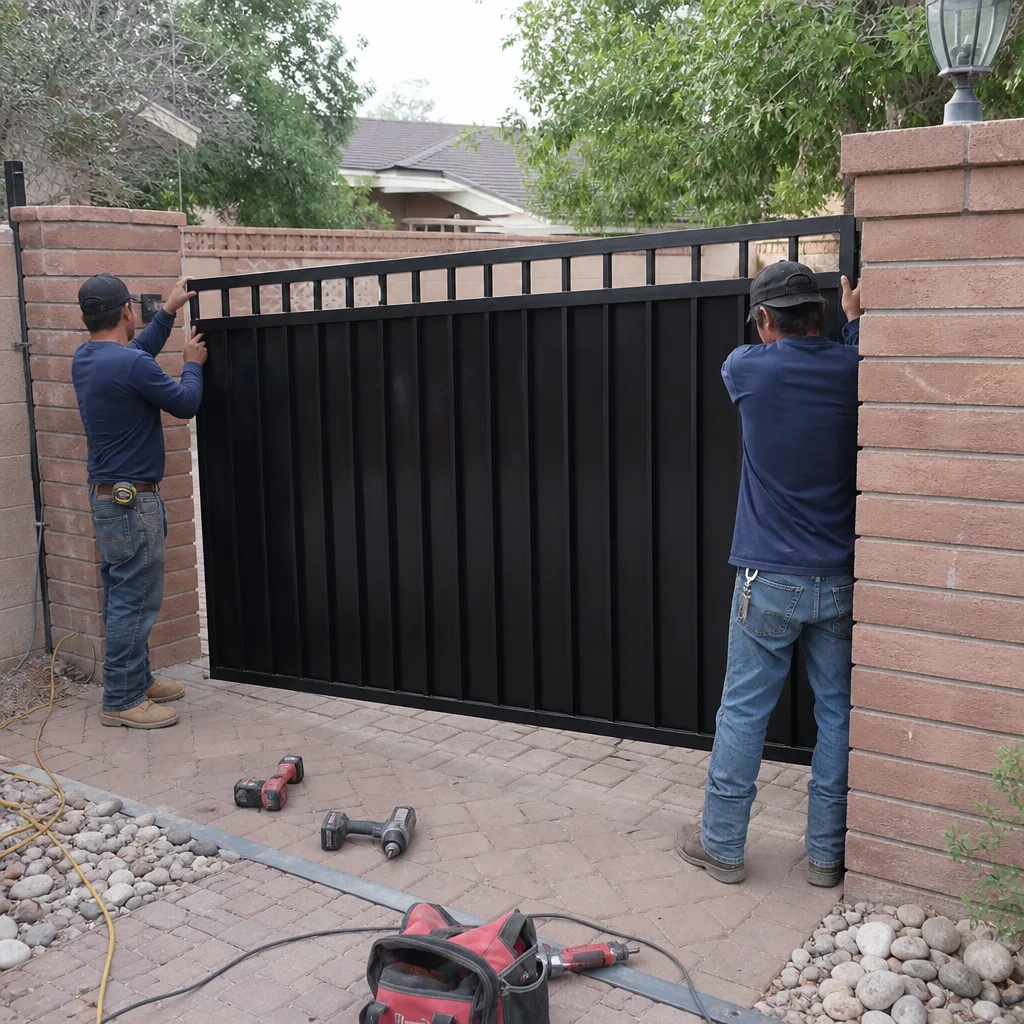
- Testing sensors only once, at one time of day. The morning test at a west-facing Boulder City install proves nothing about afternoon behavior. Test twice, minimum.
- Setting limit switches before the concrete is cured. The reading you take on day 1 is not the reading the gate will have on day 30, and the drift is what produces travel faults.
- Accepting a default ground-loop sensitivity. Default is not calibrated. A loop sized for your specific driveway should be set to a sensitivity that triggers on a motorcycle and not on the neighbor’s trash can.
- Skipping the motorcycle test. If your household has one, a loop that passes only on a sedan or SUV will fail reliably when you ride home.
- Not asking for documentation at job completion. A verbal “it’s all set” is not a specification. The next technician starts from zero without the record.
- Assuming limit drift means the operator is failing. On a new install, drift is more often post-cure concrete shift or thermal expansion than a bad motor.
- Deleting the installer’s phone number after the job. The 30-day re-check is a real step; keep the contact until after it’s done.
See the difference
BeforeAfter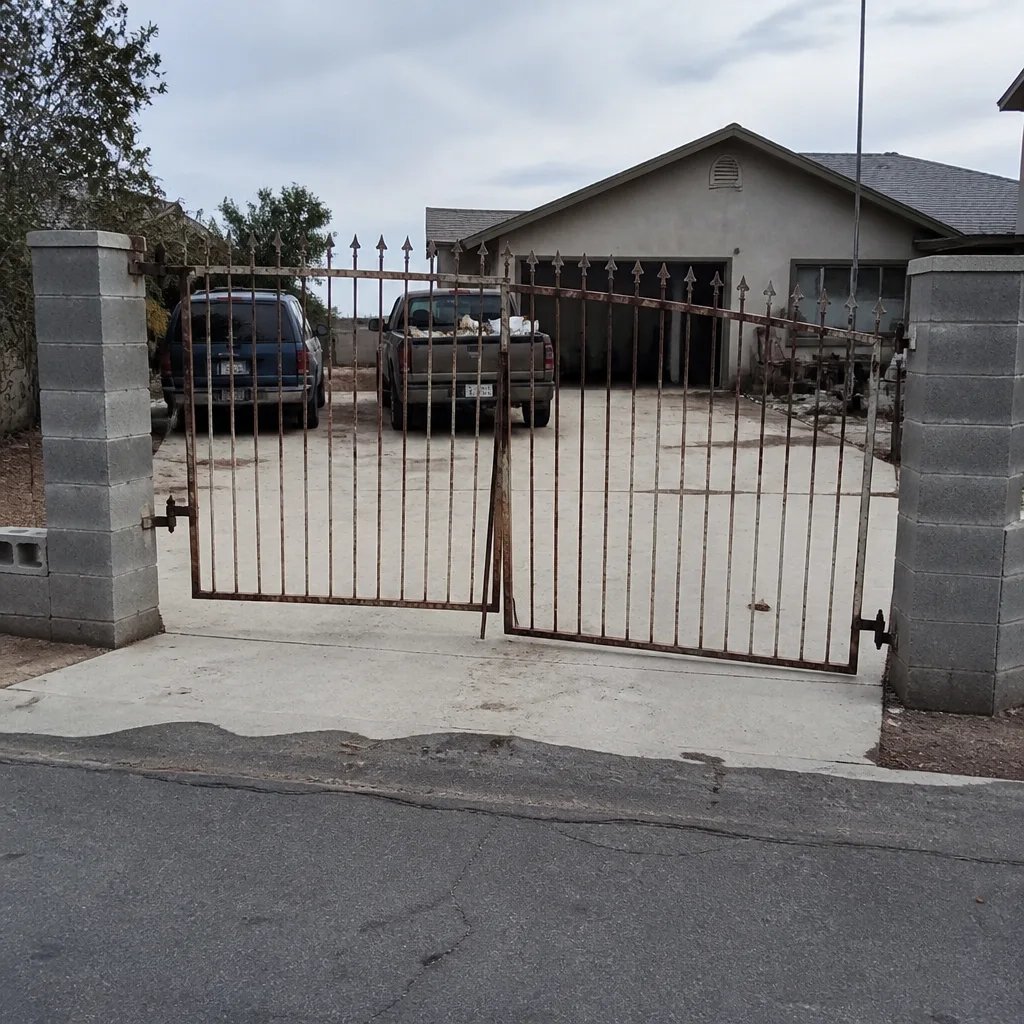 Before
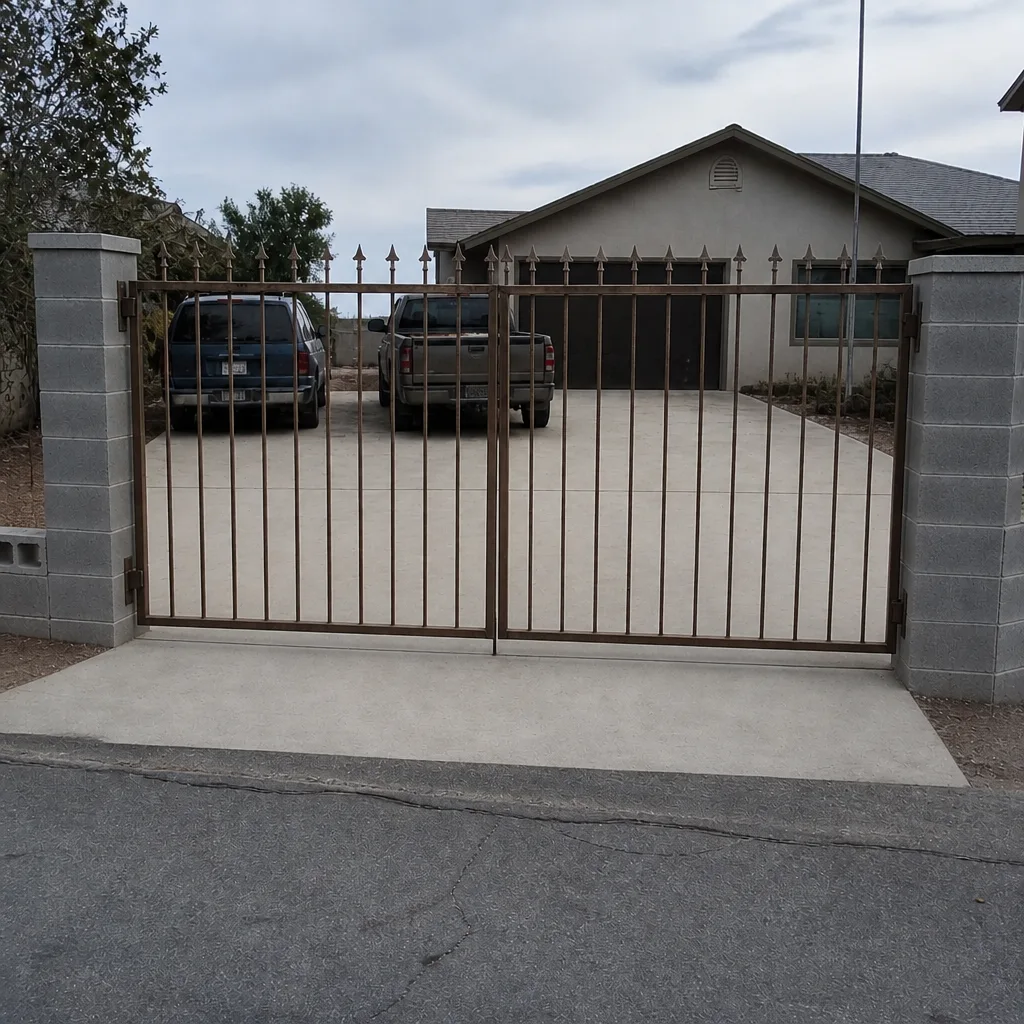 After
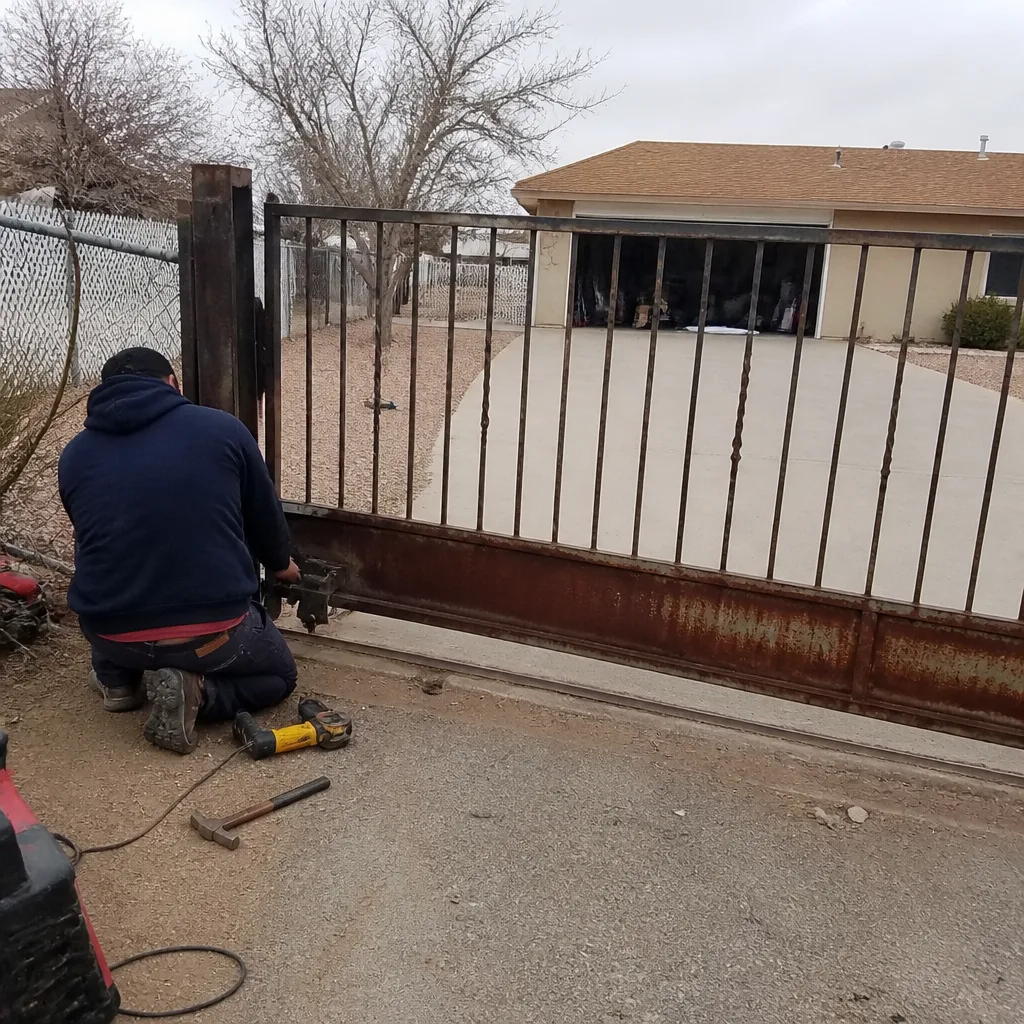 Before
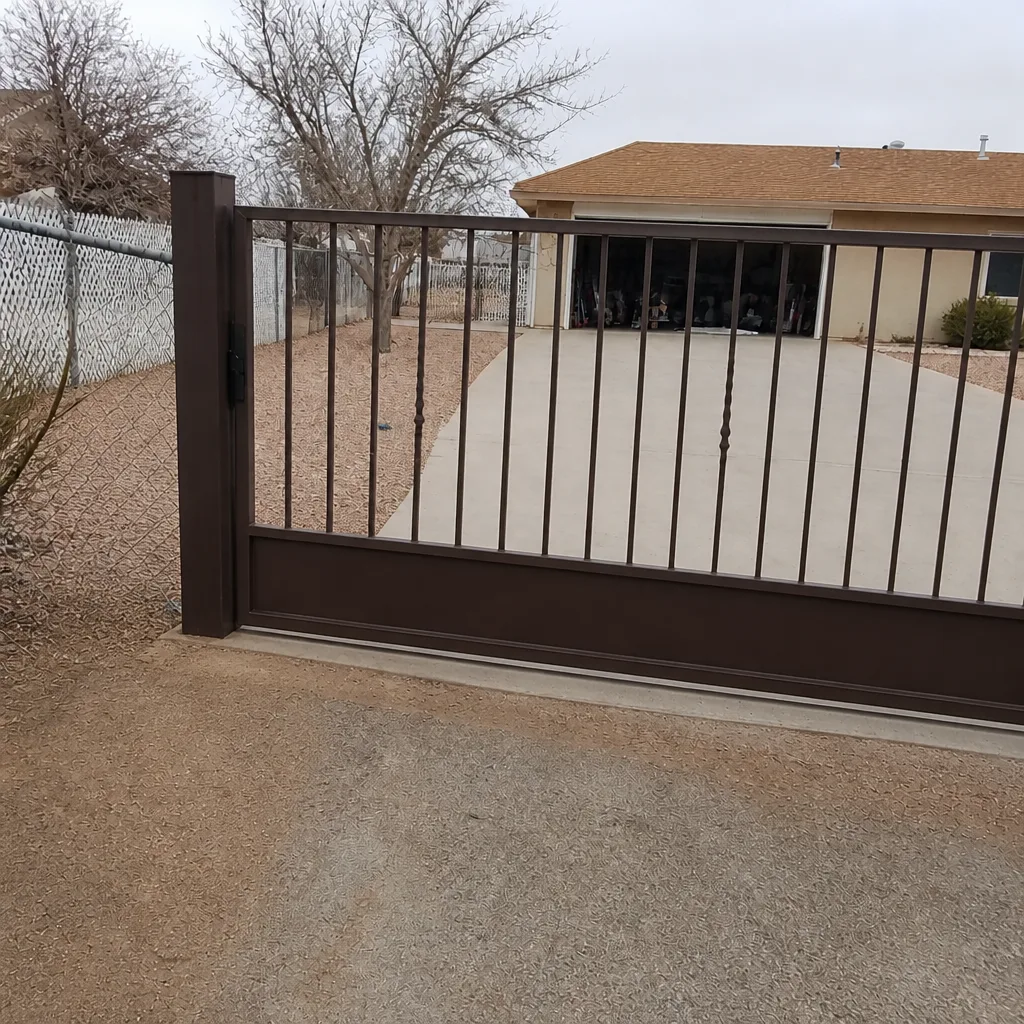 After
When to Call a Professional
Some installation problems are simple to re-check yourself: a sensor that was bumped, a limit switch that has visibly shifted, a ground loop that trips only when a specific appliance runs. Others genuinely require a trained technician: a gate that reverse-trips intermittently under load, a limit switch that won’t re-learn, a ground-loop detector that fails to respond to any calibration, or high-tension spring and cable work on the gate frame. Those are the scenarios where a wrong adjustment is worse than no adjustment. Bracket and arm misalignment on a swing gate also belongs in the professional category, especially on any gate over 200 pounds.
Vance Gate Repair Boulder City offers free estimates in Boulder City – call (844) 320-7587 and a live person will answer, day or night. Every visit includes a written price before any work starts, a documented photo record of what we found and adjusted, and the 365-Day Done Right Promise on completed work.
Frequently Asked Questions
A full commissioning pass takes roughly 2 to 4 hours spread across two separate visits, one on installation day and one at the 30-day post-cure mark. The most expensive installation problems – the ones that surface weeks later – usually trace back to a decision made on day 1, so the 30-day re-check is where drift is caught before it becomes a warranty call. A same-day diagnostic visit for an installation problem usually runs 45 to 90 minutes.
Sun-angle obstruction is the most likely cause. The photo-eye receiver at that install is picking up afternoon glare or a reflection it doesn’t see in the morning. Check the receiver’s fault LED at both times of day; if it flashes only in the afternoon, the sensor aim needs adjusting. Call (844) 320-7587 for an exact quote on a diagnostic visit – estimates are free.
Wait at least 14 days, and re-run the operator’s learn cycle at 30 days. Concrete for gate posts and footings needs around 28 days to reach design strength, and limit switches set before the cure window are the single most common cause of travel drift within the first month. If your installer set limits on day 1, ask for the numbers and have them re-checked at day 30.
Not usually. A false-triggering loop is more often a sensitivity calibration issue or an interference source (a nearby appliance, a shared circuit, a piece of metal close to the wire) than a failed loop. Have a technician check the detector’s sensitivity reading against the loop size and test with a motorcycle if you own one. Call (844) 320-7587 to schedule a diagnostic – the written price comes before any work.
Ask for the written scope of work with model numbers, limit-switch positions recorded numerically at commissioning and again at 30 days, a photo log of sensor aim and wiring, the ground-loop detector’s calibrated sensitivity setting, and the operator’s learn-cycle readings. If your installer won’t provide those, get them from the next technician you hire, and keep both files together.
Yes. Vance Gate Repair services nine major gate-automation brands, including Linear, Viking, Ghost Controls, and DoorKing, so we work on whatever operator is already on the property rather than steering toward replacement. If your installation documentation is missing, we’ll photograph what we find on the first visit so the next problem starts with facts.
The Bottom Line
Installation problems are cheaper when they’re caught during commissioning than when they surface at day 30. Test sensors at two times of day. Wait out the concrete cure before setting limits. Calibrate the ground loop instead of accepting the default. Ask for the documentation at job completion, in writing. Those four steps cover most of what goes wrong on a new gate install, and they’re also what makes a future repair fast instead of exploratory. In Boulder City, where desert heat and sun angle work against a gate from day one, the discipline pays for itself.
If your gate is failing a commissioning test, drifting on its limits, or triggering a false obstruction, a technician can diagnose it in a single visit. Call Vance Gate Repair Boulder City at (844) 320-7587 for a free estimate – the price is quoted and agreed in writing before any work starts.
Written by the team at Vance Gate Repair Boulder City.