
Last updated November 18, 2026
 Wrought iron
 Wood & steel frame
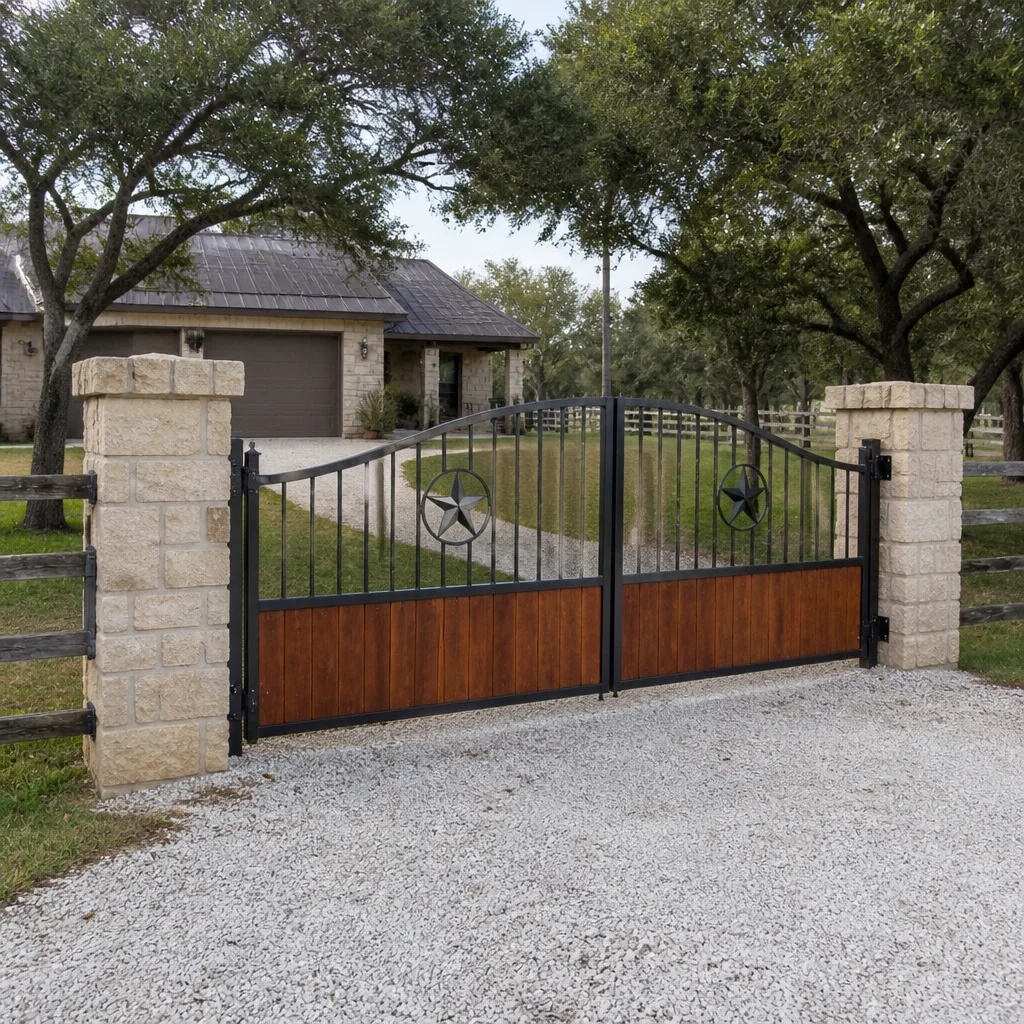 Farm & ranch
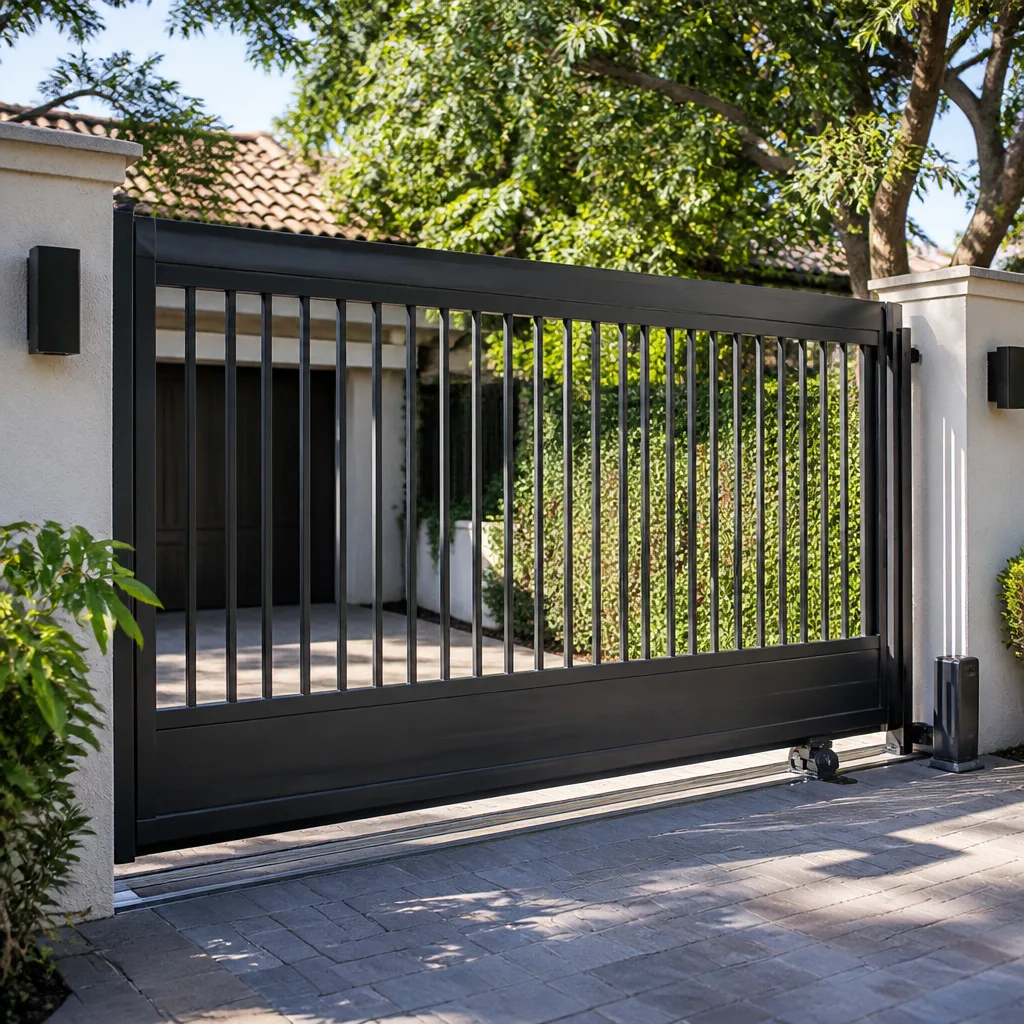 Sliding driveway gates
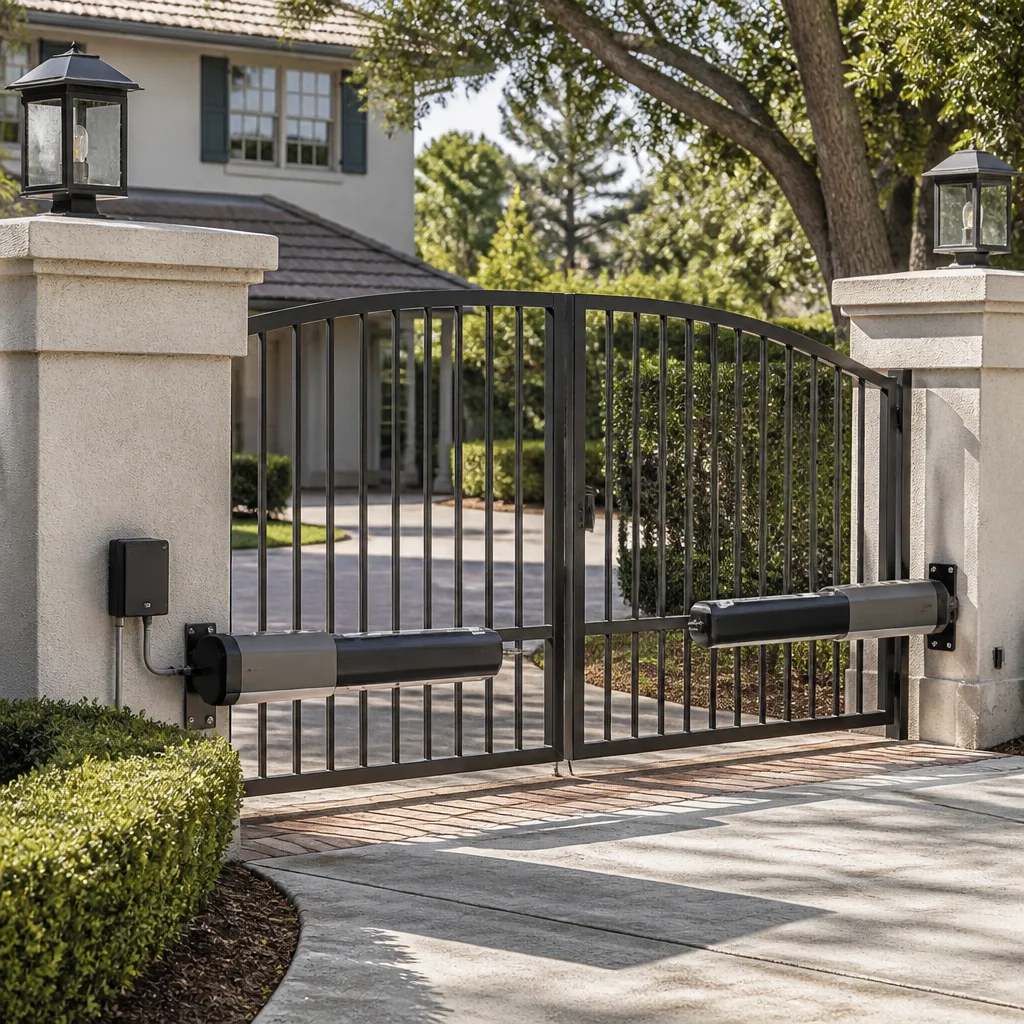 LiftMaster operators
Free on-site gate assessment - hinges, posts, and your LiftMaster or Nice gate operator checked before anything is quoted
The assessment is free and the quote is the invoice.
Get your free estimateGate Motor & Opener Troubleshooting: Common Problems and How to Fix Them
Replacing an operator board costs $180. Replacing an operator board that failed because a corroded wire connection was delivering 10.8 volts instead of 12, and then finding that same corroded connection a week later, costs $360. The difference between those two invoices is a diagnostic sequence: eliminate mechanical load, then electrical supply, then logic and programming, in that order. Three possible sources, tested one at a time, documented as you go. Most gate failures in Boulder City come down to heat, dust, and desert UV working on a handful of components you can name. This guide walks the sequence we use on every call.
Quick Answer
Gate motor troubleshooting means eliminating three possible sources of failure in order: mechanical drag (test with the operator disengaged and the gate moved by hand), electrical supply (measure voltage at the control board terminals, not at the outlet), and logic or programming (limit switches, remote pairing, safety edges). The source is identified by measurement, not by swapping parts until the gate moves again.
Styles & brands we work with
- Wrought iron
- Wood & steel frame
- Farm & ranch
- Sliding driveway gates
- LiftMaster operators
Table of Contents
- The Three-Source Elimination Framework
- Step 1: Mechanical Drag and the Manual Disengage Test
- Step 2: Supply Voltage at the Board
- Step 3: Logic, Limits, and the $12 Adjustment
- Heat and Capacitor Degradation in Boulder City
- What a Proper Troubleshooting Record Contains
- Three Failures You Should Not Diagnose Yourself
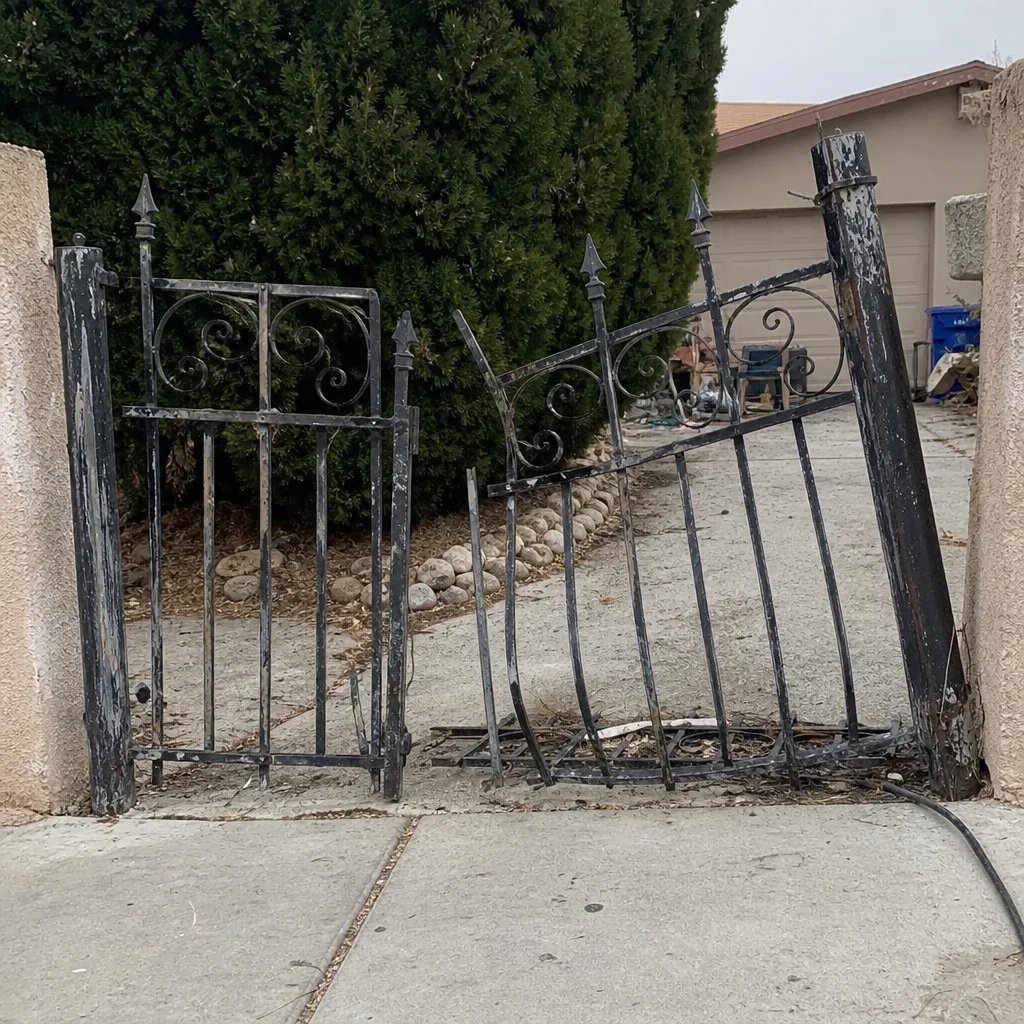 Before
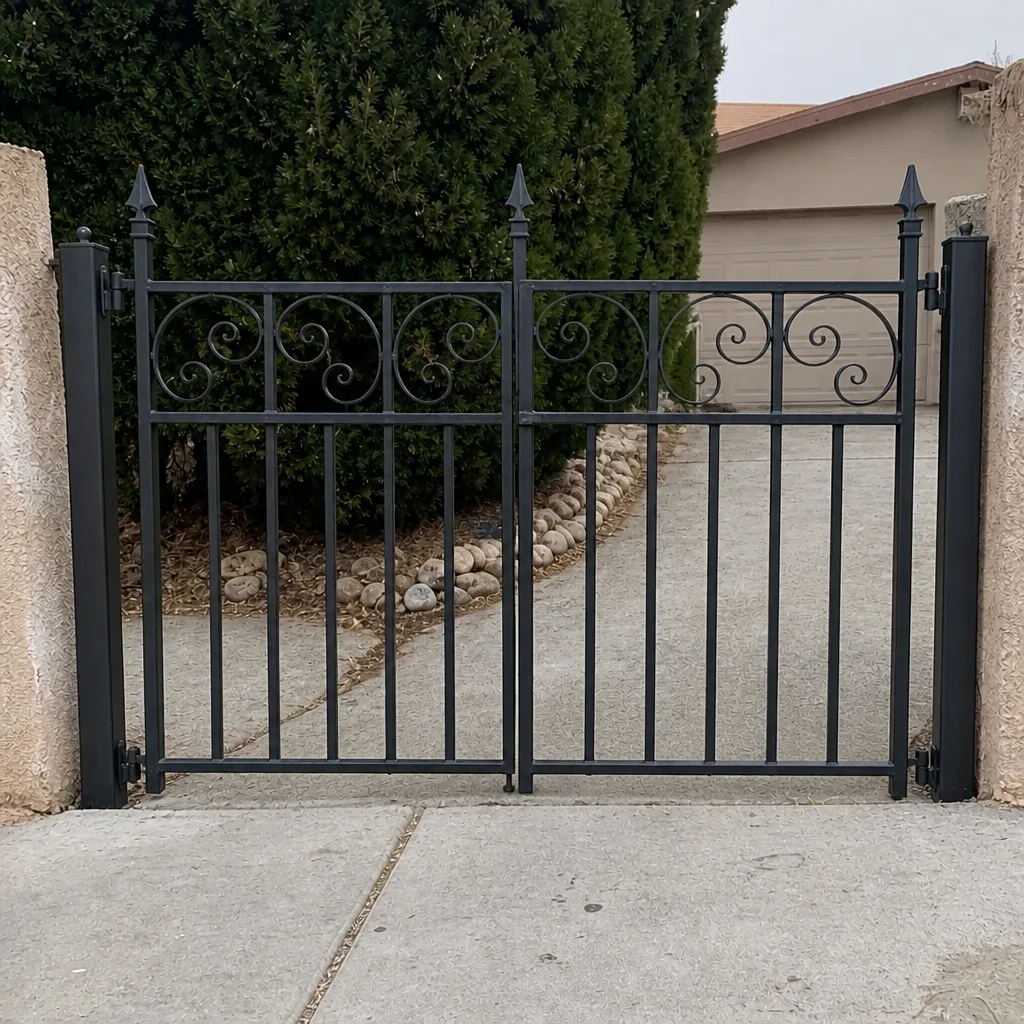 After
The Three-Source Elimination Framework
Every gate operator is a motor driving a load, fed by a power supply, controlled by logic. When a gate stops, stalls, reverses, or opens halfway, one of those three has failed. Sometimes two have failed at once, which is why the sequence matters: a weak supply will mask a logic fault, and mechanical drag will make a healthy motor look like a dying one.
The elimination order is deliberate:
- Mechanical load first. It costs nothing to test, requires no meter, and a binding gate will produce false readings on every electrical test that follows.
- Supply voltage second. Measure at the control board terminals under load. A healthy 12-volt system reads 12.0 to 13.5 volts at rest and should not sag below roughly 11.5 volts while the motor runs.
- Logic and programming last. Limit positions, remote pairing, safety-edge alignment, and timer settings. These are checked only after load and supply are confirmed good.
We see this play out constantly with gate repair in Boulder City calls: a homeowner has already replaced a battery or a remote, the gate still stalls, and the actual fault was a hinge bound up with desert grit. The gate was fine. The power was fine. The schedule was the problem.
Step 1: Mechanical Drag and the Manual Disengage Test
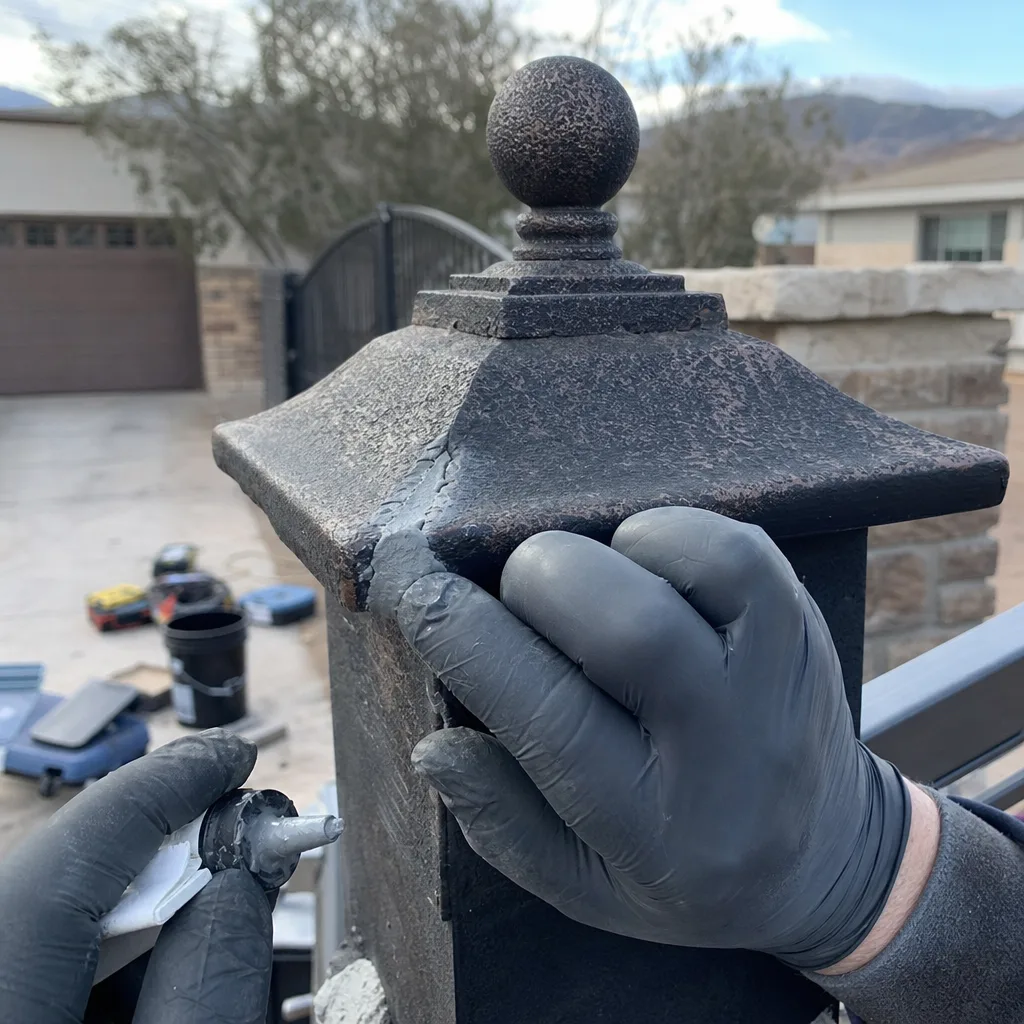
Before any meter comes out, the gate has to be decoupled from the motor. Every operator has a manual release, usually a keyed lever, a pull cord, or a hex-key bypass, depending on the brand. Linear and DoorKing slide operators typically use a keyed release; Viking swing arms often use a manual release lever under the housing. Once disengaged, the gate should move by hand with steady, light pressure.
What the test tells you
- Moves freely with one hand: mechanical load is not the source. Move to Step 2.
- Binds at a specific point in travel: a hinge, roller, track, or post has shifted. On swing gates, this is often a sagging hinge or a post that has settled. On slide gates, look at the track for grit, a bent section, or worn guide rollers.
- Heavy throughout: worn hinges, a bent track, or a gate that has been modified (added panels, new cladding) beyond what the operator was sized to move.
- Won’t move at all: the operator did not fully disengage, or something is physically locked. Stop here and get professional eyes on it.
In our experience, roughly a third of “motor failure” calls end here. A slide gate track packed with windblown grit after a Boulder City dust event will stall an operator that is working exactly as designed. Clearing the track, adjusting a roller, and lubricating the hinges resolves it. No parts replaced.
Step 2: Supply Voltage at the Board
This is where the sequence saves money. The outlet on the wall can read 120 volts AC and the operator board can still be starving, because the failure lives between them: a corroded splice, a UV-cracked wire, a failing transformer, or a battery that will not hold charge under load.
Measure at the control board’s power input terminals with the gate in motion, not at rest. A 12-volt DC system should hold 11.5 volts or better while the motor runs. A 24-volt system should stay above 22 volts under load. A significant sag under load points to the supply, not the motor.
Where the voltage loss usually lives
- Splices and wire nuts: the classic. A wet or corroded splice can deliver 10.8 volts where 12 should arrive.
- Battery: on battery-backed DC operators, a battery that reads 12 volts at rest and collapses to 9 under load is finished, even if it looks fine on a bench test.
- Transformer: a transformer that has been running hot for years can drift below its rated output.
- Solar supply (Ghost Controls and similar): panel output drops in the weeks after a dusty stretch. A panel that has not been cleaned can lose enough output to stall the operator by mid-afternoon.
On a recent Boulder City call, the board was delivering 10.8 volts at the motor terminals. The splice above the control box had corroded through. That is the exact scenario in the opening: replace the board without finding the splice, and the new board fails the same way.
Step 3: Logic, Limits, and the $12 Adjustment
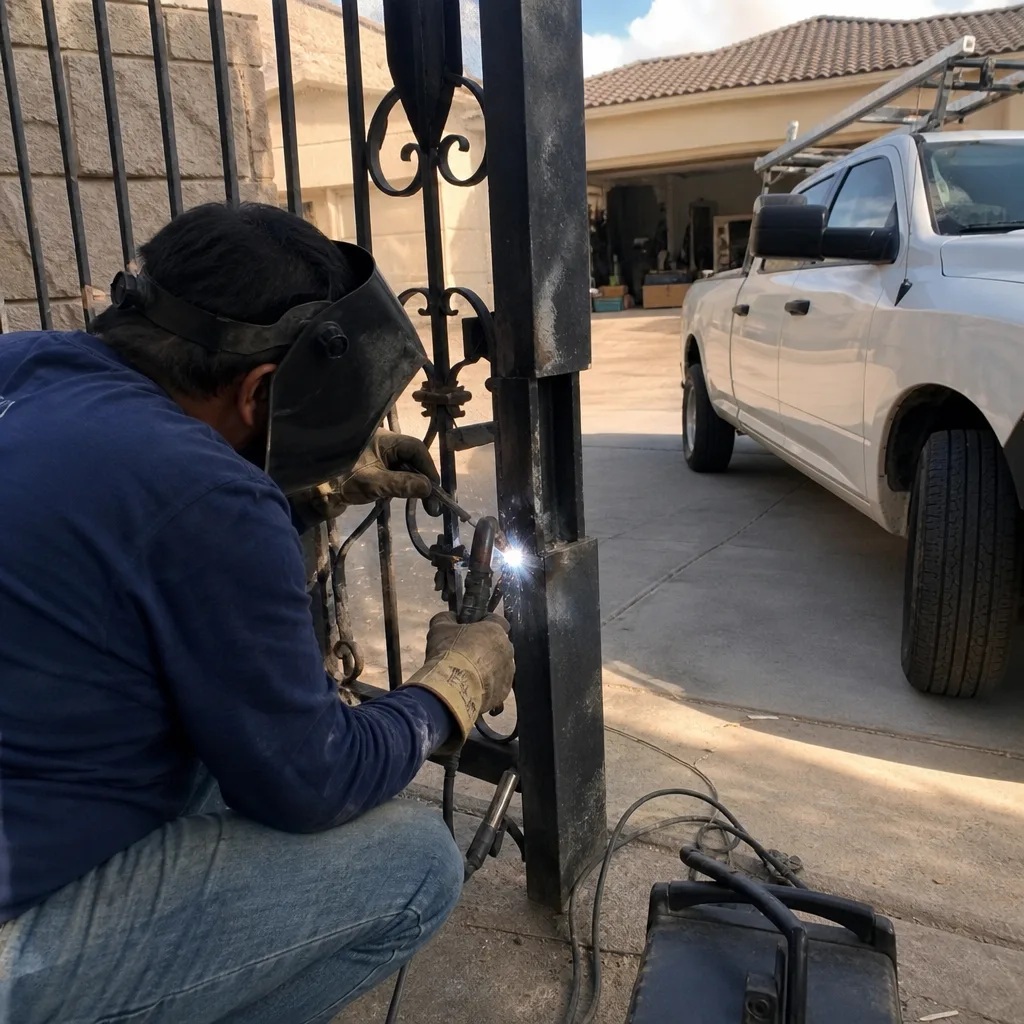
An out-of-adjustment limit switch produces symptoms most homeowners read as motor failure: the gate stops short, reverses at the midpoint, opens only partway, or slams into the end stop with a heavy clunk. A limit switch is a small mechanical actuator, usually a cam and a micro-switch, that tells the control board where the gate is in its travel. When it drifts, the board gets bad position information and shuts the motor down or reverses it.
What a limit fault looks like versus a motor fault
- Stops at the same exact point every time: limit or travel setting, not the motor.
- Reverses after contact with the end stop: limit set past travel.
- Slows or stalls only in one direction: limit or one-sided load, usually a hinge or track on that side.
- Fails randomly, at different points: more likely supply or a safety-edge fault than a limit.
- Hums and does not move: motor or capacitor, but confirm Steps 1 and 2 first.
Reset procedure varies by brand. LiftMaster and Linear slide operators typically have limit cams you advance with a screwdriver after loosening a retaining screw; FAAC and BFT swing operators often program limits electronically through the control board. In either case, the goal is the same: the limit should engage just before the gate reaches its physical stop, not after, and not a foot early.
We have reset limit switches on gates where the homeowner had already ordered a replacement motor. The limit was 12 degrees past travel. Resetting it took minutes. The invoice was a service call, not a motor replacement. This is why “diagnose, then replace” is the phrase to hold on to, and why our gate motor & opener in Boulder City service is written up by what was found, not by what was swapped.
Heat and Capacitor Degradation in Boulder City
AC swing and slide operators use a start capacitor to supply the initial torque kick that gets the motor turning. Capacitors are electrochemical components with a service life measured in years, and heat shortens that life. An operator in a sun-exposed housing in Boulder City runs hotter inside than an operator in a shaded installation, and that heat pushes the capacitor toward failure sooner.
Capacitor symptoms versus motor symptoms
A failing capacitor and a failing motor produce overlapping symptoms: humming without movement, stalling under load, harder starts in the heat of the afternoon than in the cool of the morning. The distinguishing detail is when the failure happens. A capacitor on its way out tends to fail after the operator has been running, then work again after a cool-down. A failing motor tends to get weaker across the board, and it may run hot or smell of burnt insulation.
Capacitors are inexpensive components, but they are stored energy devices. Discharge procedure varies by operator. This is a case where professional diagnosis is cheap and DIY diagnosis is not.
What a Proper Troubleshooting Record Contains
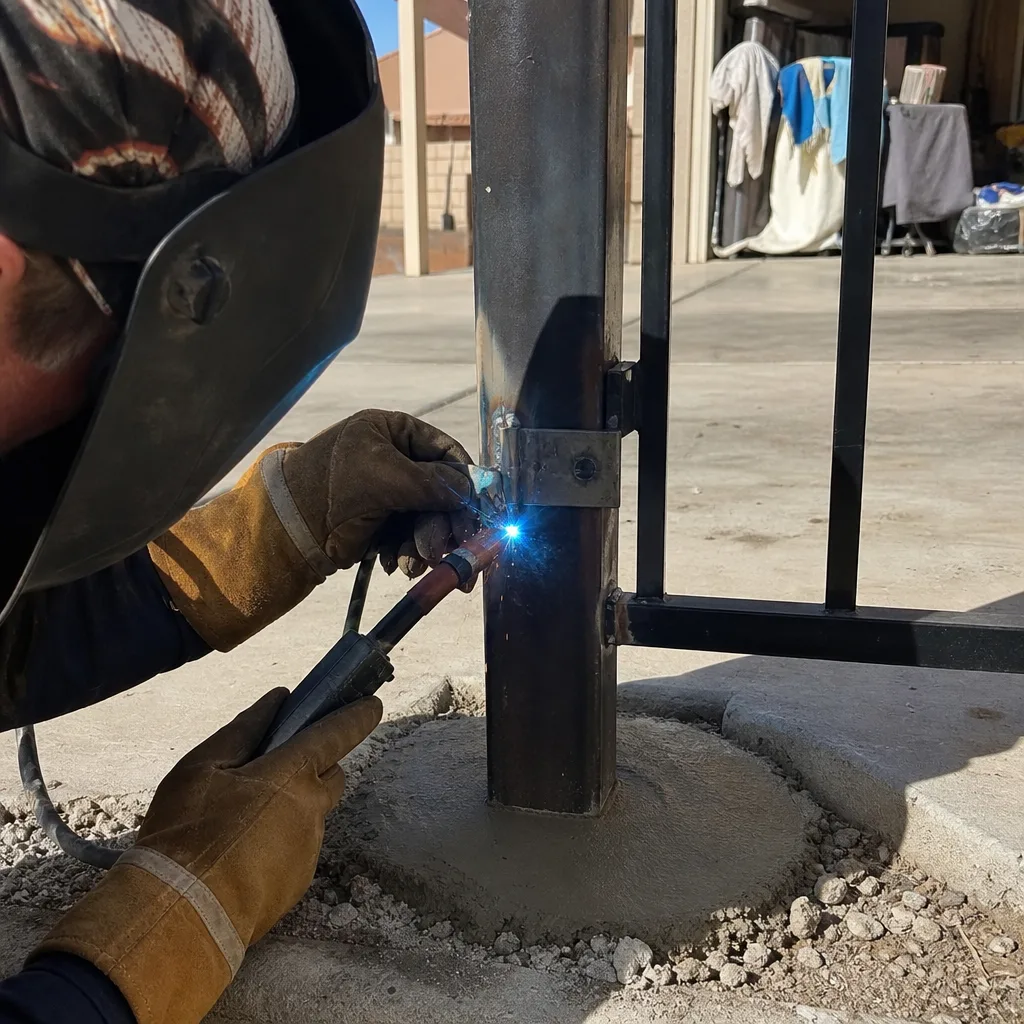
A documented record is what makes the next visit faster than the first. On every visit we file the readings and leave a copy with the homeowner: what was found, what was adjusted, what was replaced, and the part numbers. Here is what that record should include.
- Manual release test result – free movement, binding at a specific point, or heavy throughout.
- Supply voltage readings – at the source, at the board, and at the motor terminals, both at rest and under load.
- Battery condition (where applicable) – resting voltage and voltage under load.
- Limit-switch readings – where travel engaged and disengaged, before and after adjustment.
- Safety-edge function – photo-eye alignment and tested reversal behavior.
- Parts replaced – brand and part number, so a future technician does not guess what is already new.
- Before and after behavior – in plain language: “stalled six inches from open” becomes “full travel, no reversal, tested three cycles.”
Our Haven Standard Clause 4 requires documented photo evidence on every job, along with a written price before any work starts. Every visit leaves a photographed record: the wiring as found, the limit positions, the part install. That is a commercial access-control habit, applied to a residential gate. It is also why the next technician, whether it is us or somebody else, starts informed rather than starting over.
Three Failures You Should Not Diagnose Yourself
Most gate troubleshooting you can do safely. Some of it you should not touch.
- Live 120V wiring at the control box. The supply splice and transformer live inside a housing that is connected to household current. Measuring inside a live control box requires a meter rated for the voltage, correct probe placement, and knowledge of what the terminals are. Getting it wrong risks shock and destroys the board. This is a licensed electrician’s or a trained technician’s job.
- A gate that moves on its own, or reverses unpredictably. An operator that starts moving without a command, reverses mid-travel without an obstruction, or will not respond to the safety edge is a logic or safety-system failure. These failures are the ones that injure people. They require documented professional assessment, not a remote reset.
- Spring-loaded counterbalance hardware and any cable or spring under tension. Not every gate has these, but some swing gates use overhead or in-ground springs to counterbalance the gate leaf, and swing-arm operators apply torque across the arm assembly. Touching tensioned components without the right tools and procedure is how serious injuries happen. If you see a snapped spring or a cable under tension, stop and call a professional.
Keep the tools down for those three. Everything in Steps 1 and 3 you can test yourself.
Common Mistakes to Avoid
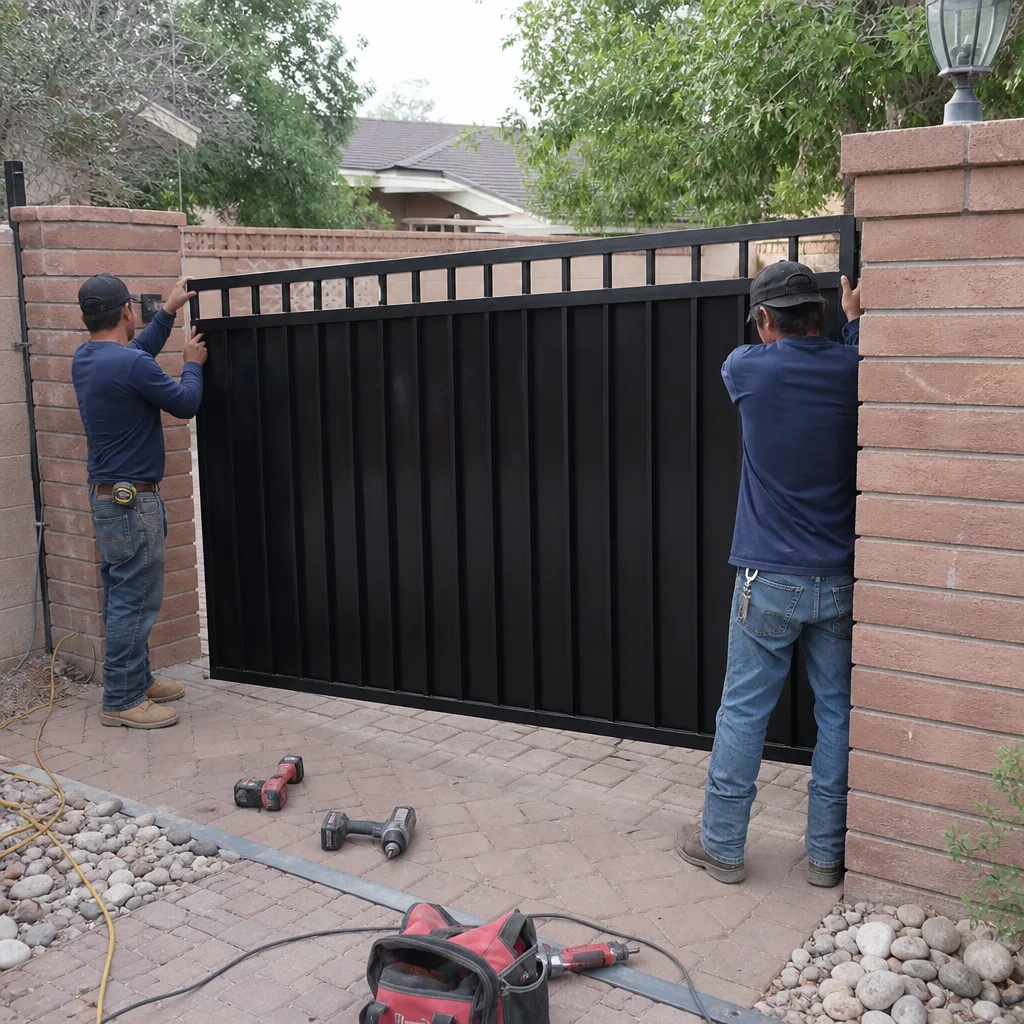
- Replacing the board before measuring voltage. The most expensive version of this mistake is the one in the opening. Measure first; replace second.
- Swapping the remote and the battery before testing travel. If the gate stops at the same point every time, it is a limit or load fault. A new remote will not change that.
- Forcing a binding gate by hand before disengaging the operator. You can strip the gearbox. Release the gate first.
- Ignoring the battery pack because the outlet reads 120 volts. On DC operators, the outlet is not the supply. The battery under load is the supply.
- Clearing the slide track only with a broom. In Boulder City, dust gets packed into the guide rollers along with grit. The track surface looks clean while the rollers are still binding.
- Resetting the control board as a first step. A reset erases the diagnostic evidence. Reset as a last step, after the readings are logged.
- Not writing anything down. If you get the gate working, write down what you did. A record of that adjustment will save the next visit more than any part you could have ordered.
See the difference
BeforeAfter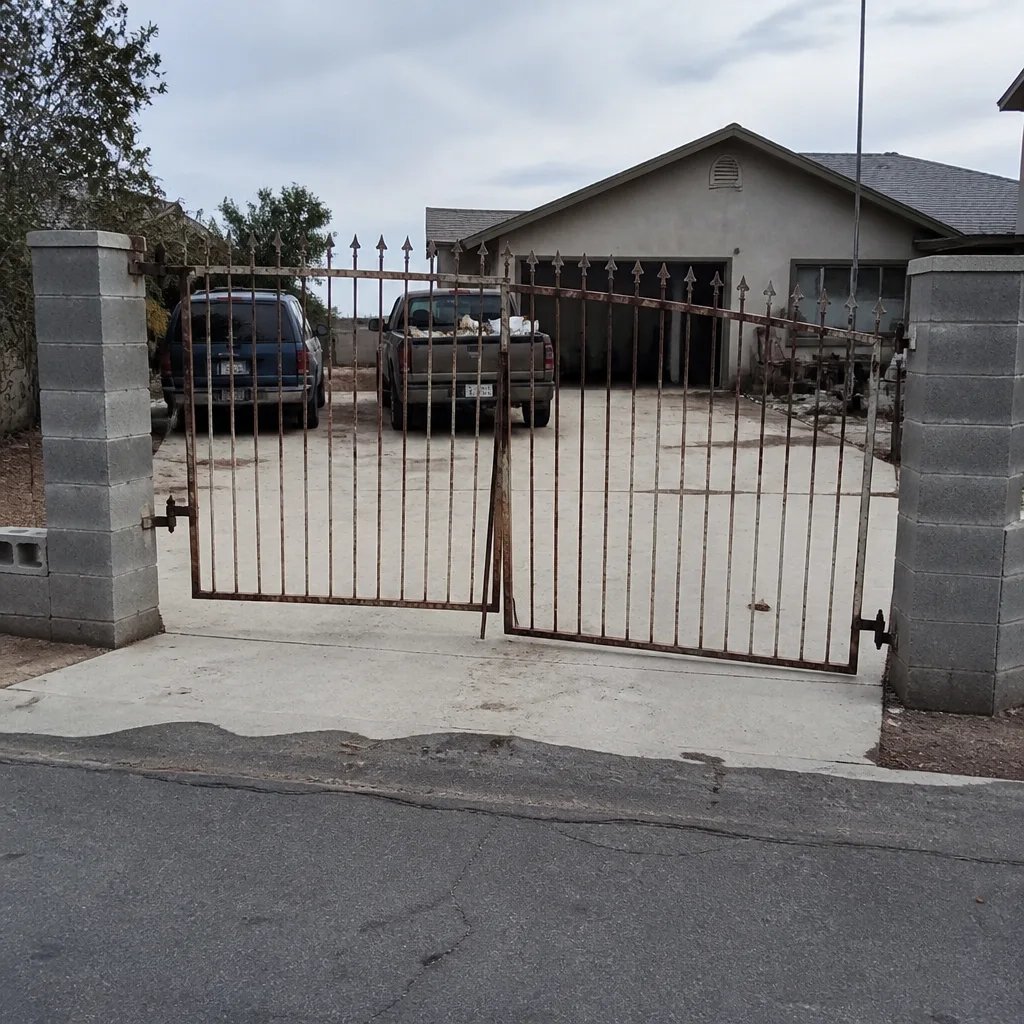 Before
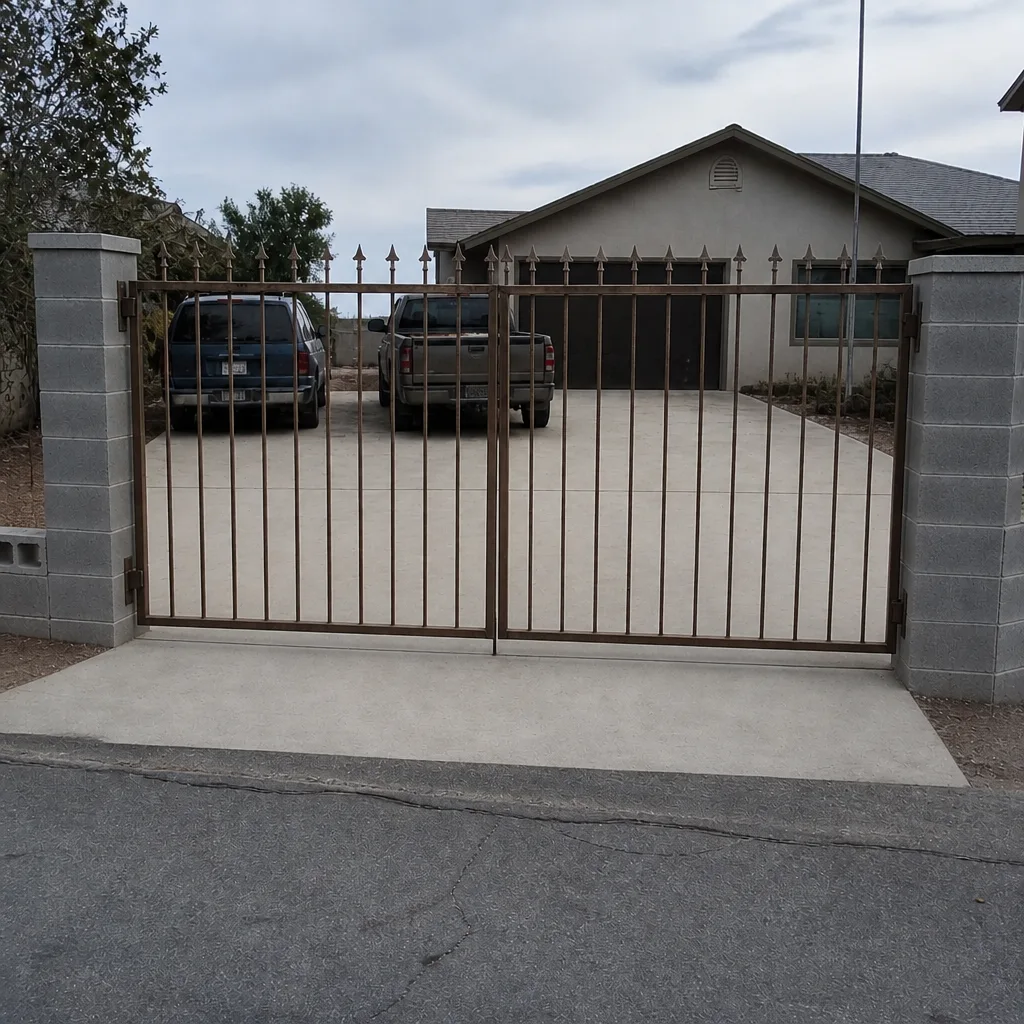 After
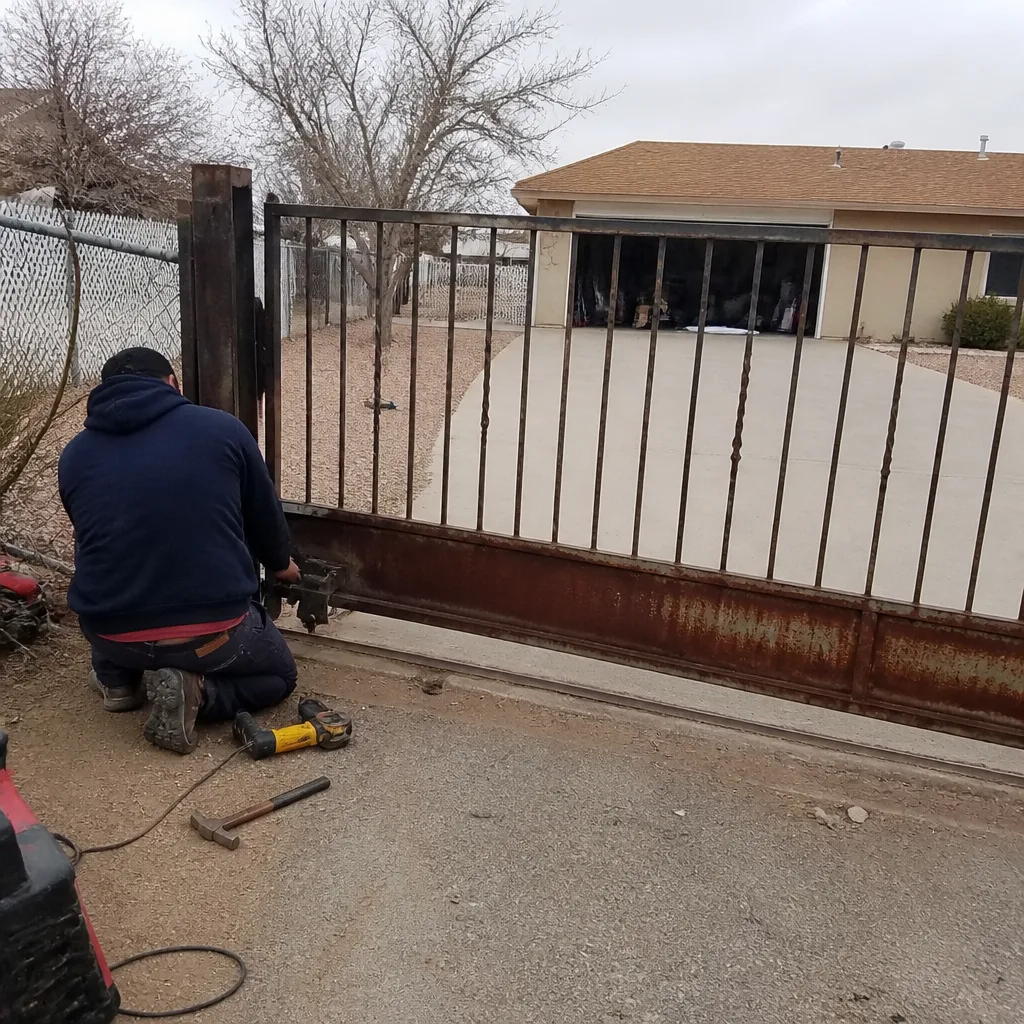 Before
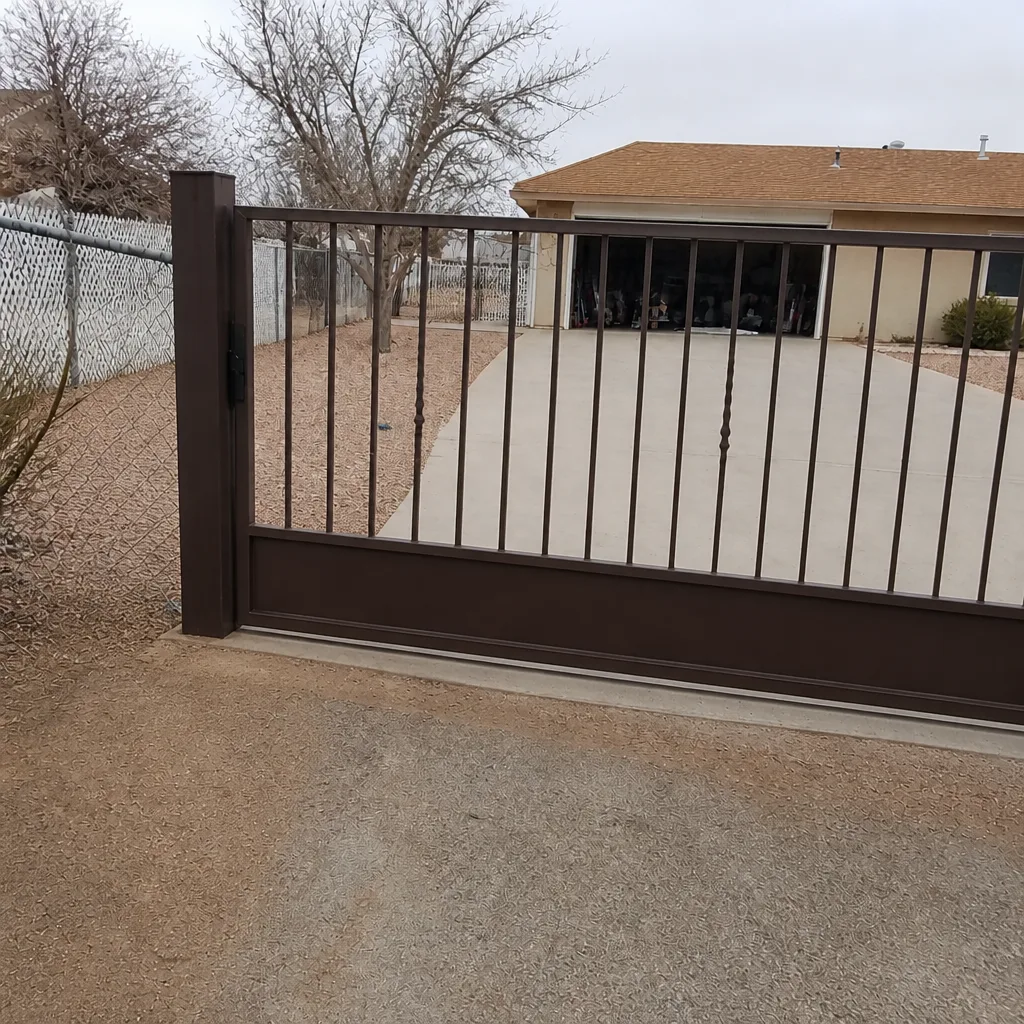 After
When to Call a Professional
Call a technician when the gate fails the manual release test and the cause isn’t obvious, when the supply voltage sags and you cannot find the fault, when the gate moves on its own or fails a safety-edge test, when you see a cracked or displaced spring, or when the limit reset does not hold after two attempts. Also call if the operator is a brand you are not confident in; we service nine major automation brands, including Linear, Viking, Ghost Controls, and DoorKing, and the procedure is different for each.
Vance Gate Repair Boulder City offers free estimates in Boulder City – call (844) 320-7587. A live person answers at any hour, and the written price is in your hands before any work starts. If you have a written estimate from another company, bring it. We will review it free as a second opinion.
Frequently Asked Questions
A gate that stops at the exact same point in travel is almost always a limit-switch or travel-setting issue, not a motor failure. An out-of-adjustment limit tells the control board the gate has reached the end of travel when it hasn’t, so the board cuts power early. The fix is a limit reset, which usually takes minutes and costs far less than a motor. Call (844) 320-7587 for an exact quote on a diagnostic visit.
A humming operator is trying to run and cannot. The causes are, in order of likelihood: mechanical drag preventing movement, a failing start capacitor (especially in a heat-exposed housing), or a failing motor winding. The manual release test and a capacitor check distinguish them. Do not leave the operator humming; continued attempts to start will overheat the motor. Call (844) 320-7587 – estimates are free.
Diagnostic visits typically run $95 to $160, and any repair is quoted in writing before work starts. A limit reset or wiring repair is usually $120 to $240. A capacitor replacement runs $140 to $260 depending on the operator. A board replacement, when the board is genuinely the fault, runs $180 to $420 depending on brand. A motor replacement is the highest-cost outcome and is only recommended after a documented diagnosis. Call (844) 320-7587 for an exact quote – estimates are free.
We do not recommend it. Gate motors are wired into household current, and the standard failsafes that keep them safe – the photo-eye and safety edge and limit logic – have to work correctly or the gate becomes a hazard. If you want to handle the manual release test and the limit reset yourself, that is reasonable. Beyond that, call a trained professional. We are at (844) 320-7587.
Heat-related degradation, usually in the start capacitor or the battery pack. An operator in direct sun loses capacity through the day and recovers overnight. Capacitors on sun-exposed operators in Boulder City tend to age faster than shaded installations. A diagnostic visit will confirm and price the fix. Call (844) 320-7587.
Three things: the make and model of the operator (usually printed inside the control-box door), any remote or code you use to operate it, and a short written timeline of what changed and when. Anything you already recorded – the moment the gate started, whether it stalls in one direction or both – saves diagnostic time and lowers the eventual invoice. Call (844) 320-7587 with those ready.
The Bottom Line
The fastest path to a fixed gate is the elimination sequence: mechanical load, then supply voltage, then logic. Measure before replacing, and write down every reading so the next visit starts informed. In Boulder City, heat and grit produce specific, predictable failure patterns: capacitors aging in sun-exposed housings, slide rollers packed with dust, splices corroding through. None of those are mysteries if you measure in the right order. When the sequence stops short, or when a safety system has failed, a documented professional assessment is worth more than another part.
If your gate is stalling, reversing, or stuck, call Vance Gate Repair Boulder City at (844) 320-7587 for a free estimate. A live person answers around the clock, the price is written before work starts, and you get a photo record of everything we found and fixed. Our technicians have up to 12 years of experience, and we repair every major automation brand on the property rather than steering you toward a replacement. You can start with our Vance Gate Repair Boulder City home page, read about gate installation in Boulder City if the operator is due for replacement, or review the repair service page for the full scope of what we handle.
Written by the team at Vance Gate Repair Boulder City.