
Last updated November 18, 2026
 Wrought iron
 Wood & steel frame
 Farm & ranch
 Sliding driveway gates
 LiftMaster operators
Free on-site gate assessment - hinges, posts, and your LiftMaster or Nice gate operator checked before anything is quoted
The assessment is free and the quote is the invoice.
Get your free estimateGate Installation Warning Signs Every Homeowner Should Know
A gate that opens smoothly on install day can still be installed wrong. The motor will tell you six months later, usually in the form of a thermal cutout trip, a bent arm, or a chain that jumped its sprocket, because the mechanical errors were there at hour one. We’ve opened enough gates in Boulder City to know the pattern: the faults that end a motor early almost never announce themselves on the day the crew drives off. They wait for the third month, when the operator is straining against a gate hung slightly out of plumb, or the eighth month, when water finally finds the low spot at a badly graded track. This guide catalogs the physical evidence a homeowner can find and document before the warranty window closes. You’ll get the measurements to take, the wiring red flags to photograph, and the paperwork to demand at job close.
Quick Answer
The earliest warning signs of a bad gate installation are an uneven gap between gate and post, a post that isn’t plumb, inconsistent ground clearance along the swing or slide path, exposed wiring splices, unsealed conduit entries, and a control board mounted where heat or moisture will reach it. A gate that “works fine” but shows any of these is on a timeline toward operator failure. You can catch them yourself with a level, a tape measure, and a phone camera in about fifteen minutes.
Styles & brands we work with
- Wrought iron
- Wood & steel frame
- Farm & ranch
- Sliding driveway gates
- LiftMaster operators
Table of Contents
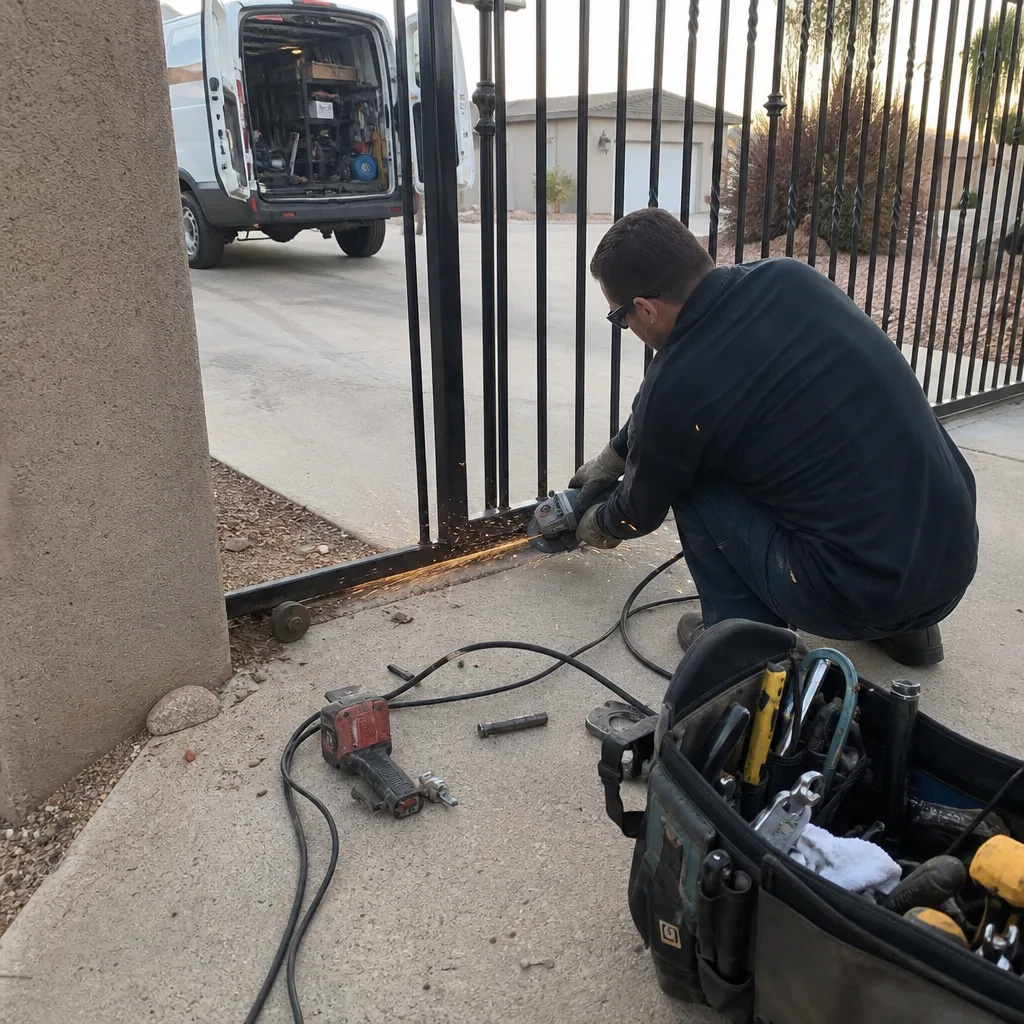
- The Measurements to Take on Installation Day
- Why an Uneven Reveal Is a Future Operator Problem
- Ground Clearance and Drainage in Boulder City
- Wiring Warning Signs: Splices, Conduit, and Control Boards
- The Documentation to Demand at Job Close
- What a Post-Installation Test Cycle Should Include
- Common Mistakes to Avoid
- When to Call a Professional
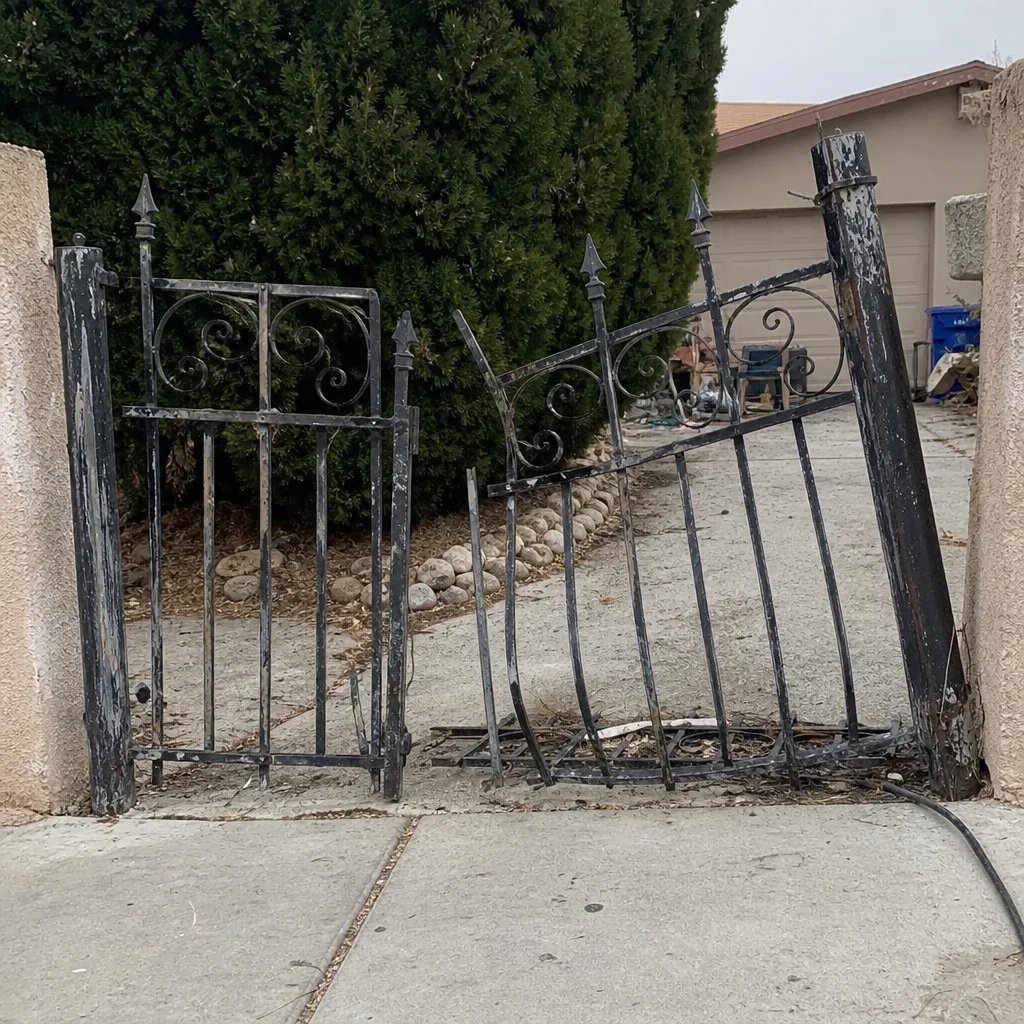 Before
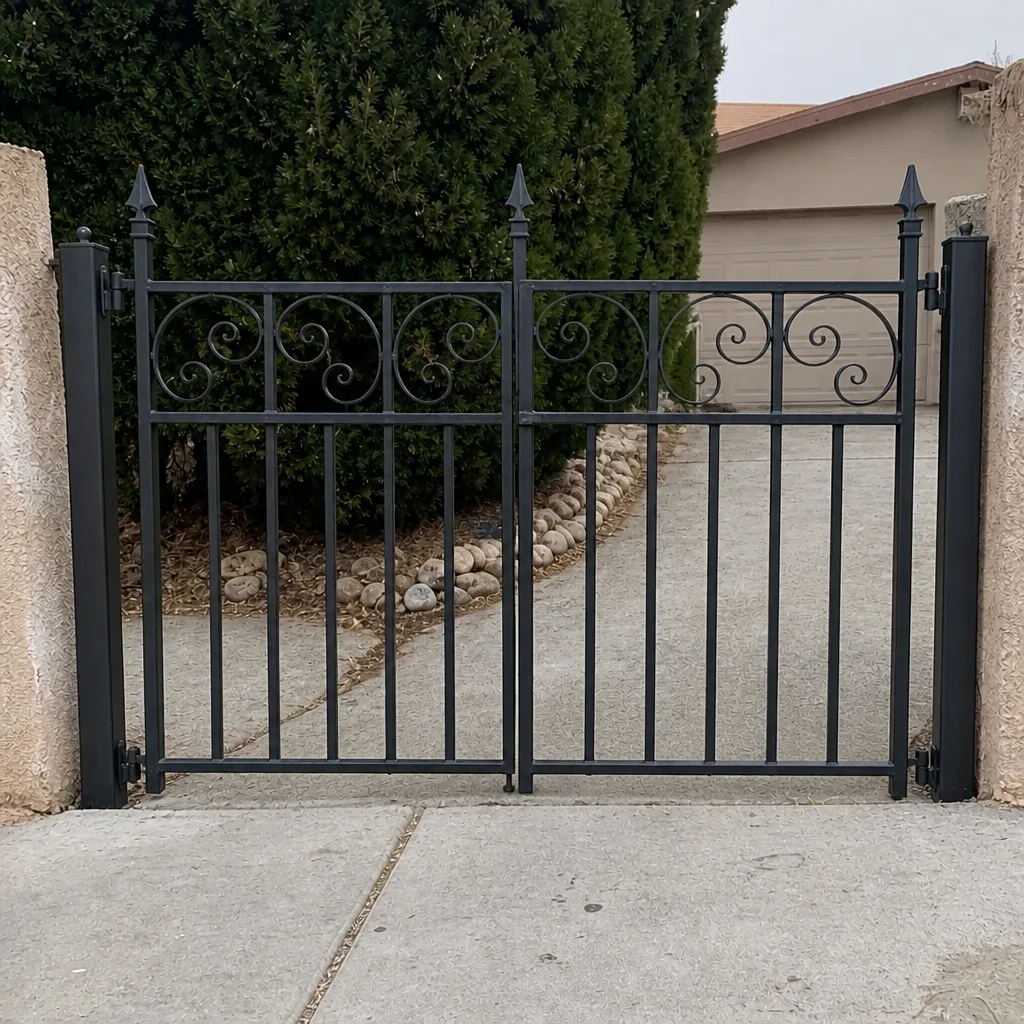 After
The Measurements to Take on Installation Day
Fifteen minutes with a tape measure and a four-foot level on installation day can save you a motor. Here’s what to check while the crew is still on site and can adjust without a return trip.
- Gap consistency, top to bottom. Measure the gap between the gate frame and the strike post at the top, middle, and bottom of the latch side. The readings should be within about 1/8 inch of each other. A gap that starts tight at the bottom and widens to half an inch at the top is a gate that was hung out of square.
- Post verticality. Set a level against the hinge post on two faces, 90 degrees apart. A post that reads more than 1/8 inch out of plumb over four feet is leaning, and on a swing gate that lean multiplies every time the gate swings.
- Ground clearance. Walk the full arc of a swing gate (or the full length of a slide track), measuring the space between the bottom rail and the ground at ten points. It should stay consistent, typically between 1 and 2 inches. If it dips to a half inch in one spot and rises to three in another, the ground wasn’t graded or the gate wasn’t leveled.
- Hinge alignment. All hinges should sit on the same vertical axis. Sight down the hinge line from the top; any wobble means the gate will sag toward that side over time.
Write the numbers down and photograph the tape measure against the gap at each reading. That record is what lets you prove a problem was present at installation rather than caused by wear later. We’ve seen more than a few homes in Boulder City where the original install crew never took these measurements at all, and the homeowner paid for the motor to be replaced twice before anyone noticed the gate was half an inch out of square.
Why an Uneven Reveal Is a Future Operator Problem
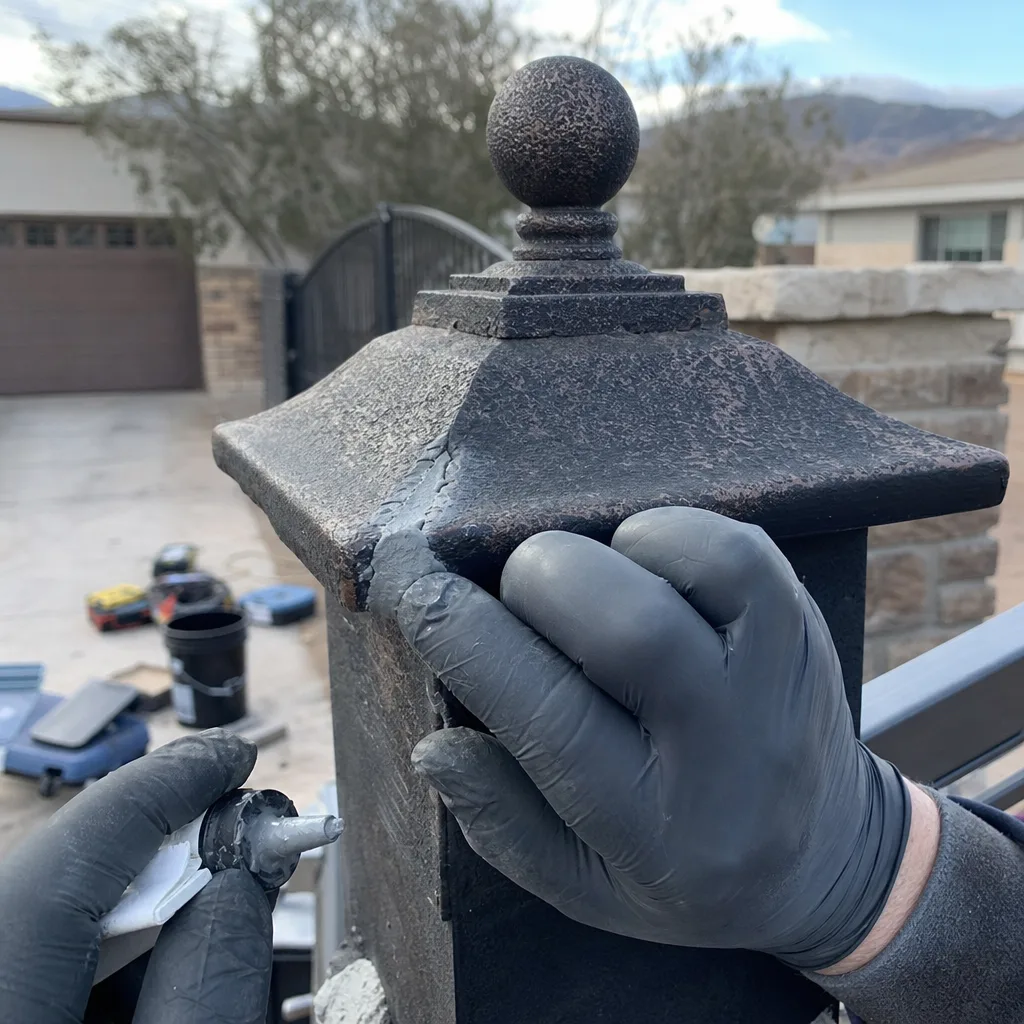
An uneven reveal (the visible gap between the gate leaf and the post, top versus bottom) looks cosmetic. It isn’t. That taper is almost always the surface symptom of a gate that’s out of square or a post that’s out of plumb, and both of those put a load on the operator that it was never designed to carry.
Here’s the mechanical reason. A swing gate operator pushes the leaf in an arc. When the gate is square and the post is plumb, the arc matches the geometry and the arm takes the load evenly through its travel. When the gate is off-square, the arc skews. The arm has to move through a longer effective stroke to open the same distance, and the arm bracket takes a torsional load it wasn’t rated for. On a slide gate, the same problem shows up as the chain tensioning unevenly across the run, which is a known cause of chain jumps on Ghost Controls and similar slide operators.
Six to nine months in, that extra load shows up as:
- Thermal cutout trips during hot weather, when the operator motor’s internal thermal switch shuts it off to protect itself
- A bent or worn operator arm at the bracket point
- Premature gear wear on the operator’s drive assembly
- A chain that develops slack on one section of the run
- Limit switches drifting out of adjustment because the gate is physically stopping in a slightly different place than the operator expects
One practical note: on a residential gate in Boulder City, the desert sun heats the operator housing to a much higher surface temperature than most manufacturers’ thermal cutout ratings assume for shade. That means a gate installed half an inch out of square can trigger cutouts weeks earlier here than it would in a milder climate. We’ve found that a gate which behaves fine in spring will trip its thermal cutout every afternoon by July if the geometry is off. Fixing the reveal fixes both problems at once.
Ground Clearance and Drainage in Boulder City
Ground clearance is where residential installations most often go wrong AND where the error takes the longest to appear. On a swing gate, inconsistent clearance means the gate is either dragging at one point in its arc or riding high at another. On a slide gate, the track bed determines everything downstream.
Boulder City has a specific version of this problem. Our soil is caliche-heavy and drains poorly in the areas where a driveway pad meets native grade. When a slide gate is installed over a track bed that wasn’t graded to move water, the first monsoon rains pool at the low end. Standing water gets under the track, softens the bed, and by the following season the track is settling into that soft spot. That’s why we see so many homes in Boulder City where the gate clears the track perfectly in spring and scrapes it in early fall. The track lost its grade because the installer never established one.
Two things to inspect the day after a heavy rain:
- Standing water at either end of the track bed, or along the swing arc where the gate clears the ground. Any pooling at all is a future sinking problem.
- The pour itself. A properly set track bed on a residential slide gate should be a poured pad, not just a compacted dirt trench. If you can push a screwdriver into the surface under the track, it wasn’t poured.
For swing gates, check that the ground clearance is between 1 and 2 inches along the full arc and that the gate doesn’t actually ride on a slope. If the lowest reading is at the point where the gate opens, the gate is going to sag into that spot over time. This is the kind of worn mechanical issue our Gate Repair in Boulder City team sees regularly, and it almost always traces back to the original ground prep.
Wiring Warning Signs: Splices, Conduit, and Control Boards
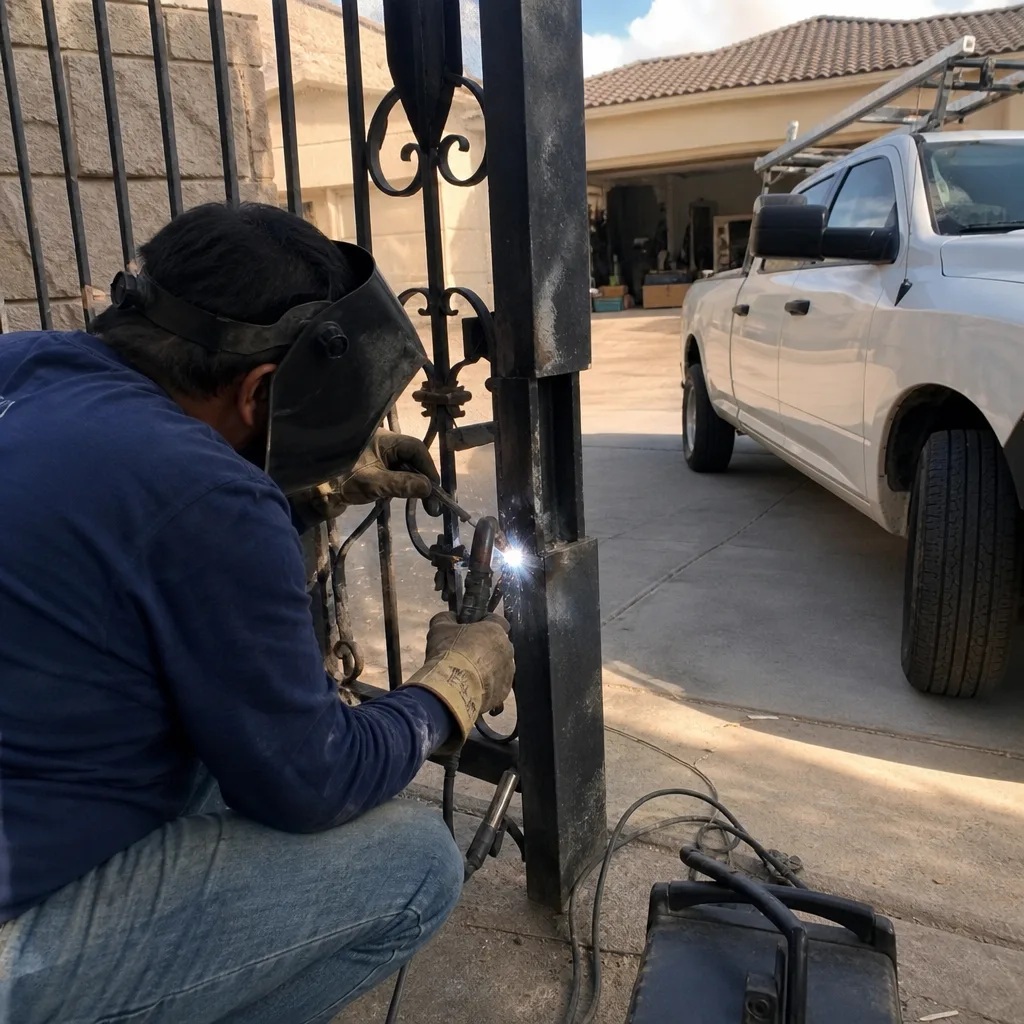
Exposed wiring is the fastest way to fail a safety inspection and the slowest problem to notice in daily use, because it doesn’t announce itself with a sound. These are the four wiring conditions a homeowner can find without opening a control box. We don’t recommend opening a control box yourself: 120V gate operators carry enough current to hurt you, and the manual you need to read before touching a terminal is not the one to learn from mid-job. Photograph what you can see from the outside and hand it to a technician.
- Splices on the exterior. Any wire connecting the operator to a photo-eye, keypad, or loop should run in conduit or be a sealed, weather-rated connection. A wire nut wrapped in electrical tape exposed to the elements is a red flag. UV eats electrical tape on a Boulder City exterior in a single summer, and the joint opens up.
- Unsealed conduit entries. Where the conduit enters the control box or the operator housing, there should be a sealed fitting or a grommet. An open knock-out hole or a conduit with no weather seal is how the bugs and moisture get in.
- Control board placement. The board should sit out of direct sun and away from any likely water path. A board mounted on the sun-facing side of a post has a shorter life. Thermal damage to a control board on a BFT or Linear operator is expensive to replace, usually several hundred dollars, and it’s entirely preventable at installation.
- Wire gauge and run length. Low-voltage accessories (keypads, keyfobs, safety photo-eyes) get a voltage drop over a long wire run. If the manual says the keypad should get 24V and it’s getting 21V because the installer used a gauge too thin for the run, you’ll see intermittent behavior that looks like a control problem but isn’t.
If you photograph all of these on day one against the install crew’s own photo record, you’ll know exactly what you’re starting with. More importantly, any future homeowner and any future technician will too.
The Documentation to Demand at Job Close
Most homeowners get a verbal walkthrough at job close and nothing else. That’s the gap where future disputes live. The documentation you should demand before the crew leaves is specific, and it takes the technician about five minutes to produce:
- The written price. The full scope, the flat price, and the parts list in writing. No verbal quote, no “call for a quote,” no surprise line item.
- Photographs of the gate hung in place, before and after. The photos should include the tape measure against the reveal, the ground clearance, and the post level in place.
- Limit-switch readings. Every operator has two limit switches (the physical sensors that tell it where open and closed are). At job close you should get the actual readings, written down. If a technician is resetting those limits six months from now, the printed record from install day is the difference between a five-minute adjustment and an hour of trial and error.
- Wiring diagrams for any accessory loop, keypad, or safety edge. Especially if the gate includes a phone-entry or access-control system, you want the wiring record on paper.
- The part numbers and brand installed. Write down the exact model of the operator, the photo-eyes, the keypad, and the safety edges. That way, when a branded part fails three years later, no technician has to guess.
Our team leaves this record on every job as part of Gate Motor & Opener in Boulder City work, under Haven Standard Clause 4 (Evidence on every job). If an installer you hired leaves nothing behind, you can still document what you have yourself with a phone and a notepad. Do it before the warranty window closes.
What a Post-Installation Test Cycle Should Include
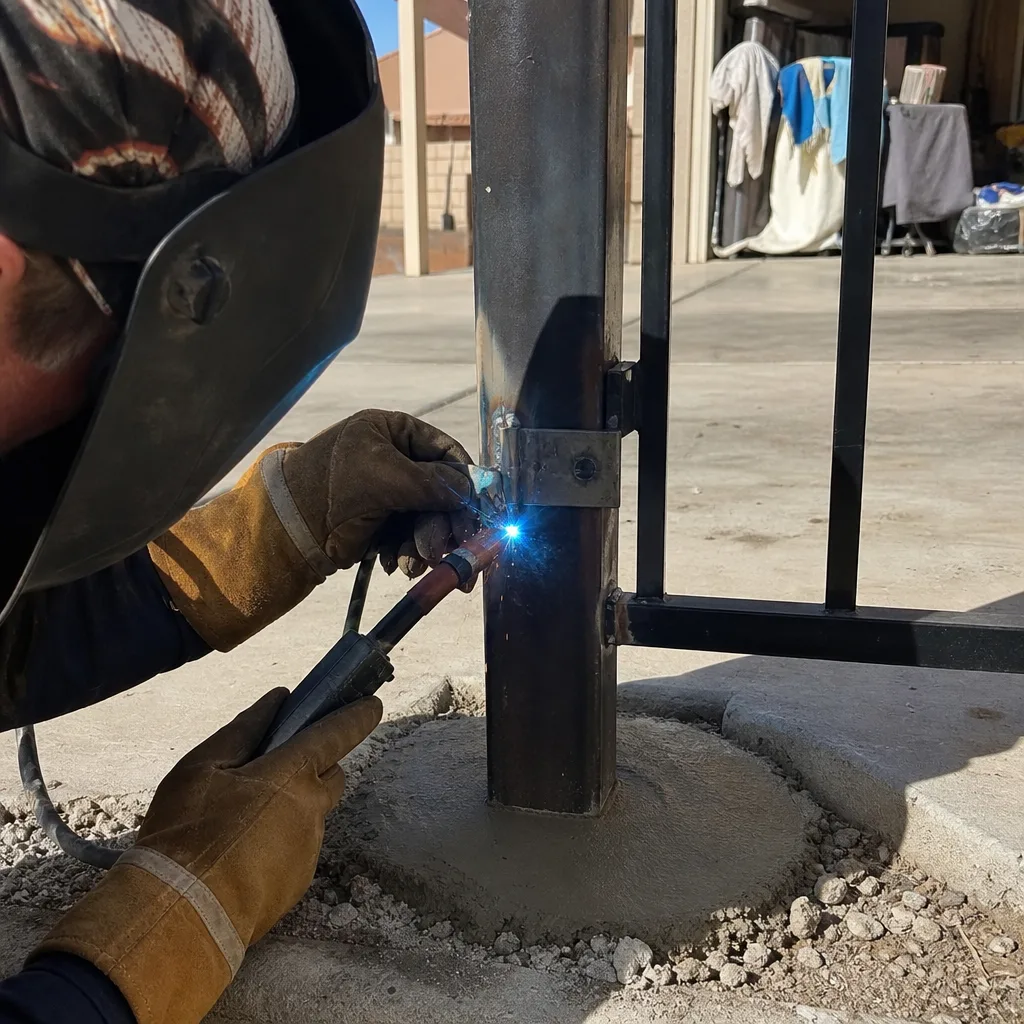
A technician who skips the post-installation test cycle is leaving behind a gate that hasn’t yet been proven to work. Here’s what a proper test cycle looks like on a residential operator installation. Run through it yourself if you suspect the crew skipped it.
- Three full open-close cycles at the normal speed, watching for the gate to stop smoothly at both limits without an audible thunk or a stall.
- Photo-eye safety test. With the gate closing, block the photo-eye beam (the invisible infrared line between the two small sensors) with a hand. The gate should reverse within about two seconds. If it doesn’t reverse, the safety edge is either misaligned or the board isn’t configured for it, and that’s both a safety issue and a future failure point.
- Manual release test. Every operator has a manual release lever (the bypass that lets you open the gate by hand during a power outage). Cycle it open and closed once to confirm it engages and disengages cleanly. A gate that can’t be opened by hand in a power outage is a gate that traps you in the driveway.
- Obstruction test. With the gate partway through its arc, apply light pressure against it. The operator should reverse. This confirms the built-in obstruction sensing is set to a safe threshold.
- Limit adjustment at both ends. Watch where the gate physically stops at fully open and fully closed. It should stop at the limit with a small clearance, not slam against a stop or reverse before the limit.
- Wiring visual pass. After three cycles, glance at every exposed connection to confirm nothing loosened during the run. Vibration is a real factor; a wire nut that was tight at hour one can back off by cycle number three.
A technician skipping this is leaving behind a gate that hasn’t been tested under load, hasn’t been tested against the safety edges, and hasn’t been tested for a clean stop at both limits. Every failure in this guide starts as something a proper test cycle would have caught.
Common Mistakes to Avoid
- “It works, so it’s installed right.” A gate that opens and closes is a gate in the middle of a diagnostic test, not a gate proven correct. The physical measurements in this guide are the proof, not the fact that the gate moved.
- Skipping the ground-clearance check. On a Boulder City slide gate, this is the most common cause of eventual failure. If the track bed wasn’t poured and graded to drain, the whole installation is on a countdown to a settling problem.
- Accepting a verbal scope at job close. A verbal scope with no written price, no limit-switch readings, and no photos leaves nothing to compare against if the gate behaves differently three months later.
- Ignoring a control board mounted in direct sun. A board exposed to Boulder City summer sun runs hotter than its rated temperature range and its capacitors fail early. It’s a fully preventable installation choice.
- Overlooking a spliced wire in exterior conduit. Electrical tape doesn’t survive a desert summer. A wire-nutted splice inside an unsealed conduit entry is a failure point that will show up at the worst possible time.
- Skipping the photo-eye and manual release tests. These aren’t optional. They’re the two safety and function checks the operator’s own install manual requires, and a crew that skips them hasn’t finished the job.
- Not confirming the installer services your specific brand. A company that only installs one brand will steer you toward replacing an operator they don’t service, even when the existing operator would be worth keeping. Ask whether they work on the motor that’s already on the gate.
See the difference
BeforeAfter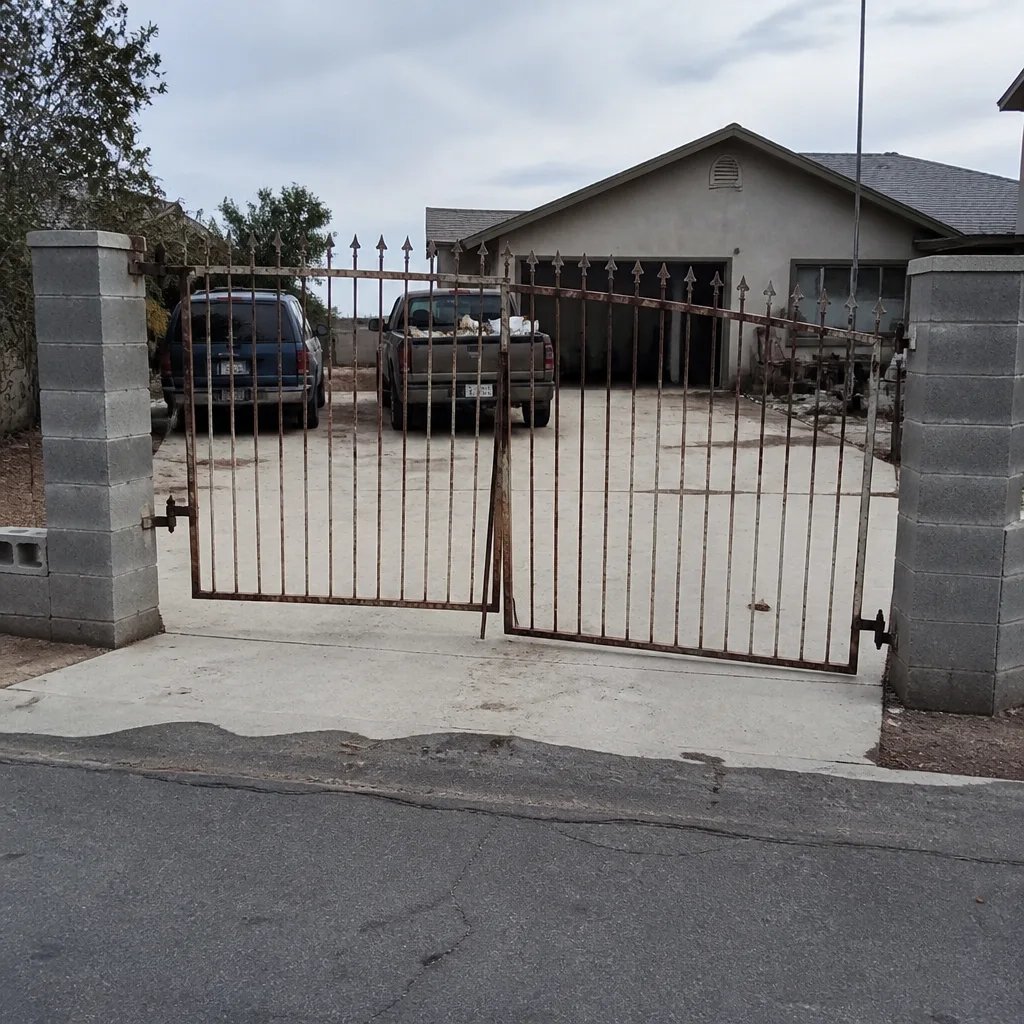 Before
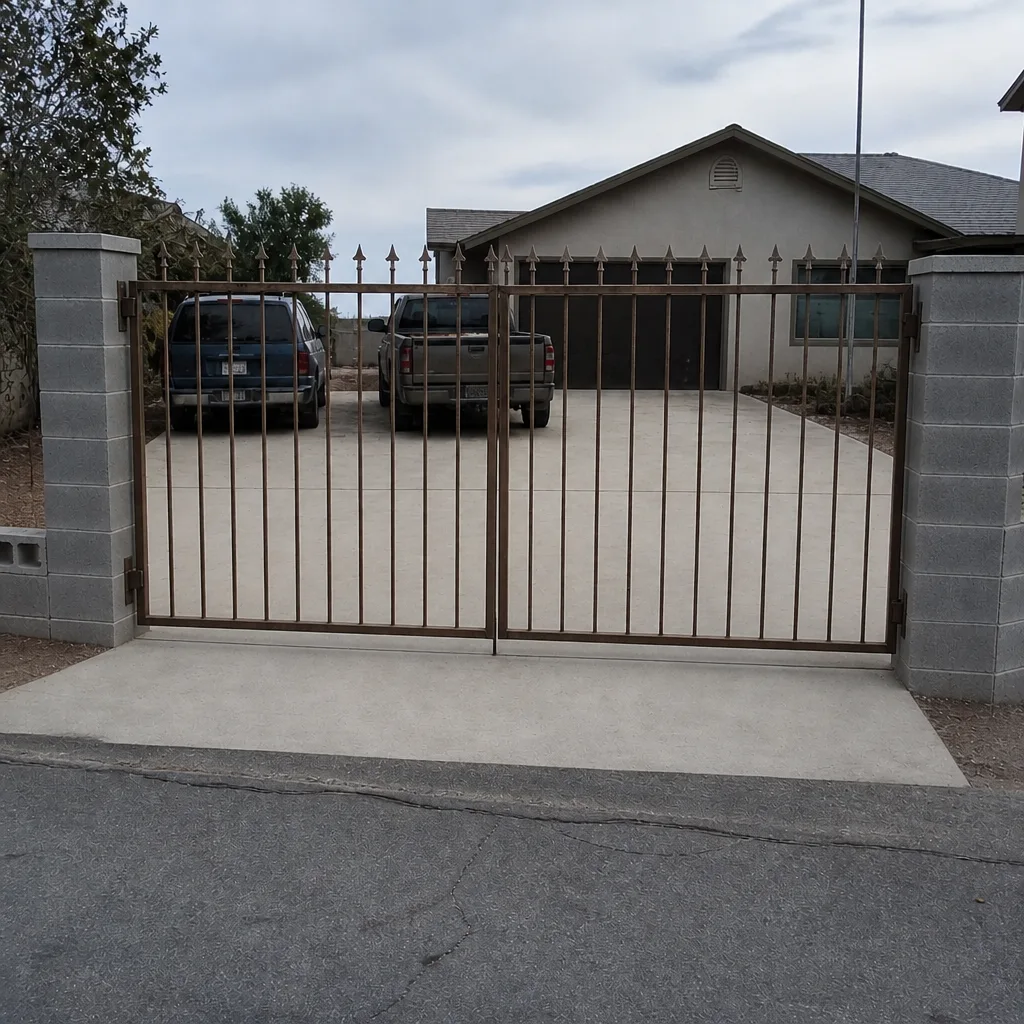 After
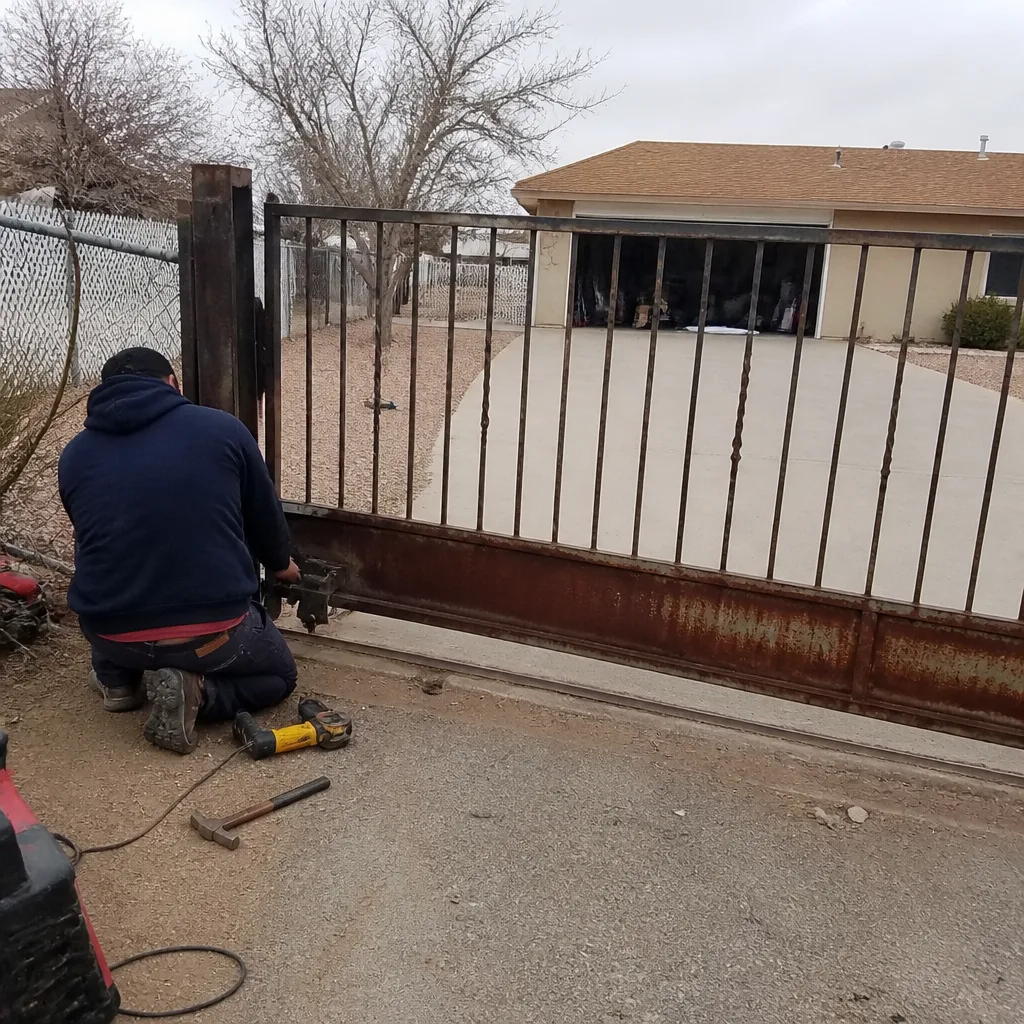 Before
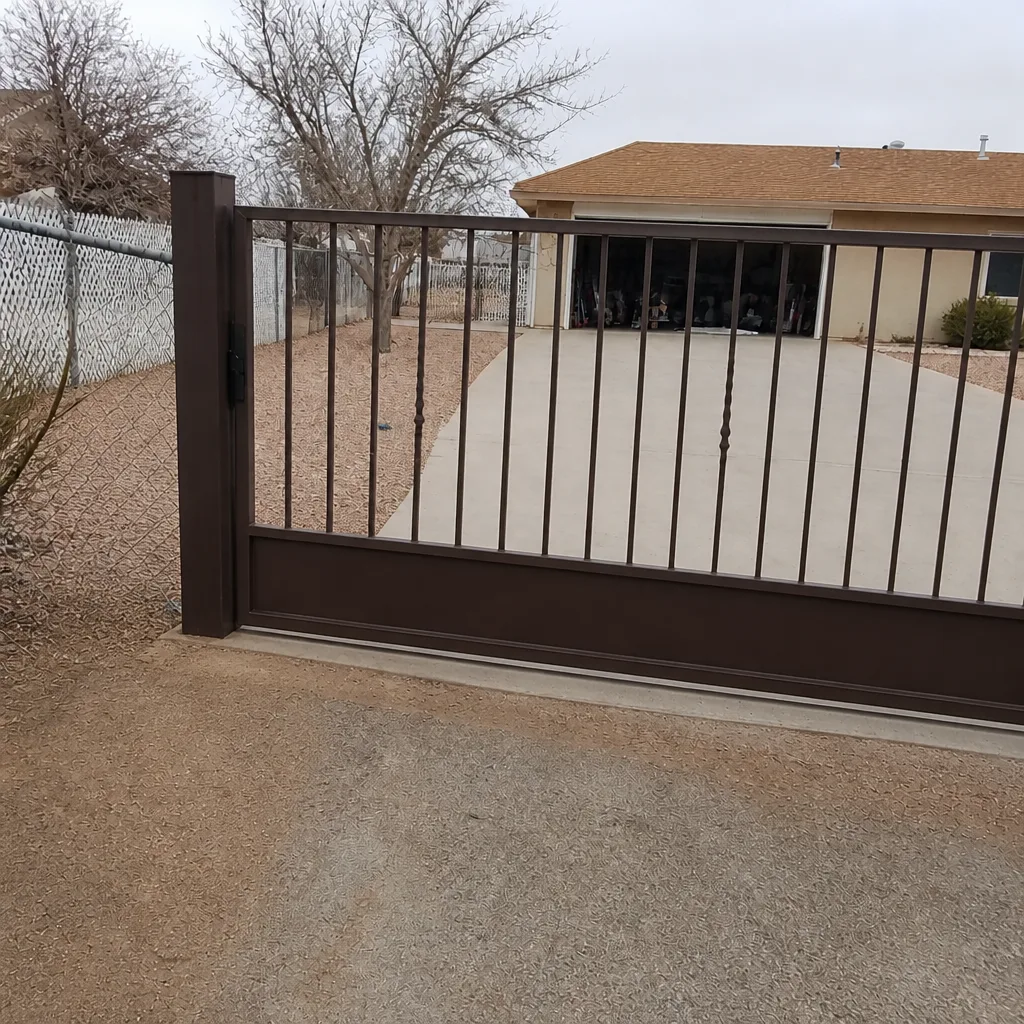 After
When to Call a Professional
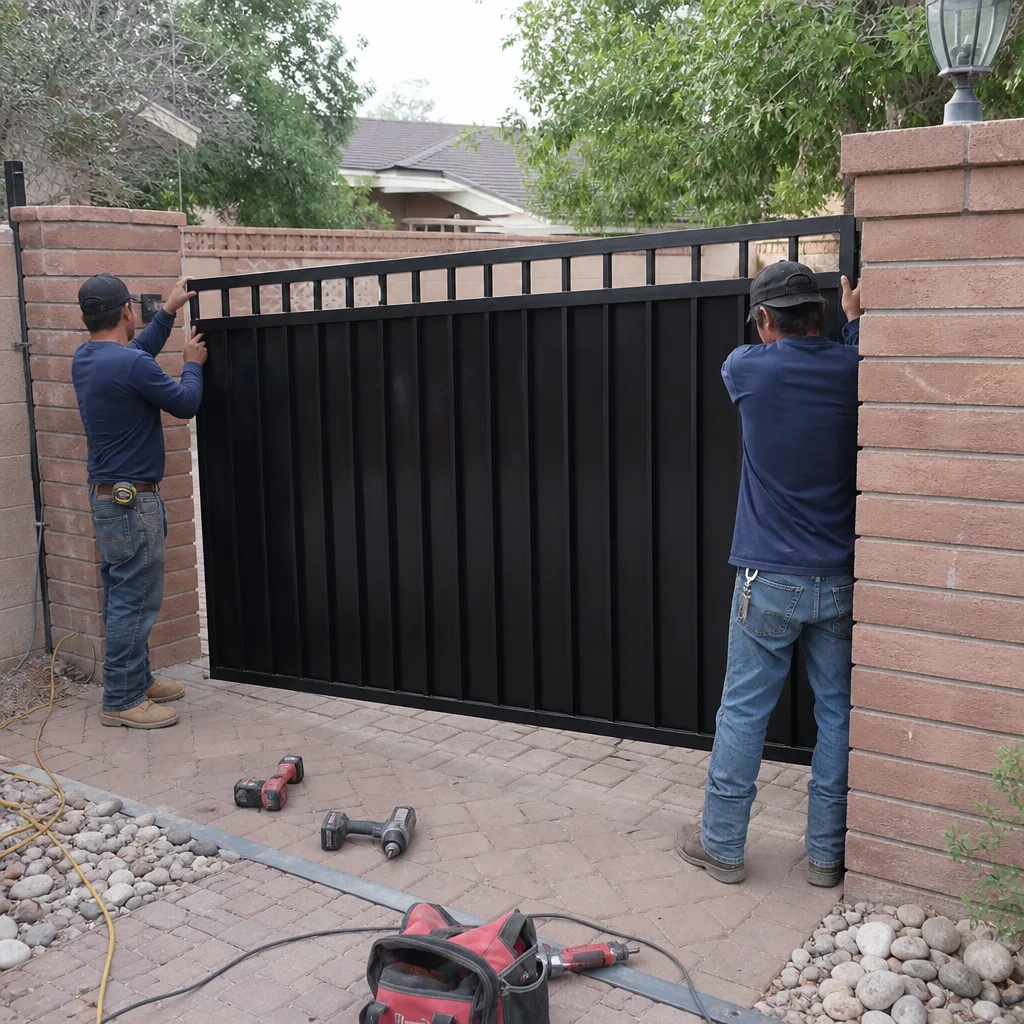
You can take every photograph in this guide yourself, but the moment you find a bent operator arm, a chain that has jumped its sprocket, exposed wiring inside a control box, or a post that’s visibly leaning, it’s time to stop. A gate operator is a mechanical system under tension and a low-voltage system with 120V behind it, and both are the sort of component a careless repair can make worse. Give us a call and we’ll inspect what was installed, photograph the geometry we find, and give you a written price for the repair in writing before we touch a tool. We’ve run our businesses up and down the gate installation and repair spectrum long enough to have seen this exact failure show up in Boulder City hundreds of times, and the fix is almost always the same set of measurements you’d have taken on install day. Vance Gate Repair Boulder City offers free estimates in Boulder City. Call (844) 320-7587.
Frequently Asked Questions
An uneven reveal (the gap between the gate leaf and the post) is usually the first visible sign. A gap that starts tight at the bottom and telescopes to half an inch at the top means the gate was hung out of square, and that misalignment will translate into premature wear on the operator’s arm, gears, and limit switches over the following six to nine months. Photograph it on install day and call for a professional measurement if the readings aren’t within about 1/8 inch.
Yes. A gate that opens and closes on day one has only proven the motor is powered and the mechanical path is physically unobstructed. It hasn’t proven the gate is square, plumb, or on a drained track bed, which are the four things a motor will eventually fail on. The months-three-to-nine failures in this guide all start from a gate that “worked fine” at the start.
Correction work runs from a simple re-hang and limit reset at the low end to a track re-bed if the grade under a slide gate has settled. The exact price depends on the brand and what the geometry check finds. We won’t hand you a phone number to call for a quote: we’ll inspect the gate, photograph what we find, and give you the flat price in writing before any work starts. Call (844) 320-7587 for the free estimate.
Ask for the written scope and flat price, the photo record of the gate hung in place with a tape measure against the reveal, the limit-switch readings written down, the part numbers and brand of every component installed, and the wiring diagrams for any accessory loop. If any of that can’t be produced at job close, ask about it before you sign off on the job. Those records are the difference between a five-minute adjustment six months from now and a full re-diagnosis.
The control board should be mounted out of direct sun and away from any water path. On a residential gate in Boulder City, a board baking in midday sun on the south or west face of a post will run hotter than its rated temperature range all summer, and that heat shortens capacitor life. If you can hold your hand on the board’s housing and feel strong heat on a mild afternoon, that’s a placement problem worth correcting before the board fails.
You can test the photo-eye and the manual release yourself in two minutes each. Block the beam with your hand on a closing gate and confirm it reverses; operate the manual release lever with the operator off and confirm it opens cleanly by hand. If either fails, or if the manual release won’t engage, stop and call a professional. A gate that won’t reverse on obstruction or won’t open during a power outage is a safety problem, not a nuisance. Call (844) 320-7587 for a free estimate on the correction.
The Bottom Line
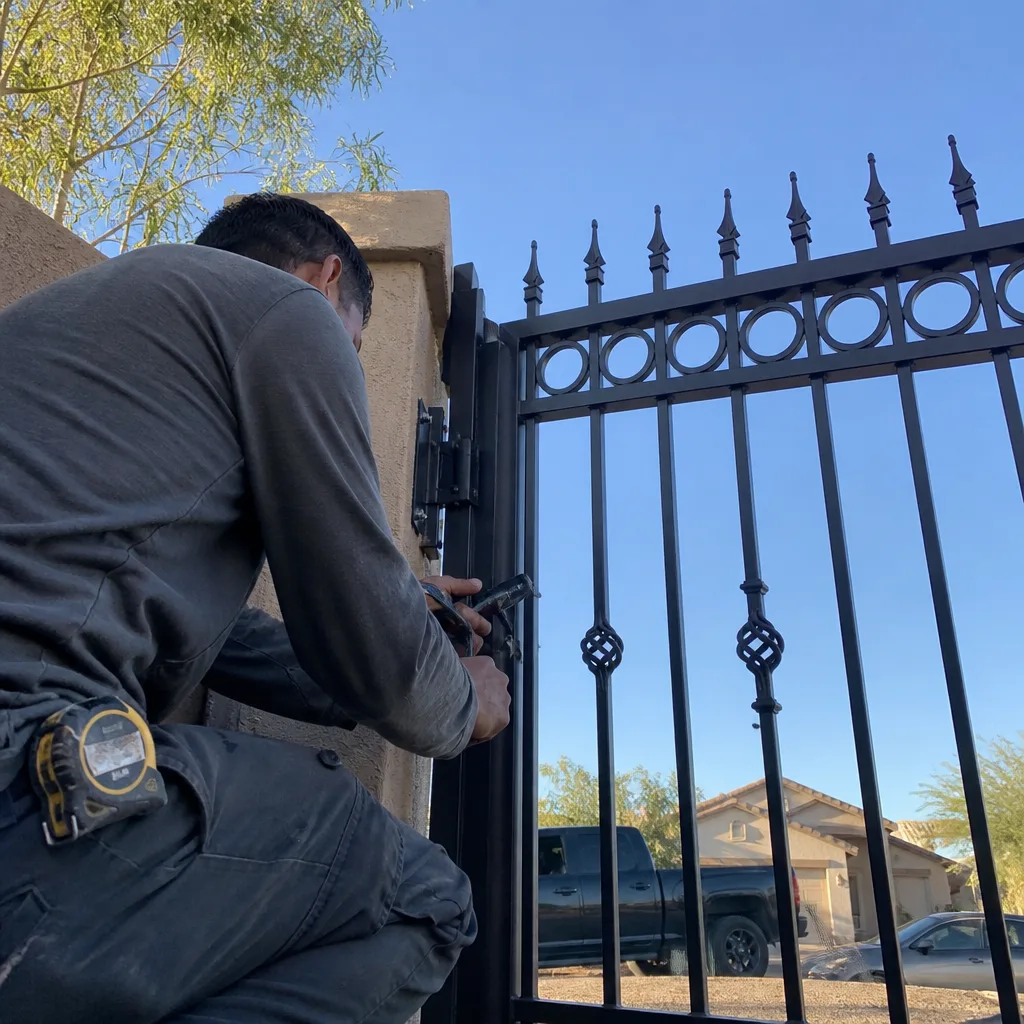
The gate that works on install day and fails at month six is the gate nobody measured. That’s the whole guide in one sentence. Get the reveal within 1/8 inch top to bottom, confirm the hinge post is plumb with a level, walk the ground clearance reading between 1 and 2 inches, and check the track bed was poured and graded to drain, because in Boulder City the first rain will tell you if it wasn’t. Photograph every wiring splice and conduit entry, and demand the written price, the photos, and the limit-switch readings at job close. Every one of those solutions starts with a measurement you can take today. If any measurement is out of tolerance, get a trained technician, a written scope, and a documented record, in that order.
We install and service nine brands, including BFT, Linear, Viking, and Ghost Controls, so we’ve worked on the operator that’s already on your gate more often than we’ve replaced one. Gate Installation in Boulder City work on every job includes a written price before tools are picked up, a photo record on every visit, and the 365-Day Done Right Promise covering every repair we touch. If you want a second opinion on a written estimate from another company, bring the paperwork in and we’ll review it at no charge. Start with a free estimate at our Vance Gate Repair Boulder City home page, or call (844) 320-7587 now. A live person answers the phone 24 hours a day, seven days a week.
Written by the team at Vance Gate Repair Boulder City.