
Last updated November 18, 2026
 Wrought iron
 Wood & steel frame
 Farm & ranch
 Sliding driveway gates
 LiftMaster operators
Free on-site gate assessment - hinges, posts, and your LiftMaster or Nice gate operator checked before anything is quoted
The assessment is free and the quote is the invoice.
Get your free estimateDIY vs Professional Gate Access Control: What’s Safe to Do Yourself
Here’s a scenario we run into more than you’d think. A homeowner in Boulder City changes the entry code on their keypad because a contractor or a houseguest had the old one. They don’t write it down anywhere. Eighteen months later the gate stops responding to a fob, and the first 45 minutes of our diagnostic visit go to finding out which credentials exist and which don’t. That’s billable time created by a missing note, not by a broken gate. This guide is about where the DIY line actually sits in gate access control. It isn’t drawn at skill level. It’s drawn at documentation – anything that changes a wired connection or a programmed parameter needs a written record, and most homeowners aren’t set up to produce one. Below, we map the boundary task by task, including the jobs that are genuinely safe to do yourself and how to leave a clean paper trail behind even when you do.
Quick Answer
Credential entry, fob battery swaps, and manual release testing are safe DIY tasks for most homeowners. Anything that opens the control box – wiring splices, loop detector tuning, control board replacement, motor limit-switch adjustments – crosses into licensed and documentation-required territory because it changes a live connection or a factory-set parameter, and a licensed technician should perform it. The dividing line isn’t how hard the task looks. It’s whether you can produce a written record of what you changed, and whether a mistake carries a shock, crush, or entrapment risk.
Styles & brands we work with
- Wrought iron
- Wood & steel frame
- Farm & ranch
- Sliding driveway gates
- LiftMaster operators
Table of Contents
- Why Documentation, Not Difficulty, Draws the DIY Line
- Tasks That Are Genuinely Safe to Do Yourself
- Tasks That Cross Into Licensed or Documentation-Required Territory
- Why “It’s Just a Wire” Repairs Compound Into Bigger Bills
- What to Record and Photograph Even When You DIY
- Red Flags in YouTube Access-Control Tutorials
- How Boulder City Conditions Affect Your Gate System
- When to Call a Professional
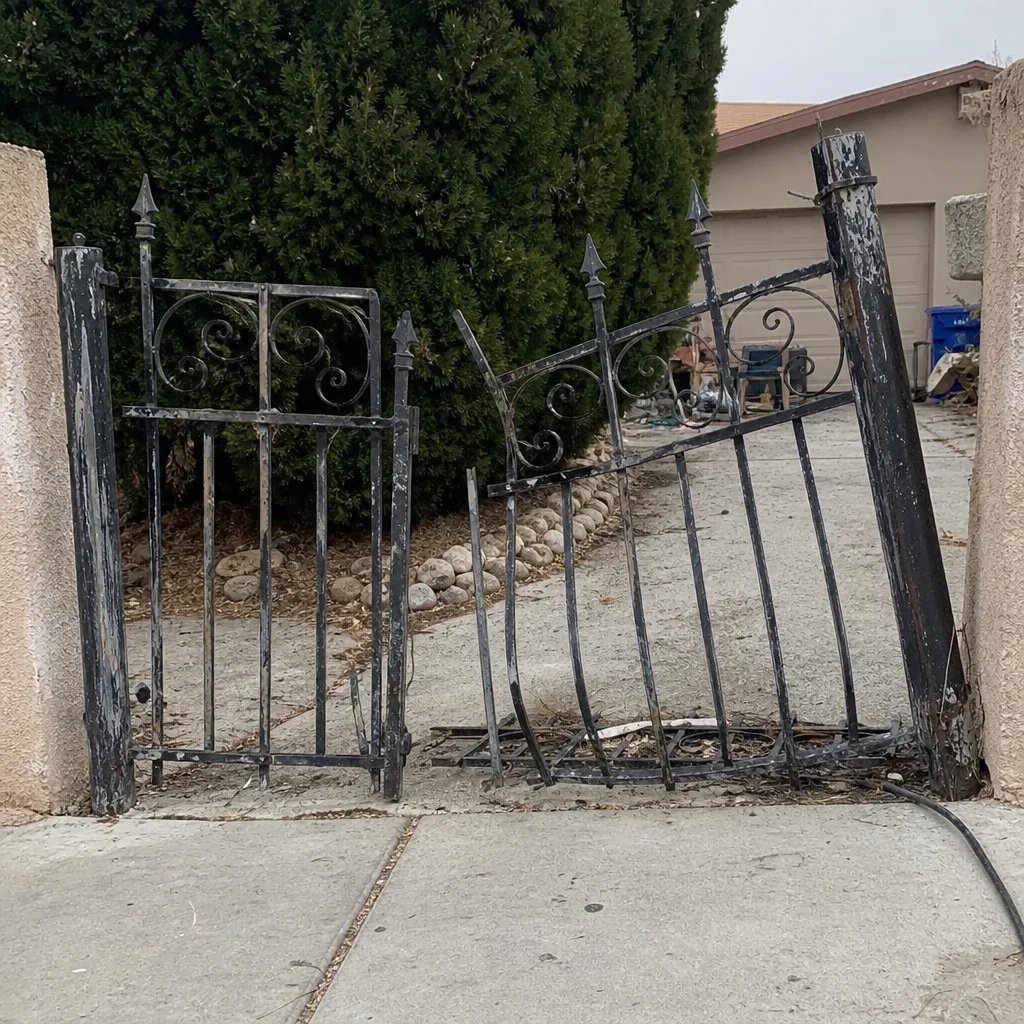 Before
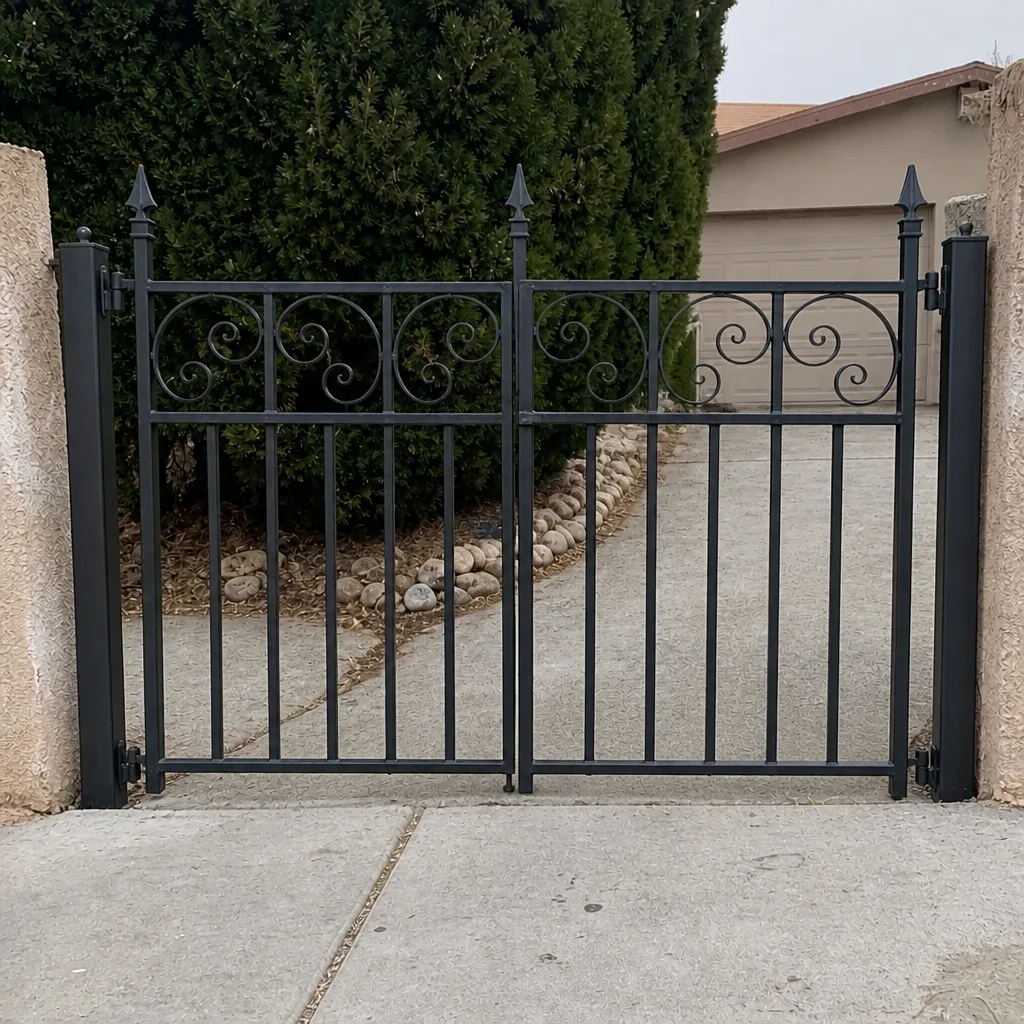 After
Why Documentation, Not Difficulty, Draws the DIY Line
Most DIY advice sorts tasks by how hard they are. That’s the wrong axis for gate access control. A wiring splice on a low-voltage loop detector is technically easy – two wires, a connector, done. But it changes a live circuit that affects whether the gate reverses on a child, and if nobody records which loop you tapped and what the new splice reads, the next person on-site is guessing. That’s the real line: consequence plus record-keeping. If a task changes a wired connection or a programmed parameter, a professional should do it, because the professional is also the one who documents it.
Gate access control sits at the intersection of two trades. It’s part electrical work (low-voltage circuits, transformers, photo-eyes, loop detectors) and part security work (credential management, radio receivers, keypads, intercom boards). Each one carries its own standard of care. In Boulder City, gate control boards typically live in a pedestal or a housing on the fence post, exposed to desert sun and summer highs that regularly top 105°F. That enclosure heat is why parameter drift – a limit switch that creeps, a receiver that loses the pairing – shows up more often here than in cooler climates. A homeowner can safely reset a parameter they understand. Replacing the board that holds it isn’t the same job.
There’s a second reason the line is about documentation. Gate automation is a system with a memory. Codes, fob pairings, limit positions, timer-to-close settings, loop sensitivity – all of it is stored state. Change any of it and you’ve altered how the gate behaves for everyone who uses it. Vance Gate Repair works on nine major automation brands, from LiftMaster to FAAC to Mighty Mule, and the single most common reason a diagnostic visit runs long is that the previous change was never written down. Under The Haven Standard, every visit leaves a photo record and a written note of what was found, what was set, and what was installed. That habit is the whole reason we can pick up a gate we’ve never seen and get to the fault in fifteen minutes instead of an hour. When you DIY, you’re borrowing that habit. Do it well and the system stays readable. Skip it and you’ve handed the next tech a puzzle.
Tasks That Are Genuinely Safe to Do Yourself
Three categories are safe for a careful homeowner with no electrical background. Each leaves the sealed control enclosure closed and touches nothing that carries line voltage.
1. Credential entry (keypad and app codes)
Adding or removing a user code on a keypad is a menu operation on the keypad itself. On a LiftMaster keypad this is usually a master-code plus a two-digit user slot; on a standalone keypad it’s a four-to-six step button sequence. You never open the control box. The only rule: write down every code you add, which slot it lives in, and the date. When you remove a code, note the slot too, because slots get reused and a reused slot can confuse a future technician reading the keypad’s history.
2. Fob battery swaps
Most gate fobs open with a small screwdriver or a coin in the seam. Match the battery exactly – a CR2032 is not a CR2016, and a 12-volt A23 in a 3-volt remote does nothing but drain. Replace one fob at a time so you don’t mix internals. After the swap, test it at the gate from 30 feet and note whether it works. If a fresh battery doesn’t pair, the problem is likely the receiver, not the fob, and that’s a call-us situation.
3. Manual release testing
Every automatic gate has a manual release – a key, a lever, or a chain pull that disconnects the operator arm so you can swing the gate by hand. Testing it twice a year is genuinely useful and completely safe. The steps:
- Put the gate in a stopped, closed position and cut operator power at the breaker or the disconnect.
- Engage the manual release per the operator’s label. On most residential arms it’s a key and a lever pull; on slide operators it’s often a chain hoist release.
- Swing or slide the gate by hand through its full travel. It should move with modest effort and no scraping or binding.
- Re-engage the release, restore power, and run one full open-and-close cycle.
- Note the date, what you found (free movement? binding? noise?), and whether the release re-engaged cleanly.
If the gate fights you by hand, the operator isn’t the problem – the hinges, rollers, or track are. That’s a mechanical issue a professional should look at before the motor burns out trying to push through it. For deeper work on the drive system itself, see our page on Gate Motor & Opener in Boulder City.
Tasks That Cross Into Licensed or Documentation-Required Territory
These are the jobs where the risk isn’t just skill – it’s electrical safety and the need for a written record that a licensed technician produces by default. We’ve seen homeowners successfully complete each of these once, and then pay twice as much to sort out the aftermath.
Loop detector tuning. The loop detector is the buried wire sensor that tells the gate a vehicle is present so it doesn’t close on a car. Adjusting its sensitivity, frequency, or presence-timer is a parameter change on the detector board. Get the presence timer wrong and the gate holds open indefinitely, which on a Boulder City driveway in July means a motor running duty cycles it wasn’t rated for. Get the sensitivity too high and a passing bicycle triggers it. Both are legitimate DIY-adjacent tuning jobs on some systems, but only if you know your detector model and record the before and after values. If you don’t, you’re guessing at a safety device.
Wiring splices. Any splice in the control wiring – photo-eye leads, keypad power, loop lead-in, receiver wire – is electrical work. A splice done with a twist and tape fails in desert heat within a season, and a failed splice on a photo-eye lead means the gate’s obstruction-reversing safety feature is offline. That’s an entrapment hazard. A proper splice uses a listed connector, is photographed, and is noted on a wiring diagram that shows which conductor went where. “It’s just a wire” is exactly the phrase that precedes most of the rework we see.
Control board replacement. The board is the brain. Swapping it means matching terminal assignments, transferring every parameter, reprogramming credentials, and confirming the safety edges and photo-eyes still reverse the gate correctly. On a DoorKing or a BFT board, miswiring one terminal to the wrong input can send line voltage where only a signal belongs. This is a licensed job, full stop, and one that demands a photographed before-and-after record. If you need work at this level or anything upstream, our Gate Repair in Boulder City page lays out what a visit covers.
Why “It’s Just a Wire” Repairs Compound Into Bigger Bills
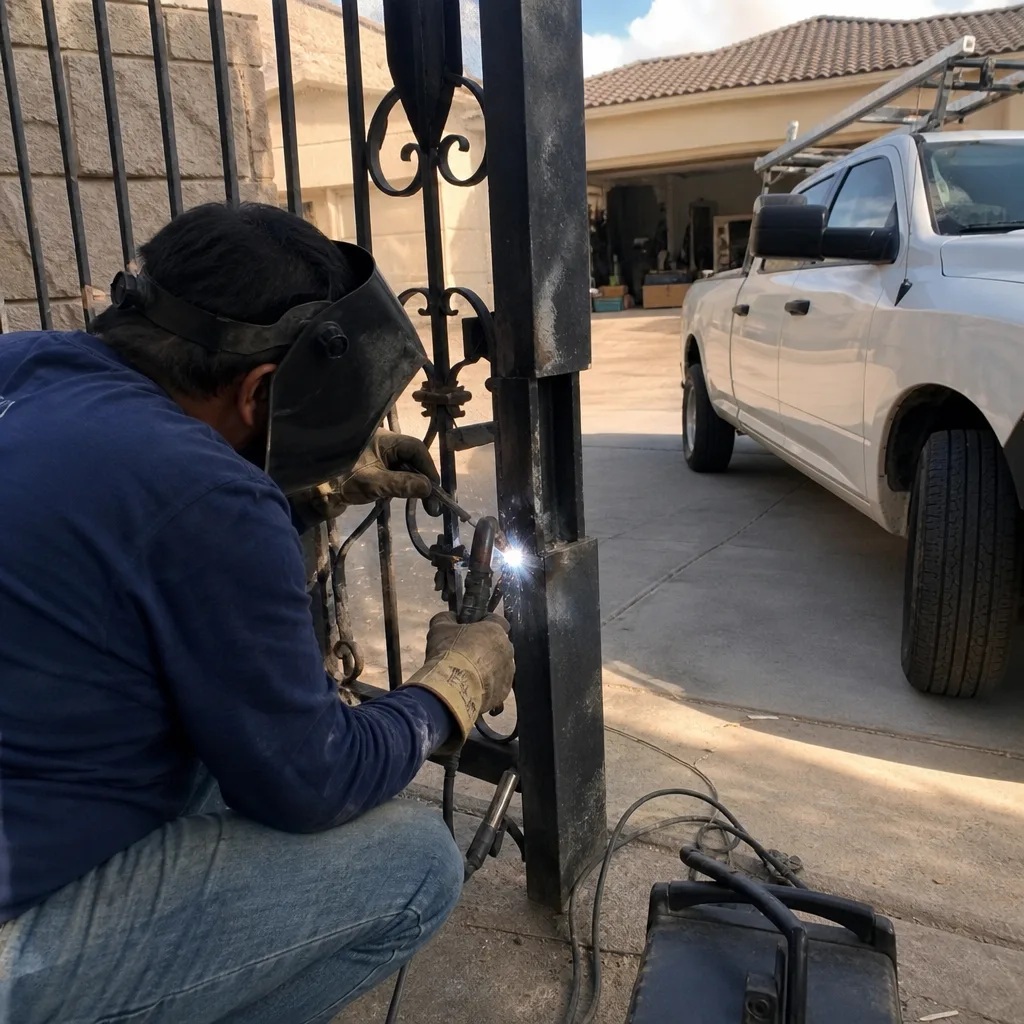
The compounding problem with undocumented wiring work is that it hides. A hidden fault doesn’t just sit there – it creates new symptoms that look like other problems, and each symptom costs money to chase down.
Picture a homeowner who replaces a failed photo-eye lead with a splice of their own. They get the gate working and move on. Six months later the gate starts stopping mid-travel on hot afternoons. The homeowner calls; the technician arrives to a control box with a splice that isn’t on any diagram. Is the splice the fault, or is it the limit switch? Is it the receiver? Nobody knows, so everything gets tested. That’s a diagnostic visit that would have been a fifteen-minute fix if the splice had been recorded on a wiring diagram and photographed. Asphalt, sun-baked enclosures, and normal vibration don’t respect any wiring mistake – they expose it. And when the fault surfaces at a different terminal than the original splice, the trail is cold.
This is the specific habit we carried over from commercial access-control work: photograph the inside of the enclosure before you touch it, write the terminal designations down, and photograph the after. A future technician – whether that’s us or someone else – can then read the system instead of reverse-engineering it. That’s the difference between a repair and a repair that holds. If repair has been put off long enough to question replacement, our Gate Installation in Boulder City page covers what a measured, written-scope replacement looks like.
What to Record and Photograph Even When You DIY
This is the section to bookmark. If you DIY anything on your gate system, produce a record. It takes five minutes and it’s the single best way to keep your future repair bills down. Here’s what to capture:
- Photograph the inside of the enclosure before and after. Wide shot first, then a close shot of each terminal block you touched. Overhead sun or a flashlight; just make sure the terminal numbers are legible.
- Write the wiring change in plain language. “Photo-eye black lead moved from terminal 4 to terminal 5 on 6/12” is worth more than a photo alone. Note the date.
- Record every programmed parameter you changed. Limit-switch positions, timer-to-close seconds, loop sensitivity, radio receiver type. Write the old value and the new value.
- Log every credential. Which keypad slot, which fob, which user, and the date. Keep the master code somewhere you’ll find it – a labeled envelope in a filing cabinet beats a note in your phone that you’ll lose.
- Note the brand and model of anything you touched. If it’s a Mighty Mule receiver or a LiftMaster keypad, the model number matters to whoever comes next.
- Keep it with the gate. Tape a Ziploc bag with the record to the inside of the control enclosure if the enclosure allows, or file it with your home documents. Either way, tell a family member where it is.
Do that, and any technician – including us – picks up exactly where you left off. Skip it, and the first thing a diagnostic visit does is try to reconstruct what happened. That reconstruction is real time on the invoice.
Red Flags in YouTube Access-Control Tutorials
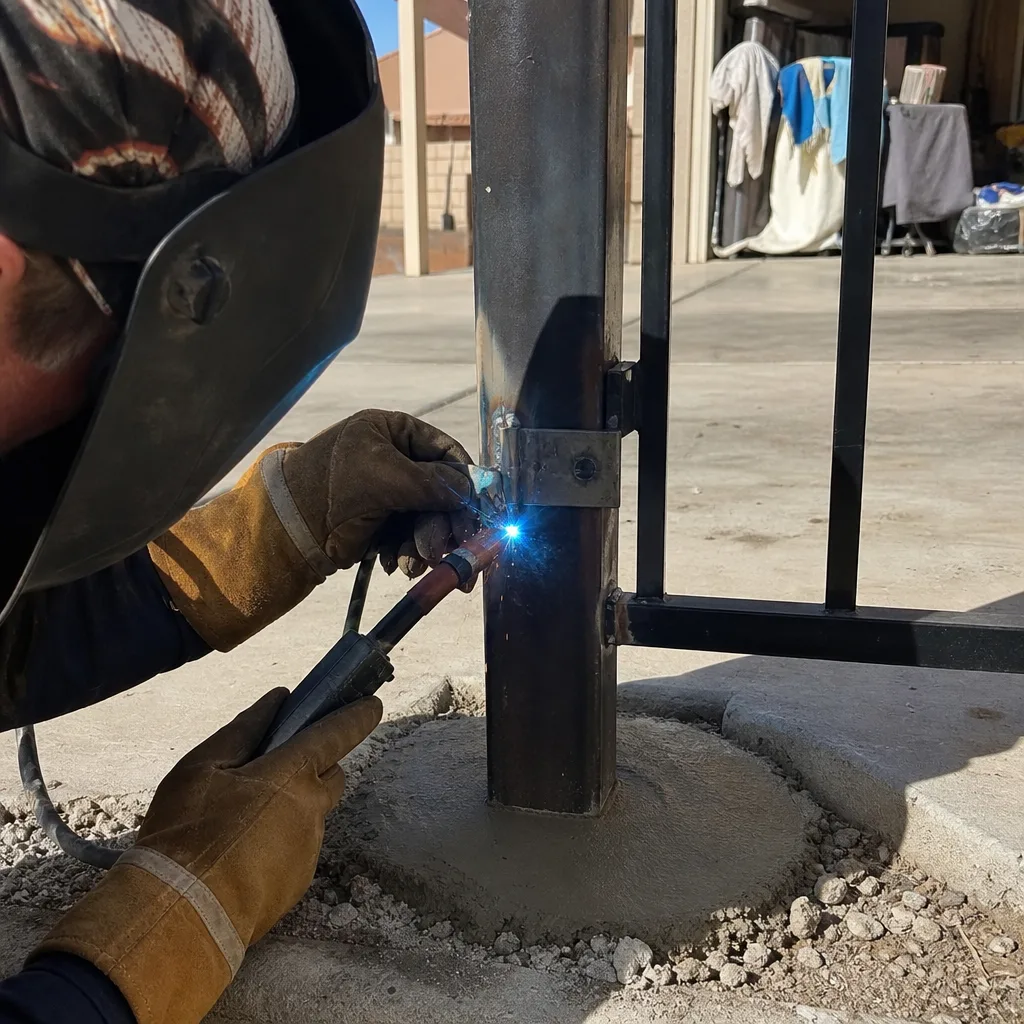
There’s a lot of genuinely good gate content on YouTube, and some of it will get you through a keypad reprogram without a call. But access-control tutorials are a category where a missing step can hurt someone, so read them with a filter. Here’s what tells you a video isn’t safe to follow:
- No safety step before touching the control box. Any video that doesn’t start with “cut power at the breaker” before opening the enclosure is not one to follow. Line voltage lives in some of those enclosures.
- No model shown, or a mismatched model. Gate boards are brand-specific and often model-specific. A tutorial on a FAAC 740 board does not map to a BFT or a LiftMaster board. If the video doesn’t name the exact model, stop.
- “You don’t need a diagram, just match the colors.” Color codes change between brands and between installs. Matching colors is how splices get crossed. This is the single biggest trap in access-control tutorials.
- No discussion of documentation. If a video doesn’t tell you to photograph the before and after or write down parameter changes, it’s teaching you half the job.
- Safety devices treated as optional. Any tutorial that has you disable or bypass a photo-eye, safety edge, or loop “just for testing” and doesn’t tell you to restore it is teaching a dangerous habit.
- Motor tuning by ear. Adjusting force and limit settings until the gate “sounds right” without using the operator’s actual setup procedure is how gates come to crush things they shouldn’t.
In our experience, the tutorials that skip safety and documentation are also the ones with the most confident tone. The careful ones are slower and more boring – and they’re the ones worth watching.
How Boulder City Conditions Affect Your Gate System
The desert reshapes the DIY question a little. In Boulder City, the gate’s control enclosure sees summer highs that regularly pass 105°F, and the enclosure heats well beyond ambient. That heat does two things worth knowing. It accelerates connector and splice failure, which is why a repair that holds on the coast can fail here in a season. And it can make a control board behave erratically in the afternoon and perfectly in the morning, which sends homeowners chasing a “broken gate” that’s actually a heat-stressed terminal. If your gate misbehaves only on hot afternoons in Boulder City, do not assume the motor is failing. Assume a connection or a parameter and get it looked at before it’s replaced.
The other local factor is wind and dust. Blowing dust packs into hinge points and rollers, and a dry, unbending hinge turns into added load on the operator. That load is why manual release testing – the free, safe task covered above – is genuinely valuable here. If the gate drags by hand in spring, you’ll be buying a motor by fall. And when a Boulder City gate does need a repair, the record you keep at home is what lets the technician walk straight to it. That documentation habit is the same one behind our Vance Gate Repair Boulder City home page, which is where we explain the standard in full.
Common Mistakes to Avoid
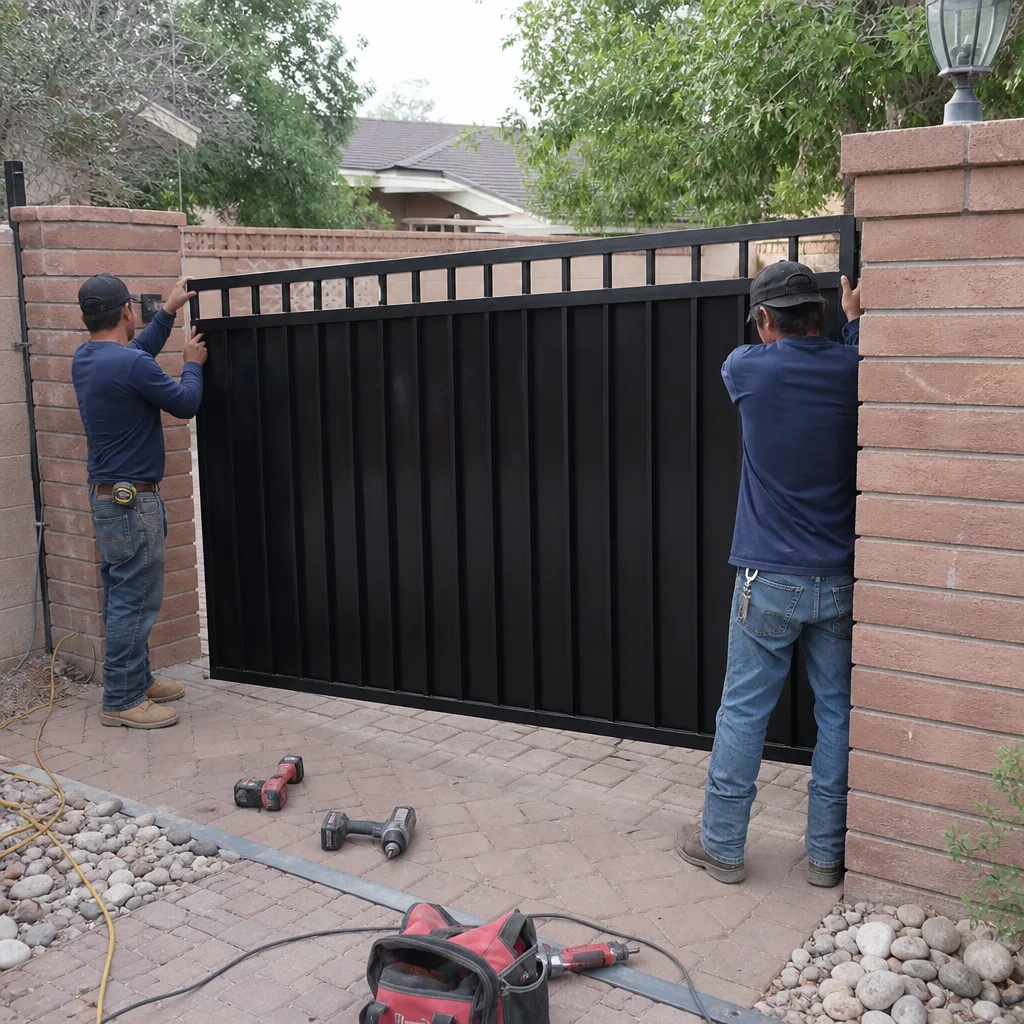
- Splicing a photo-eye lead and calling it done. The gate closes, so it looks fixed, but a splice that fails silently leaves your obstruction-reversing safety feature offline without any indication. It only shows up when something crosses the path.
- Changing a control parameter and not writing it down. A limit-switch or timer change that goes unrecorded is the most common cause of a long, expensive diagnostic visit. The number you set is the number someone needs to know.
- Testing a manual release and not re-engaging it fully. A half-engaged release can let the gate disengage under load. Run a full cycle after re-engaging and watch it close cleanly before you walk away.
- Assuming a hot-afternoon fault means the motor is dying. In Boulder City heat, a fault that only appears at peak temperature is usually a connection or a tired terminal, not a motor. Replacing the motor first is the expensive way to find that out.
- Matching wire colors across brands. Colors shift between installs and between brands. Match terminals to the diagram or the board markings, never to color alone.
- Bypassing a safety edge “just to test.” Leave it bypassed by accident and the system no longer meets the safety standard it was installed to. Restore it, confirm the reversal works, and note that you did.
- Keeping credentials in a phone note and nowhere else. A lost phone, a new keypad owner, or a family change leaves a gate that nobody can operate. A labeled envelope in the house works better.
See the difference
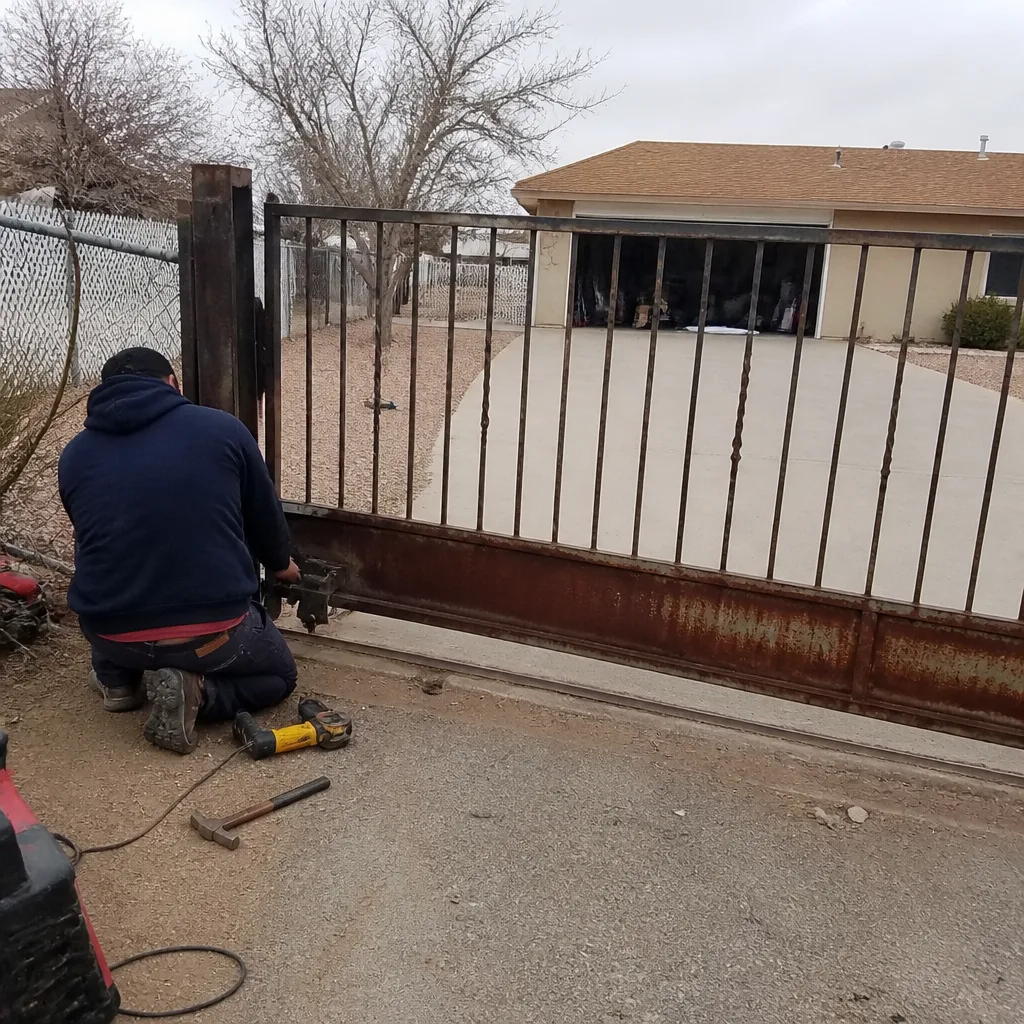
BeforeAfter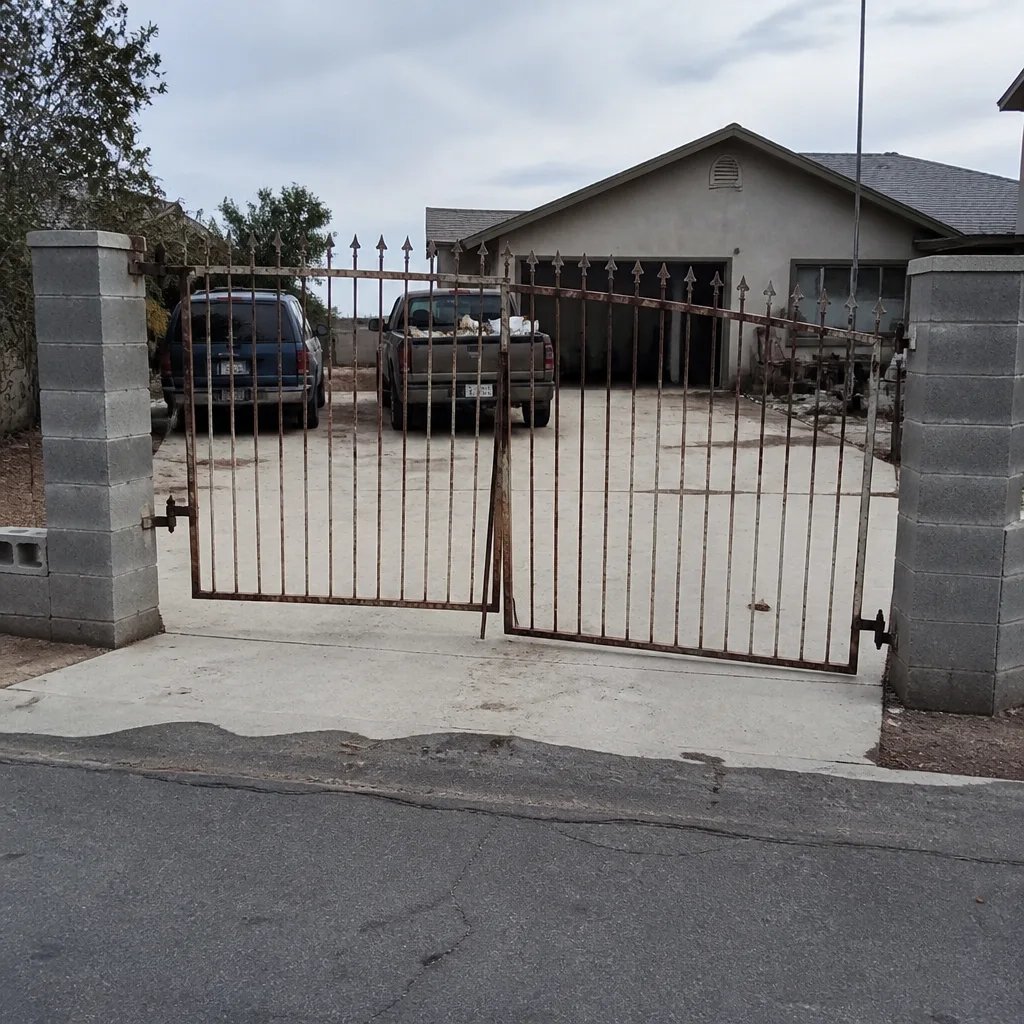 Before
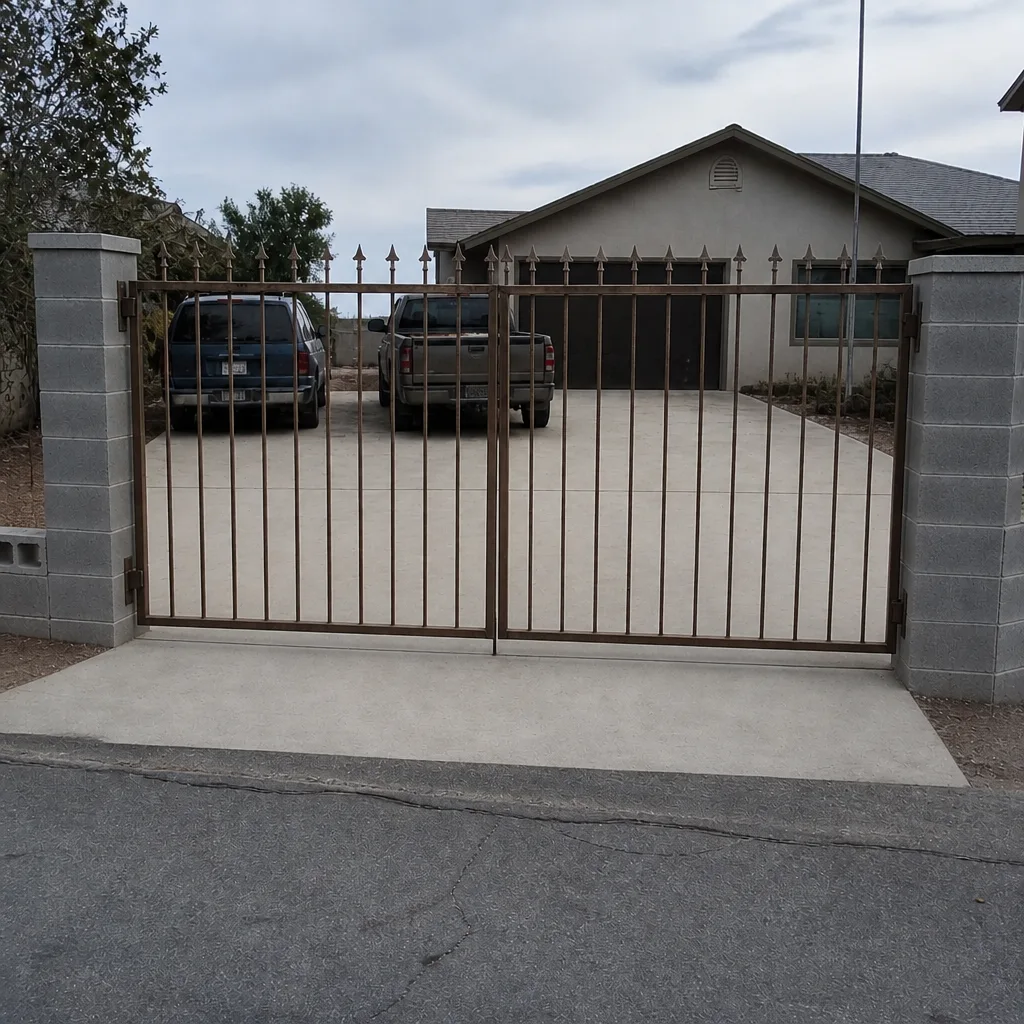 After
 Before
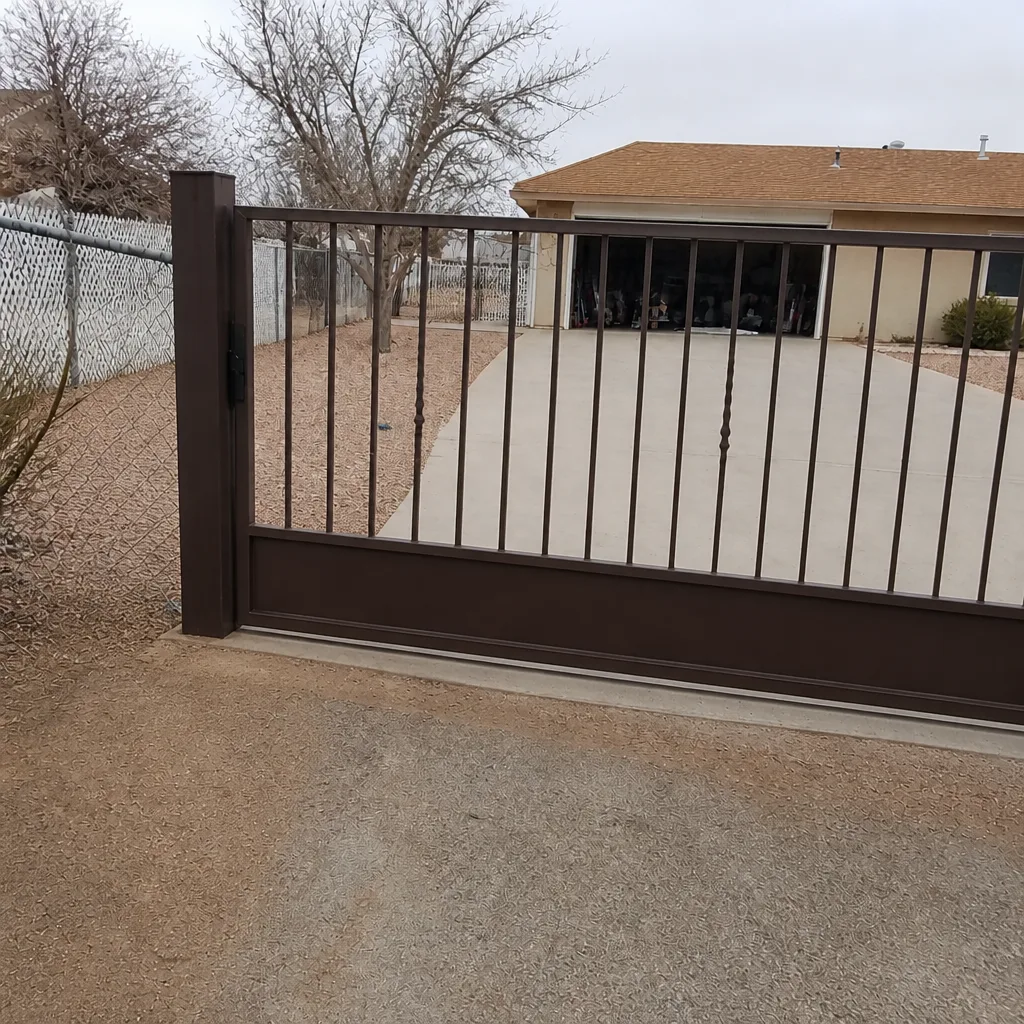 After
When to Call a Professional
Call a professional the moment the work touches a wired connection or a factory-set parameter, or the moment you can’t put the record together yourself. Specifically: any control board replacement, any wiring splice, loop detector tuning you can’t verify against the detector’s spec sheet, motor limit and force adjustments, and anything involving a safety edge or photo-eye that isn’t reversing the gate correctly. Call too if the gate has become a manual-release-only gate and you have a household to secure – that’s a diagnostic job, and the sooner it’s run the cheaper it is. Vance Gate Repair Boulder City offers free estimates in Boulder City and a free second opinion on any written estimate you’ve already received – bring the paperwork and we’ll review it at no cost. Call (844) 320-7587 and a live person will answer, any hour. When we come out, the price is written and handed over before we pick up a tool, and you get a photo record of every adjustment we make – the same record we’re asking you to keep if you DIY.
Frequently Asked Questions
Yes. Adding or removing a keypad user code is one of the safest DIY tasks on a gate system – it happens on the keypad itself without opening the control box. Follow the keypad’s own procedure, and write down every code you change, which slot it lives in, and the date. If you’re ever unsure which keypad you have, call (844) 320-7587 and we’ll tell you what to look for.
No. Control board replacement requires matching terminal assignments, transferring every parameter, reprogramming credentials, and confirming the safety devices still reverse the gate – and on some brands a miswired terminal can send line voltage into a signal input. That’s a licensed technician’s job. Call us for a written estimate, and if you have one from another company, our free second opinion is on the house.
Photograph the inside of the enclosure before and after, write the wiring change in plain language with the date, log every parameter you changed (old value and new value), and keep a credential list with which slot holds which code. Keep the record with the gate or with your home documents. That record is what saves you diagnostic time later.
A fault that appears only at peak desert heat is usually a connection or a parameter, not a dead motor – the heat expands terminals and can push a marginal splice into failure. Don’t replace the motor before it’s been checked. A documented diagnostic visit will find the actual fault, and it’s cheaper than guessing. Call (844) 320-7587 for an estimate.
Only if you know your detector’s model and can verify the setting against its spec sheet, and only if you record the before and after values. Loop sensitivity and presence timers are safety-critical – a wrong presence timer holds the gate open, and a wrong sensitivity triggers on passing bicycles. If you can’t verify the spec, leave it to a professional.
Our 365-Day Done Right Promise covers work we performed – if a repair isn’t right within that window, we make it right at no charge. If a fault traces back to an undocumented change made elsewhere, the diagnosis has to start from scratch, which takes time. That’s a documentation problem more than a warranty one, and it’s why we ask you to keep a record of any DIY change.
The Bottom Line
The safe DIY line in gate access control is drawn by consequence and documentation, not difficulty. Credential entry, fob battery swaps, and manual release testing are yours to run – and the manual release test in particular is worth doing twice a year, because in Boulder City heat a dragging gate becomes a fried motor fast. Wiring splices, loop tuning, control board swaps, and motor parameter changes belong to a licensed technician, because they change live connections and safety devices, and because the technician is the one who leaves a written record and photographs behind. If you DIY, produce that record yourself. If you don’t, call us – the price is in writing before we start, and you keep the photos. Reach Vance Gate Repair Boulder City at (844) 320-7587 for a free estimate and a documented visit.
Written by the team at Vance Gate Repair Boulder City.